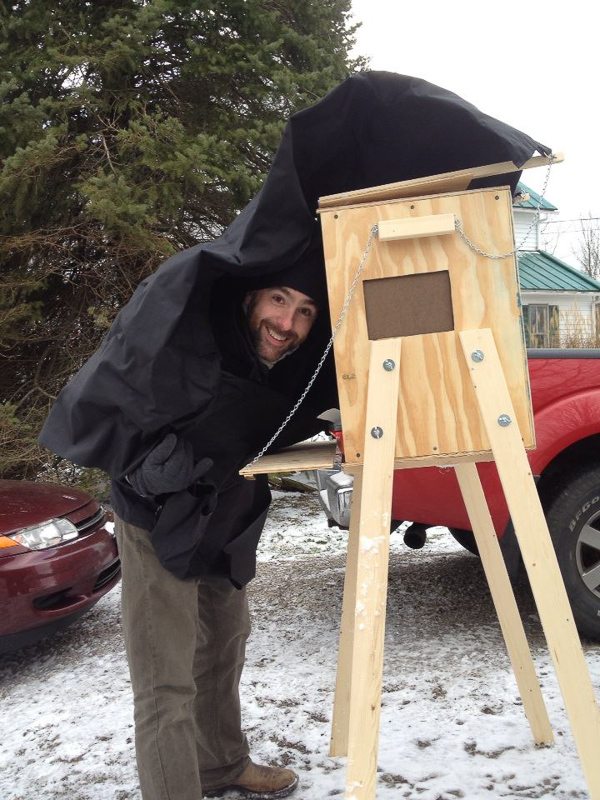
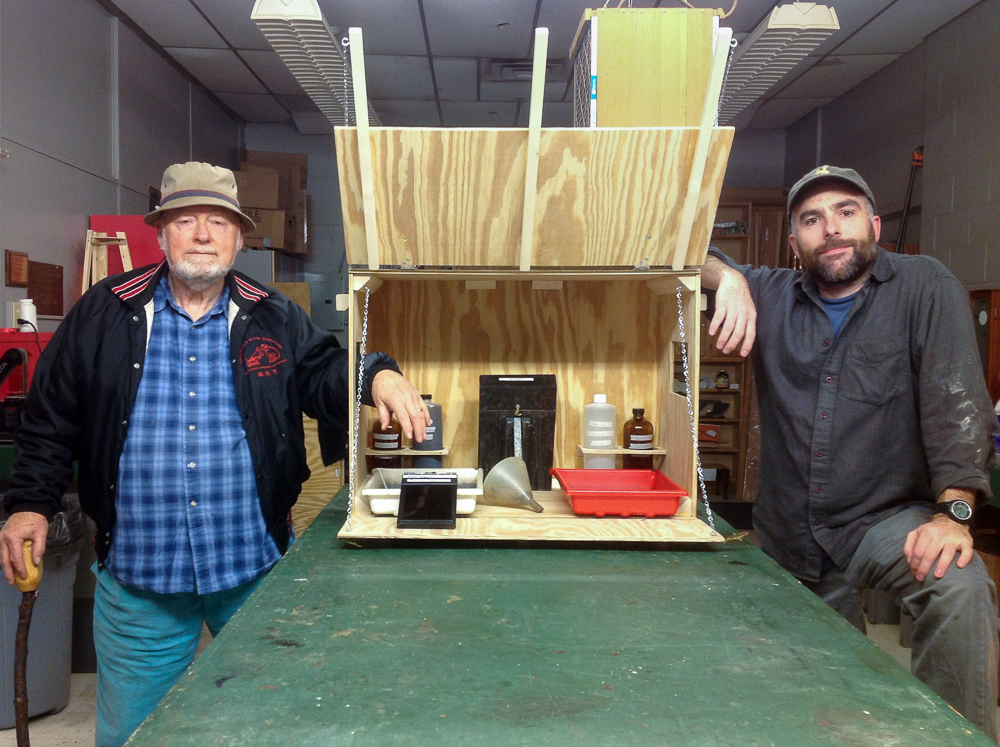
Within a few months of learning how to make tintypes in the Haas Lab (thanks, as always, to Kari Wehrs and Brenton Hamilton) I enjoyed some quality father-son time making a darkbox in the woodshop where Dad lived. It is a very sturdy (i.e., too heavy and large) box, and, worse, the shroud that I use to seal out the light around my body was hard for mom and I to make…long story for a different post. Short version: sadly that darkbox has had more life as a nightstand beside the bed than in photographic pursuits.
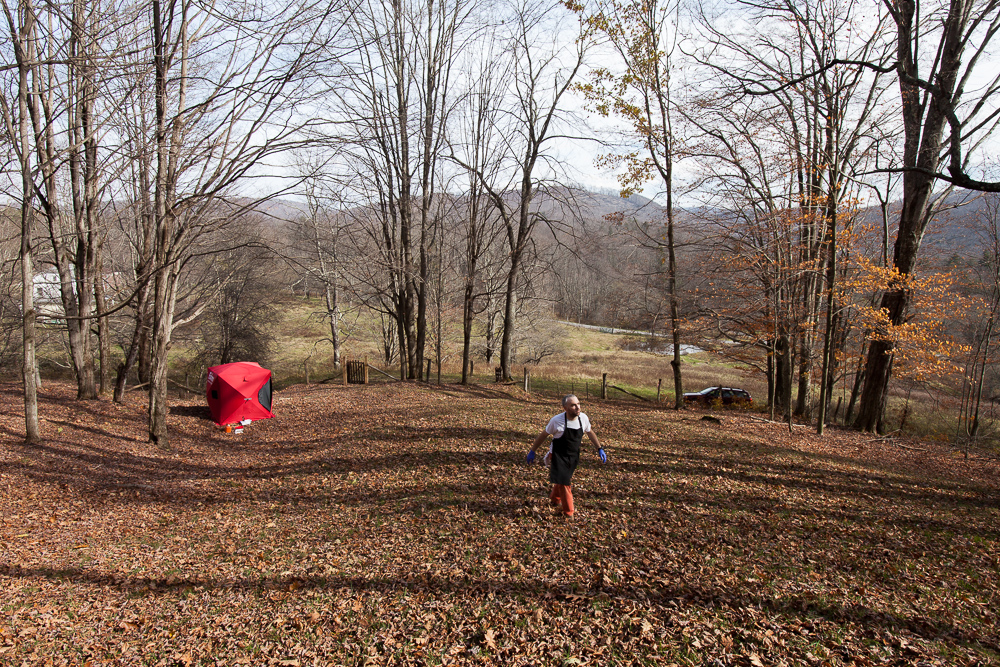
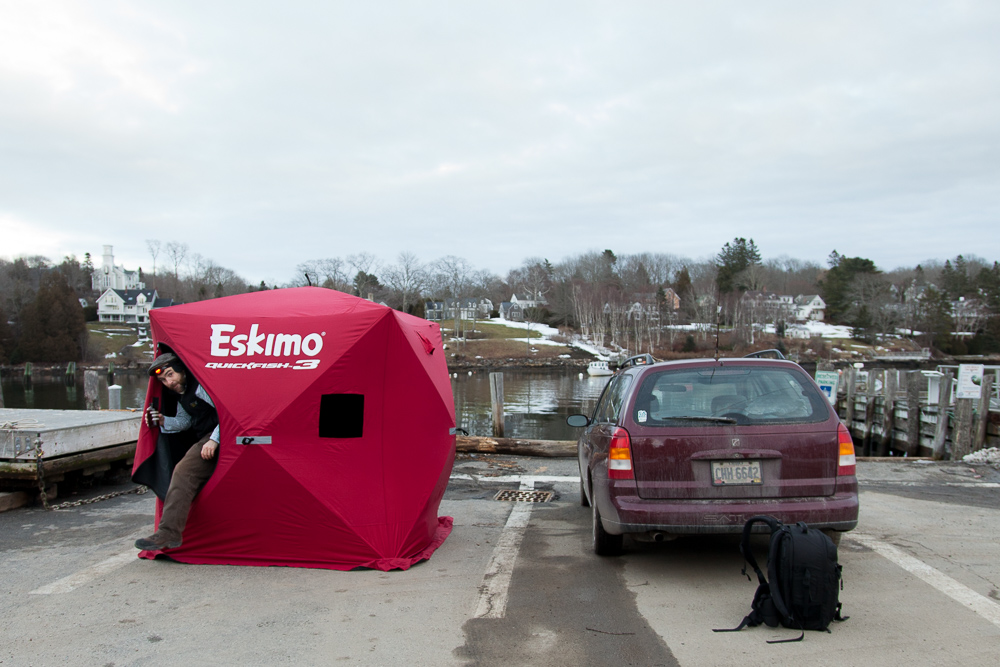
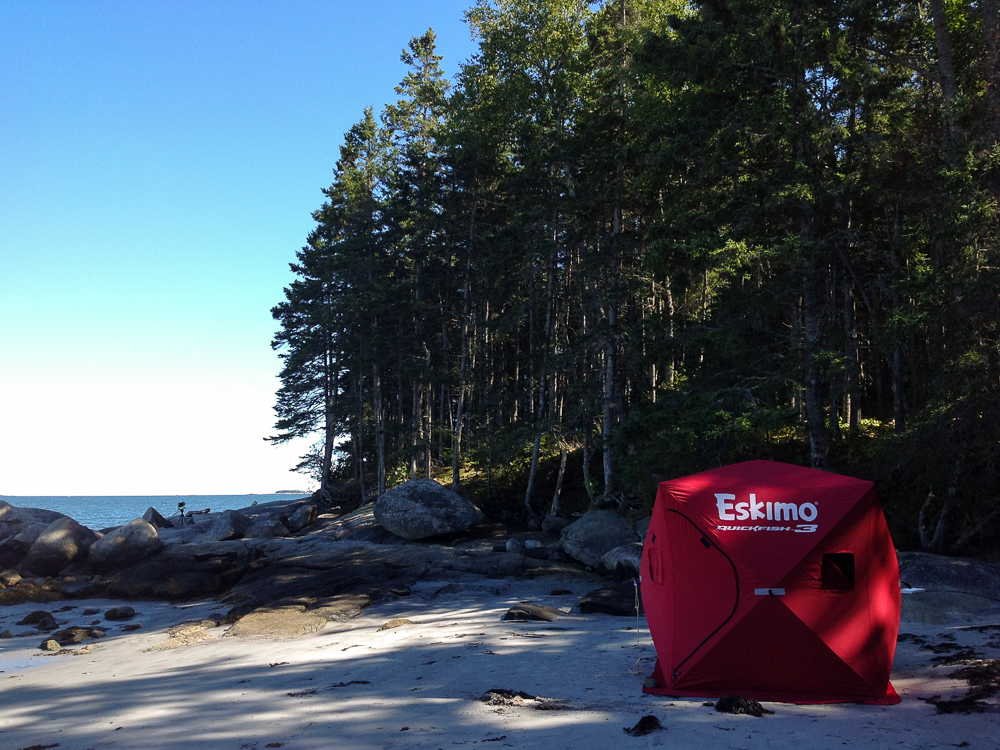
The next solution to make tintypes in the field (away from a fixed darkroom) was to get one of the nifty pop-up ice fishing shelters that are all the rage in tintyping circles. (Here it is in action at Birch Point State Park in Maine, and here at the Great Sand Dunes.) I really like this thing, and it’s neat to have a space to walk into and stand up, keep gear and supplies together, and have shelter from (minor) rain and snow showers.
 |
 |
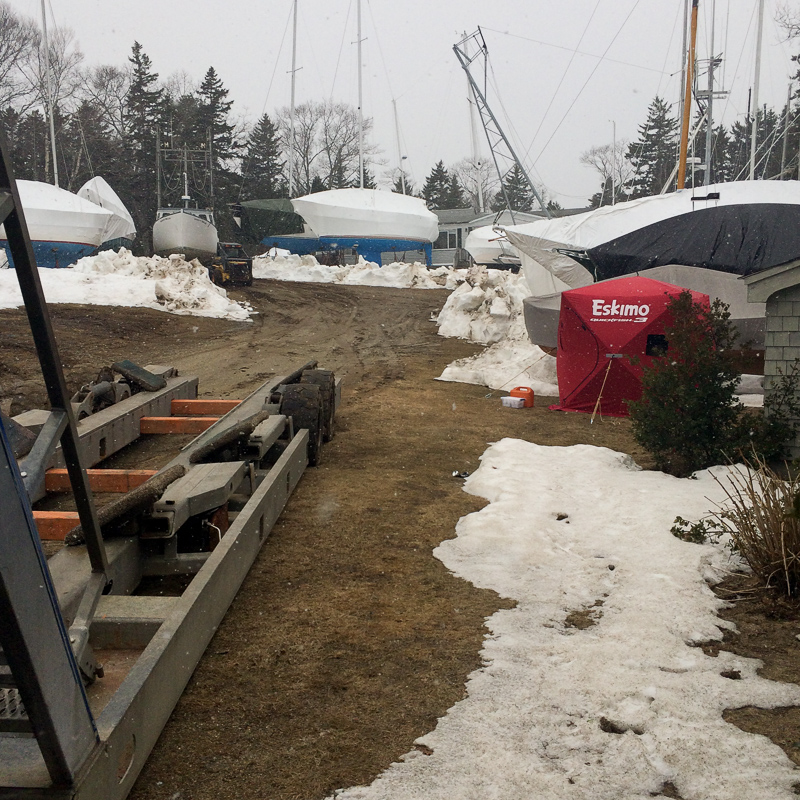 |
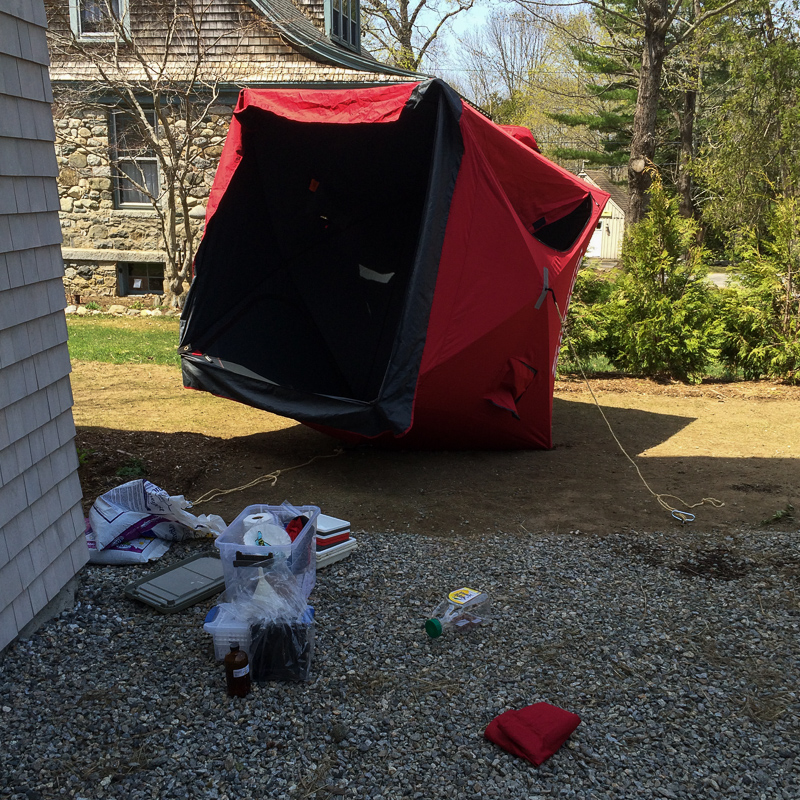
The two main downsides are that it takes a bit of time to set it all up and tear it down, and that’s if you can find a big enough spot to put it and fasten it down so that it doesn’t blow away like a giant box kite, which it will do, probably taking $50 worth of silver bath, other chemicals, and your street cred as a tintypist with it. (Miraculously when mine has taken flight it neatly lifted up and over all of the chemical trays and bottles. I still looked like an idiot chasing a giant red cube across the lawn, though.)
If I rushed I could probably unload the car, set up, make a tin (and only one only if I’m super lucky the first shot), and clean / pack up… in maybe an hour and a half – if I rushed and only made one tintype – and it wasn’t windy. Obviously this isn’t suitable for pulling off onto the shoulder to grab a quick photo.
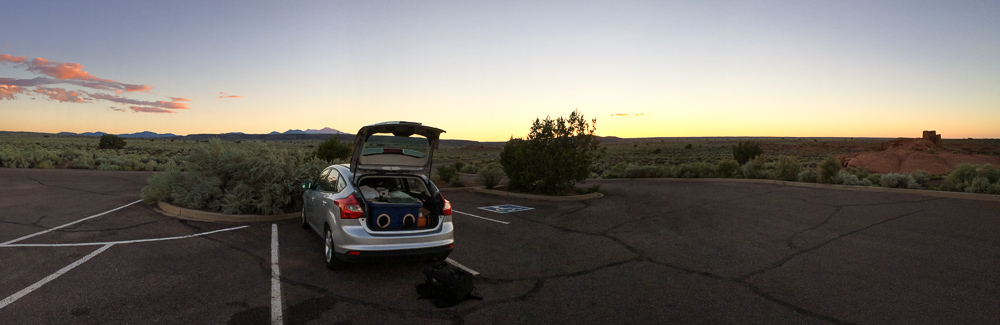
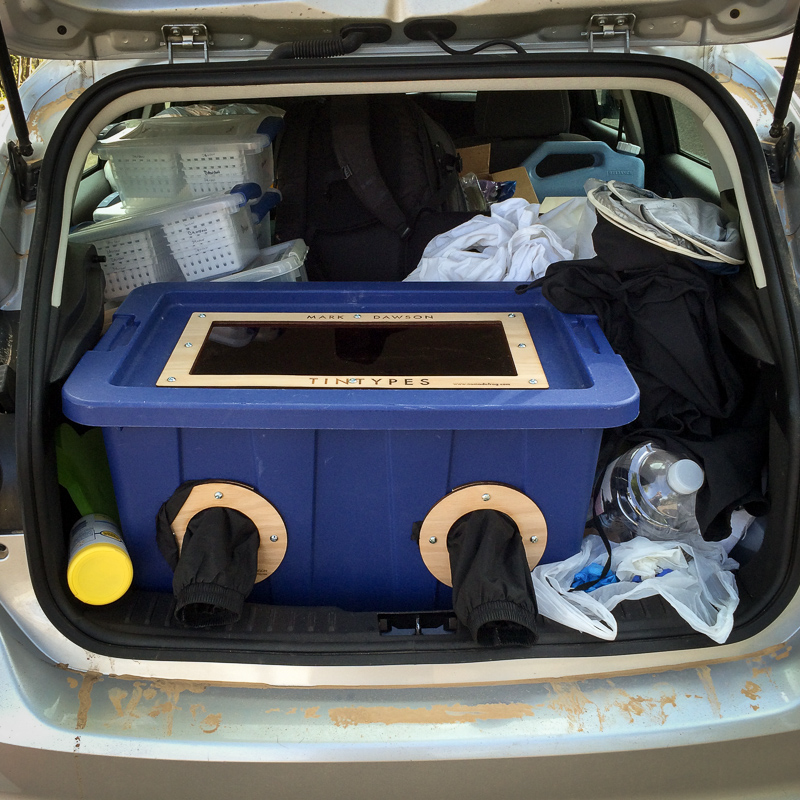
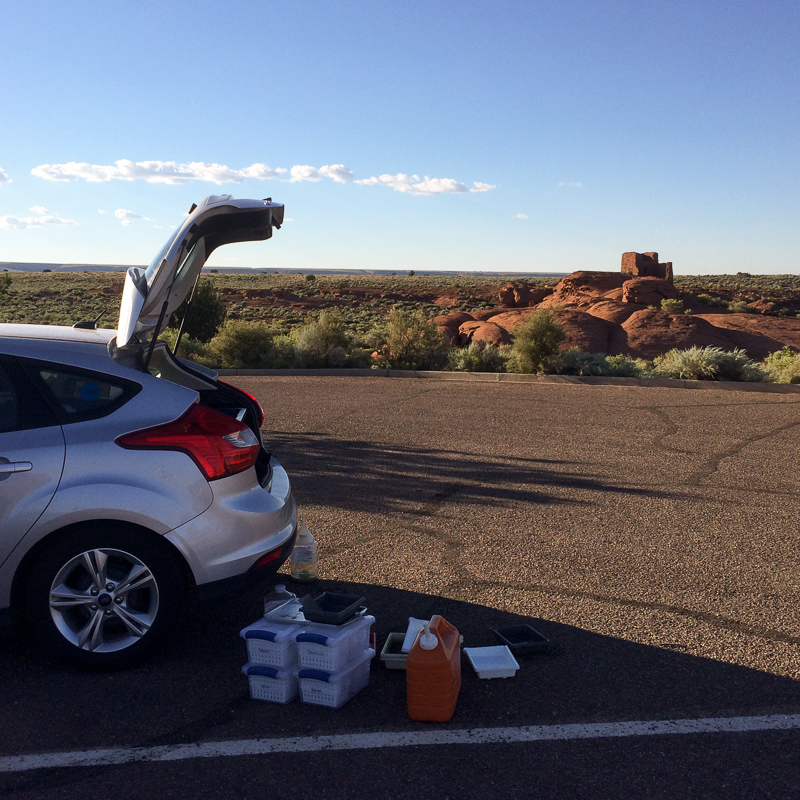
Hence the “Dawson Darkbox 2”. Not that anything with tintyping is “fast”, but the idea here is that the box can sit in the back of my hatchback car, with the critical stuff – silver nitrate, collodion, rinse water, and fixer – basically already in place. Loosen some lids, pour the fixer into a tray, and I’m ready to go.
I’ve also got a few cameras that are basically large-format point and shoots. One box camera, a Holga and Holga Panoramic (ok, not really “large format”) and a new Travelwide 4×5. For the box camera it’s just a matter of composing, I don’t even have to focus. Point is, with these cameras and the new darkbox I should be able to stop on a (wide, safe) shoulder and grab a “quick” tintype.
The Design
Like I said, I originally I wanted a nice sturdy wood box, and hence spent quite a bit of time arguing with Dad about glue or bolts (in the end, often both!) and made something that cost a fair bit of money, weighs a ton, takes up a lot of space, doesn’t look all that interesting (for what that’s worth) and didn’t really work very well. I finally realized that what I want to do is make tintypes, and the rest is secondary.
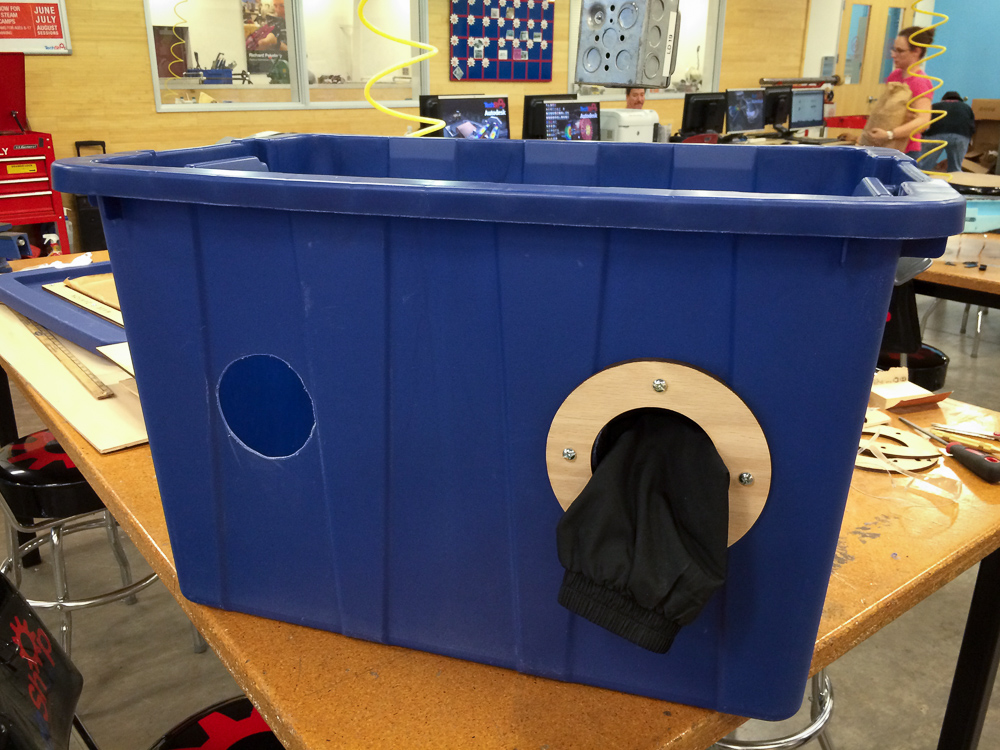
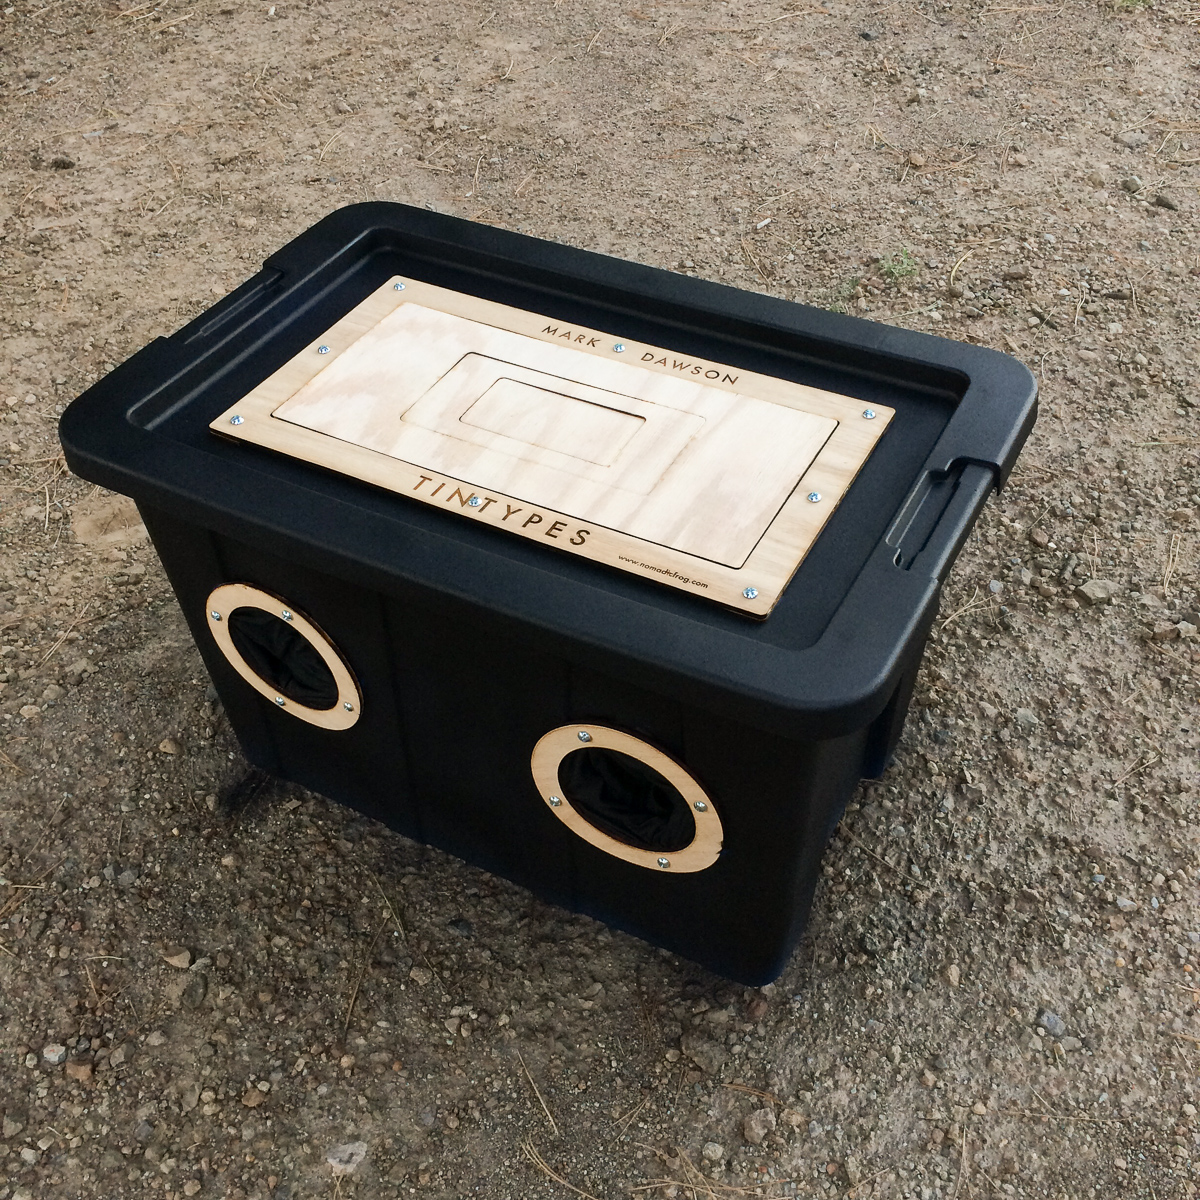
The basic idea was inspired by various concepts I’d come across while researching Version 1, such as Gerald Figal’s. Instead of a walk-in darkroom that is, by definition, large enough for a person to be inside of, take a pre-made box of some kind, make holes for arms and a viewing window to see into, et voila, done.
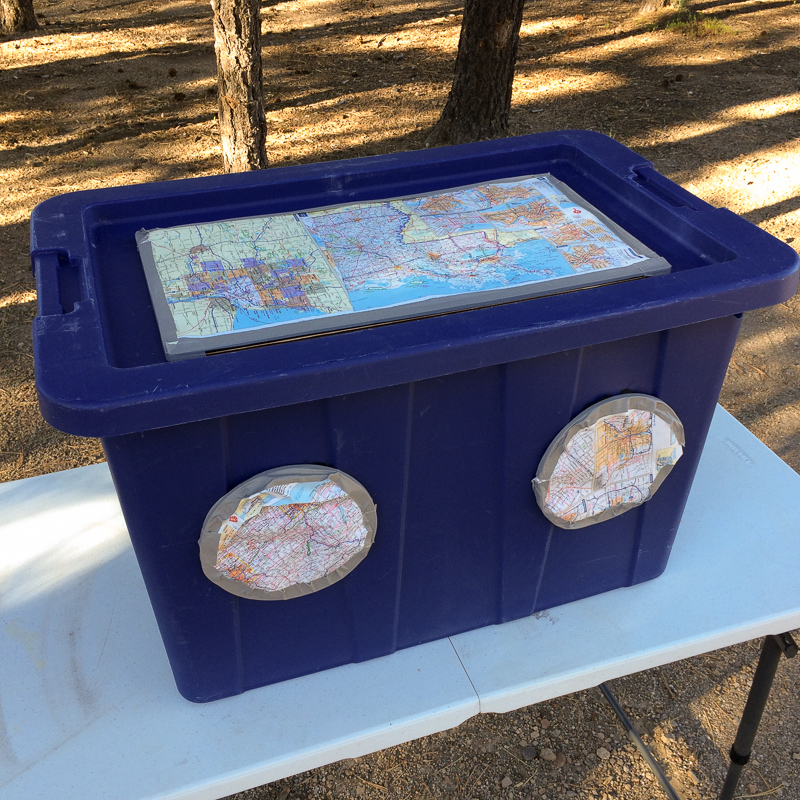
Version 2 started life as a ~30 gallon storage tub from Walmart. For a little bit of time researching, and about $14, I had the basic box that took Dad and I hours to construct out of wood. (Maybe Version 3 will be more like Gerald’s and collapsible so l can make tins out on the hiking trails…)
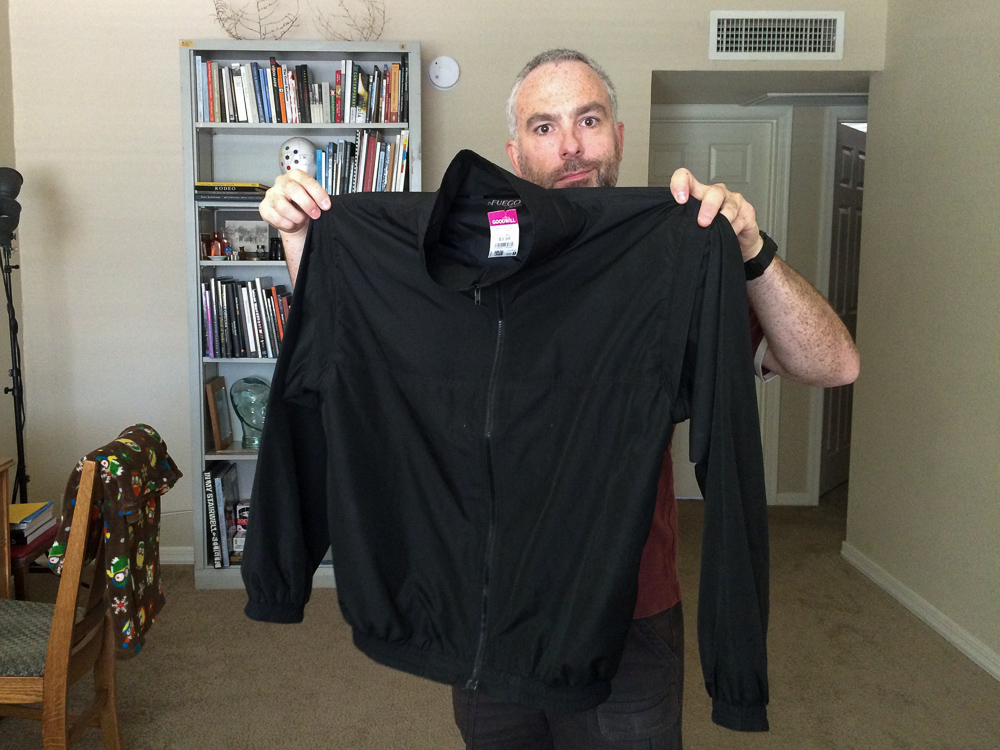
One innovation I’m really happy about is the sleeves. Suggestions around the web were to use the arms of a film changing bag, but those range from $12 (cheap eBay stuff) to $24 and up for better bags. I hit the nearest Goodwill and scored a black tracksuit jacket with elastic cuffs for $3.99. Cut off the sleeves and I have a light-tight seal for my arms! And since the sleeves zipped out anyhow, I could re-donate the undamaged now-sleeveless vest to Goodwill!
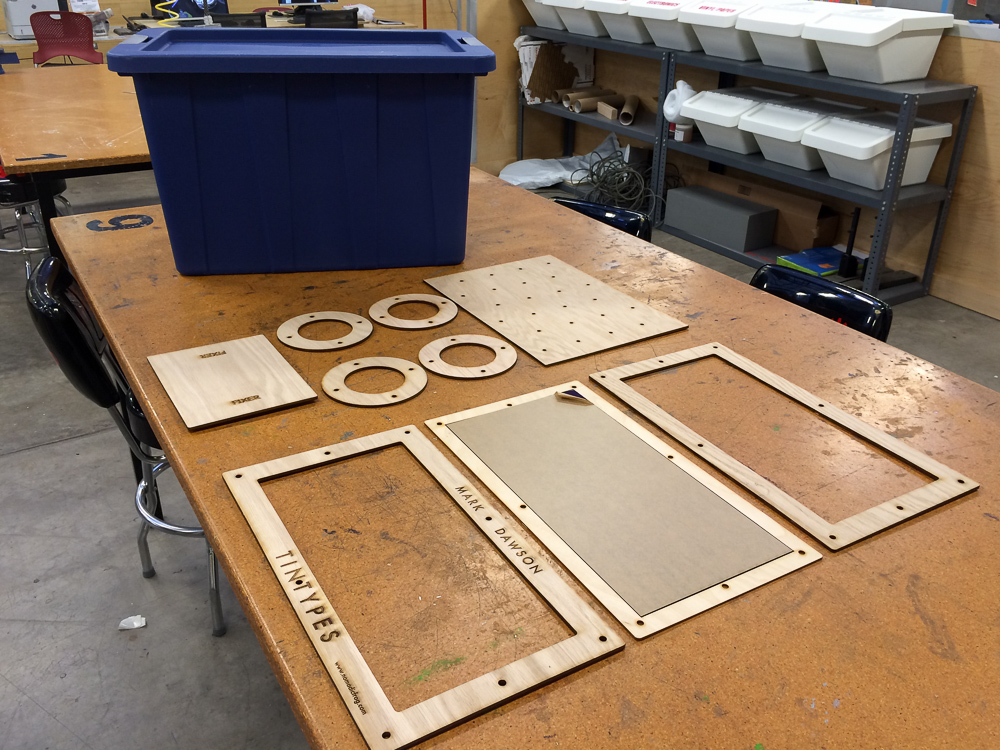
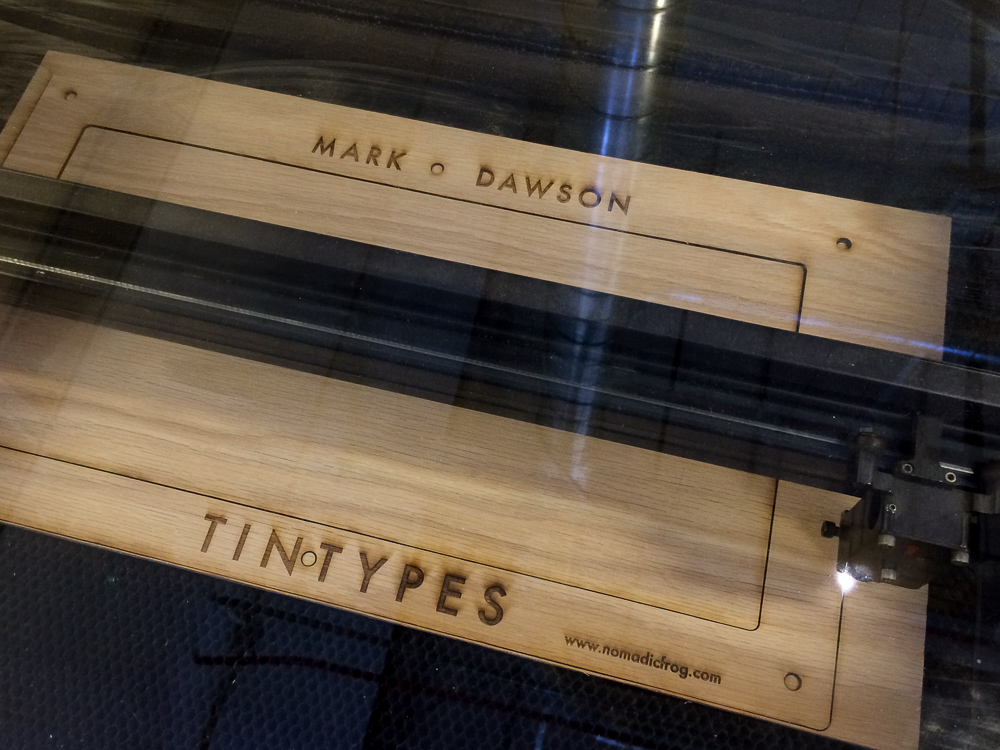
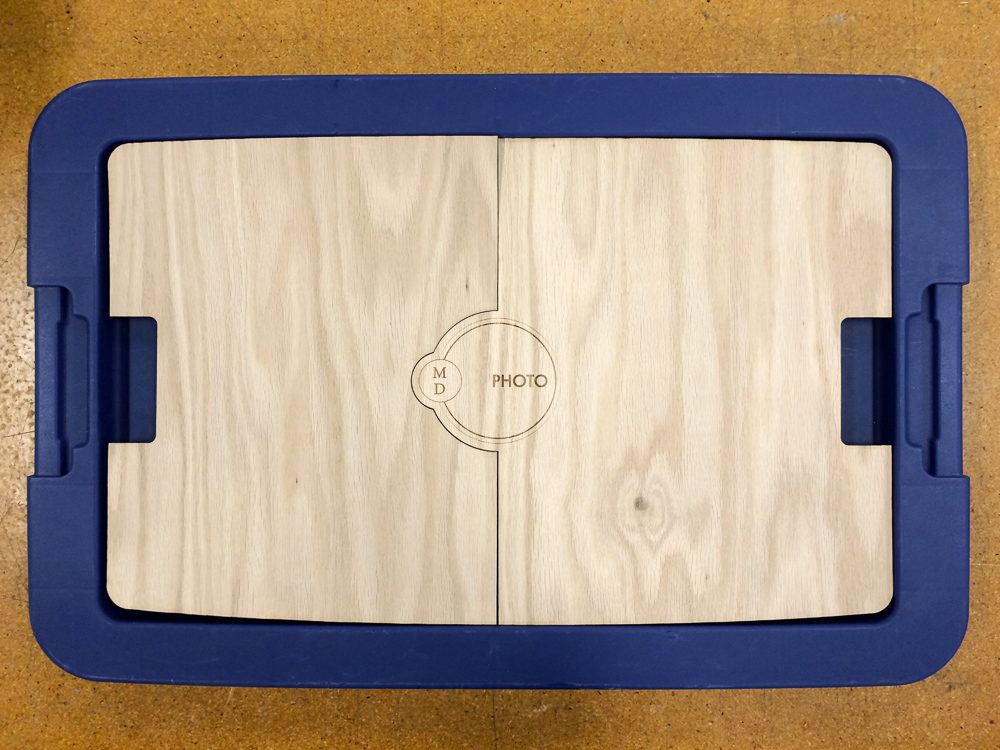
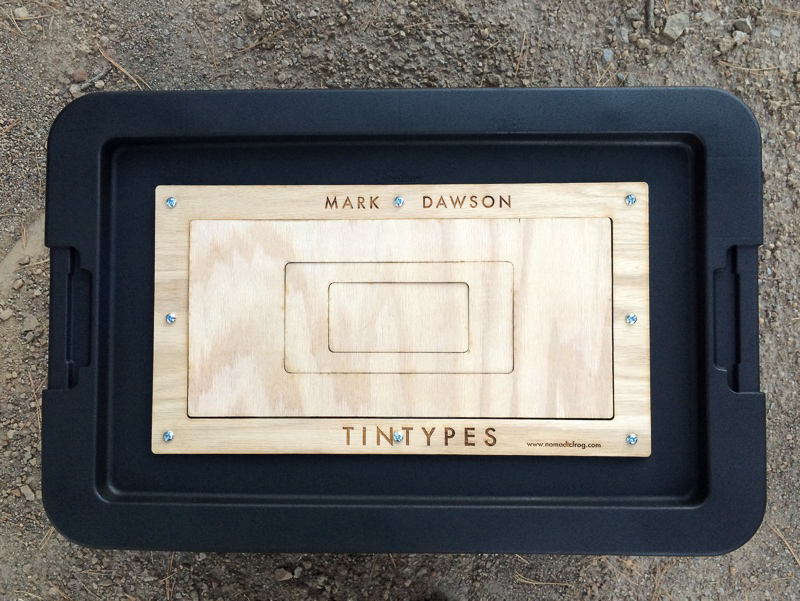
Since learning how to use the laser cutters at TechShop last fall, I laser the heck out of whatever I can think of. Naturally the safelight window needed to be held in place by a laser-cut wooden frame with my name and website on it.
I wanted to protect the plexiglass viewing window while in transport, so I lasered a couple of cover plates that recess into the box lid.
Time to try it out in the field! It’s hotter than blazes in the Phoenix area in mid-August, so I headed north to higher and cooler climes. My first stop was Sunset Crater National Monument, near Flagstaff, where I tried the new darkbox for the first time.
It failed completely. I just got totally blank plates – something was letting too much of the wrong kind of light in, and I didn’t know if it was the viewing window plexiglass (not dark enough, not the right color red) or the LEDs inside the box, or what. Or, since this is wetplate work, it could have been any number of other variables – bad collodion, bad silver, etc.

I wasn’t excited about the subject, and it was near sunset anyhow, so I made camp, regrouped, and headed up to the North Rim of the Grand Canyon to make some modifications to the box (shortened the sleeves) and try again.
Still no luck. I tried changing exposures and light sources. Finally as the sun was going down, I got a faint image. I think it was a combination of factors, but the main problem, I think, I didn’t realize until a week or so later.
Success! …sort of
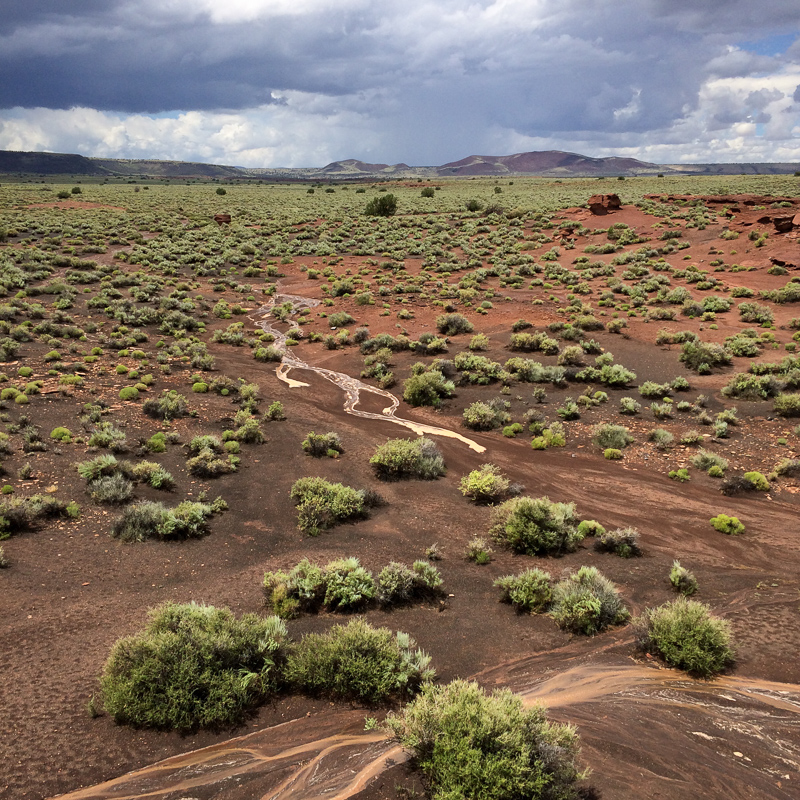
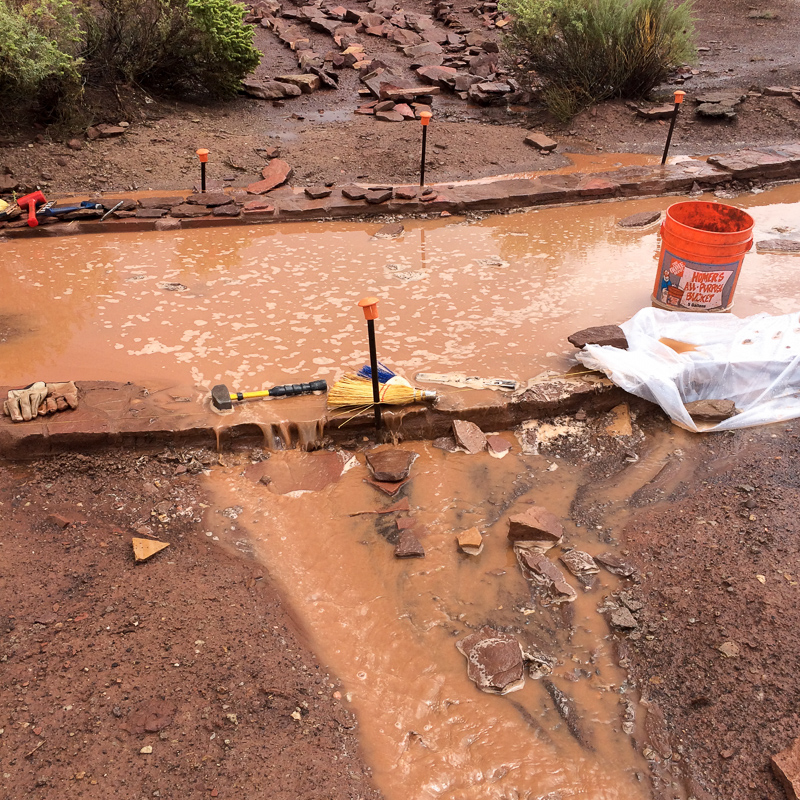
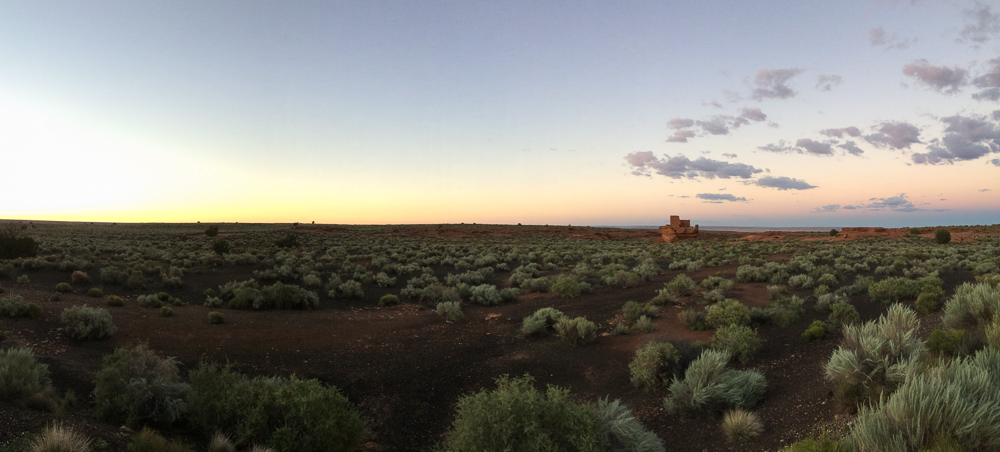
I made some more modifications to the box, to make it easier to use and also to block more incoming light. I also double-checked all my chemistry to be sure that wasn’t culprit, and streamlined all of my gear generally. Then when I thought I had it all fixed the best I could I headed back north. This time I aimed for a place near Sunset Crater that I had scouted out before, the ruins of the Wukoki Pueblo in Wupatki National Monument.
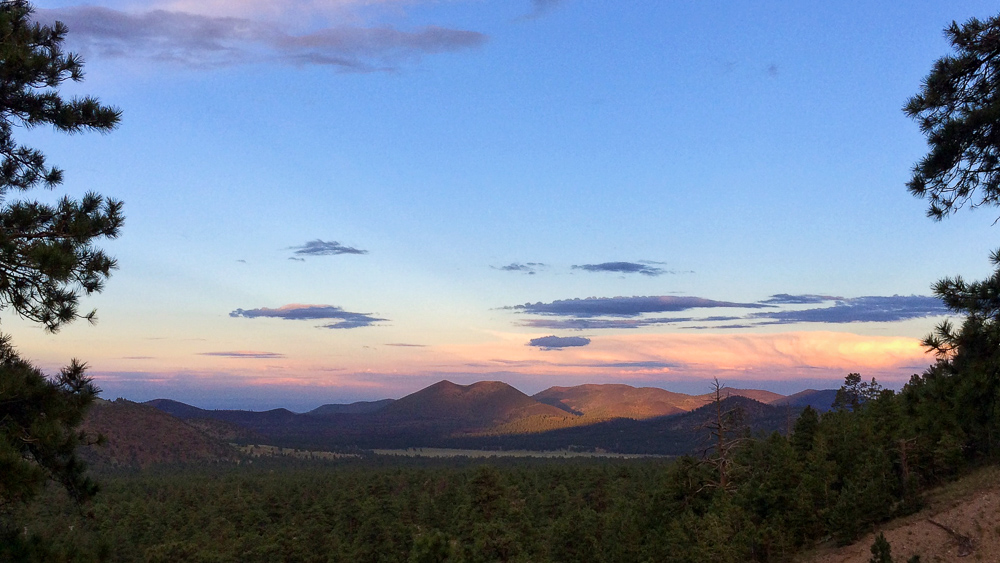
No luck. Again, it was late, I left and made it to my campsite high in the San Fransisco Mountains north of Flagstaff well after dark.
I spent the next day very methodically experimenting at my campsite, changing only one variable at a time. I finally realized that I think the main problem is actually light coming through the box itself! So I headed into Flag (that’s how the hip people call it, right?) and bought some heavy spray paint.
Next attempt, back to Wukoki! Now remember, I picked these locations because they were northern Arizona and hence higher elevation and cooler temps. Well, I didn’t really pay attention, and Wukoki is actually quite a bit lower than Flagstaff and Sunset Crater, and 4000 feet lower than my campsite the nights before. Short version: it was between 85F and 90F, with low humidity. Not sure I can call my work here “wet”plate photography.
Anyhow, I got set up…
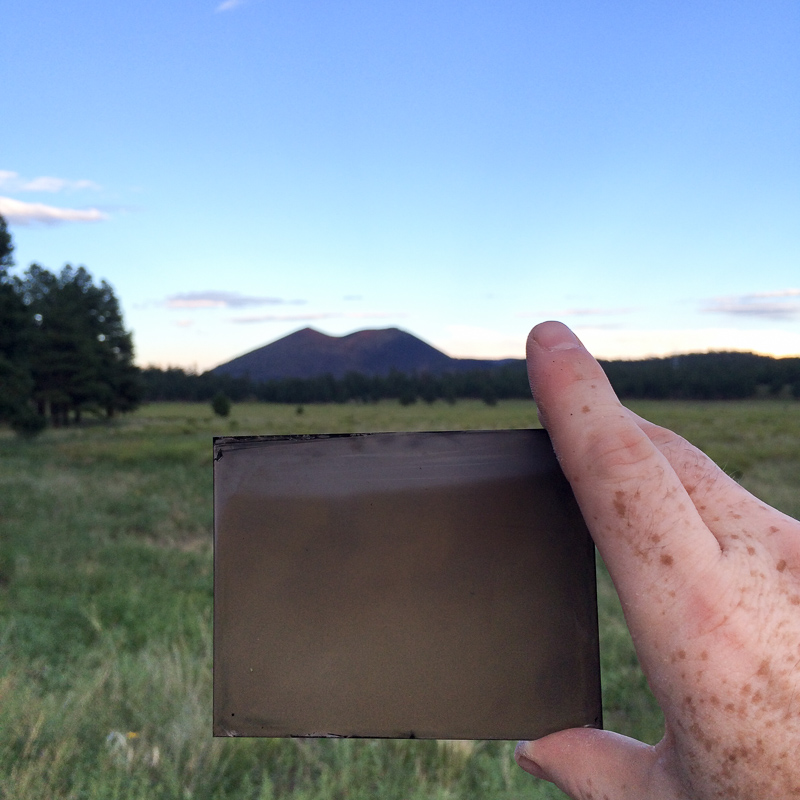
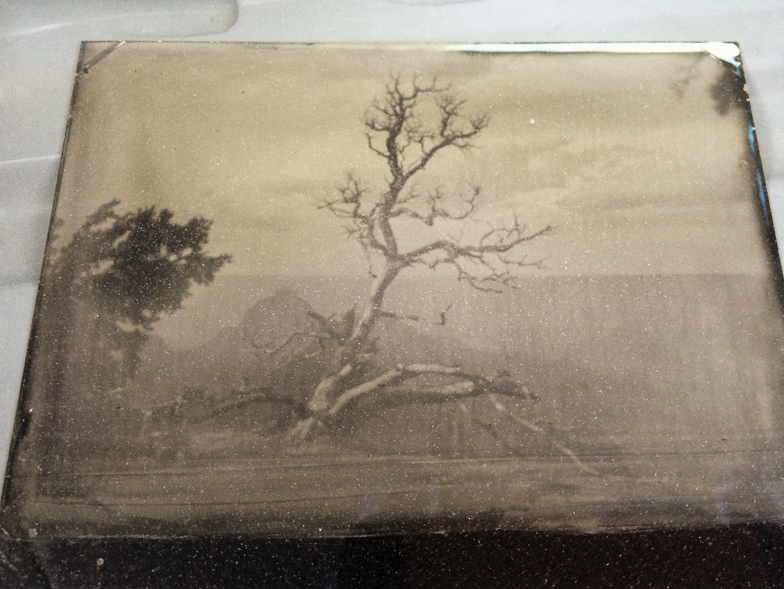
Poured the collodion, sensitized the plate, exposed my first tin of the day, and…
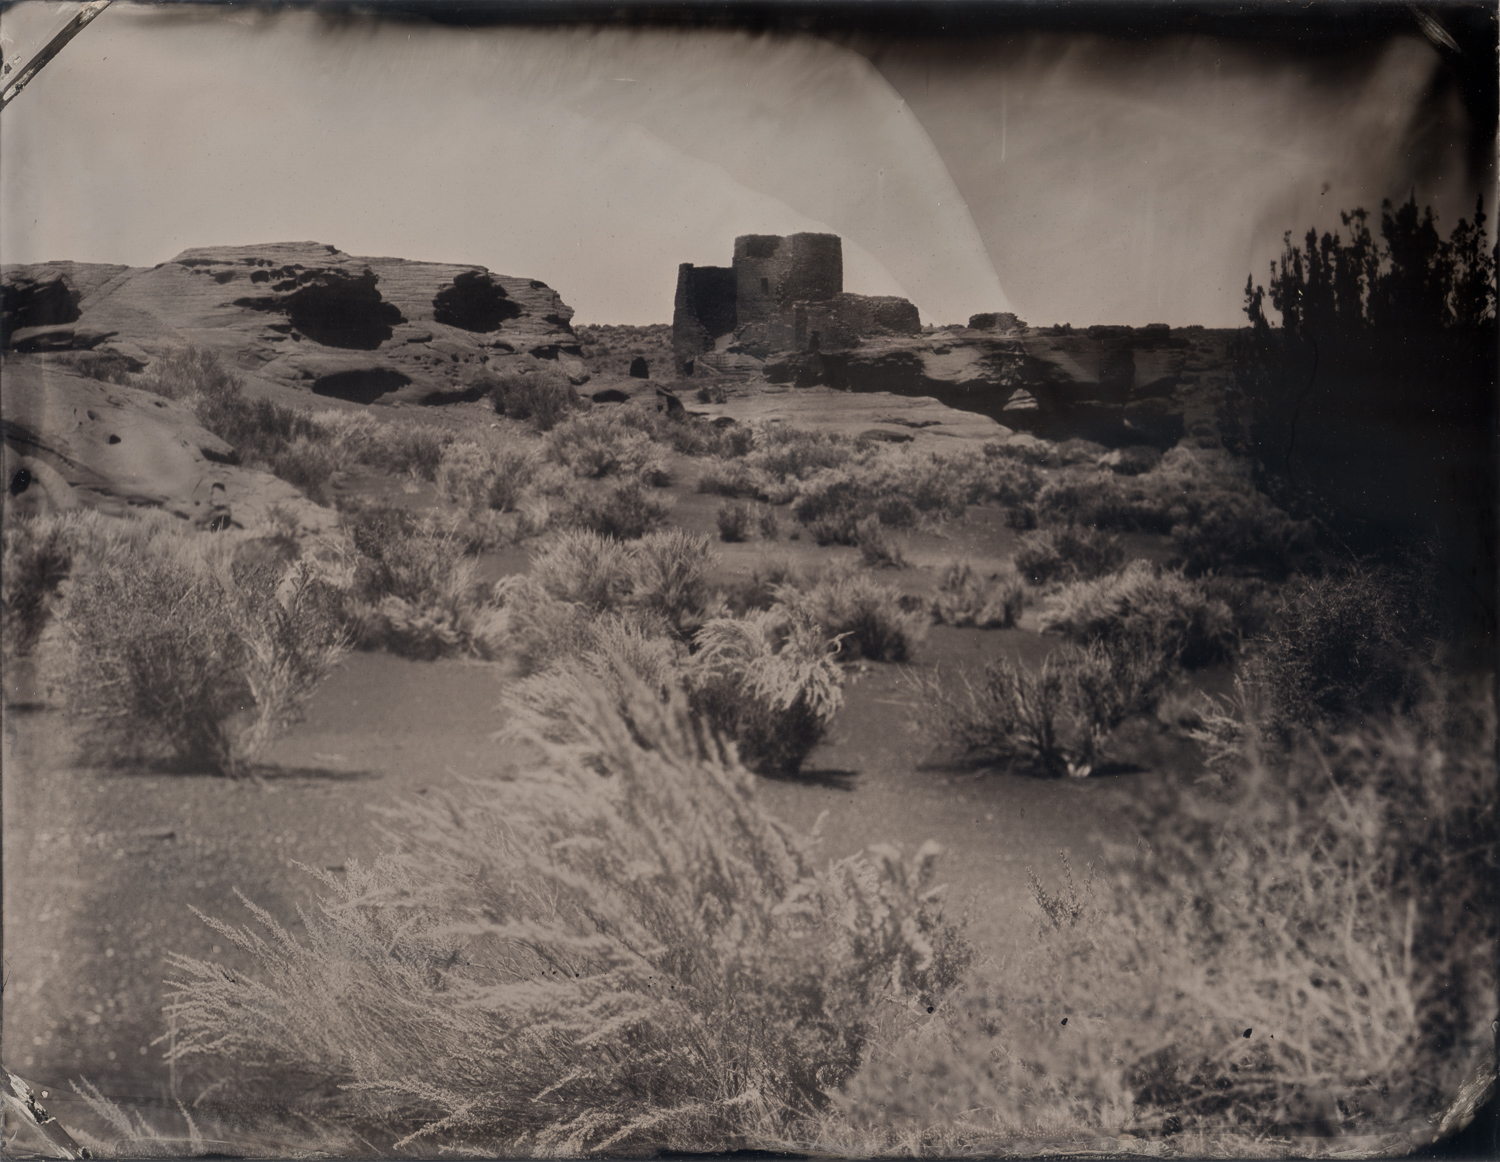
I admit, I got a little emotional. Between good teachers and my own attention to detail I’d never had such a string problematic tintypes. I hadn’t been able to make one in nearly a year (for unrelated personal reasons) and now that I was trying to get back at it, and working so hard to do something special, the utter failure of two 500-1000 mile trips and hours of construction work were getting me down. When this first tin came up and I could actually see the image like I normally would, it really meant a lot. And then I accidentally dropped it in the fixer face down.
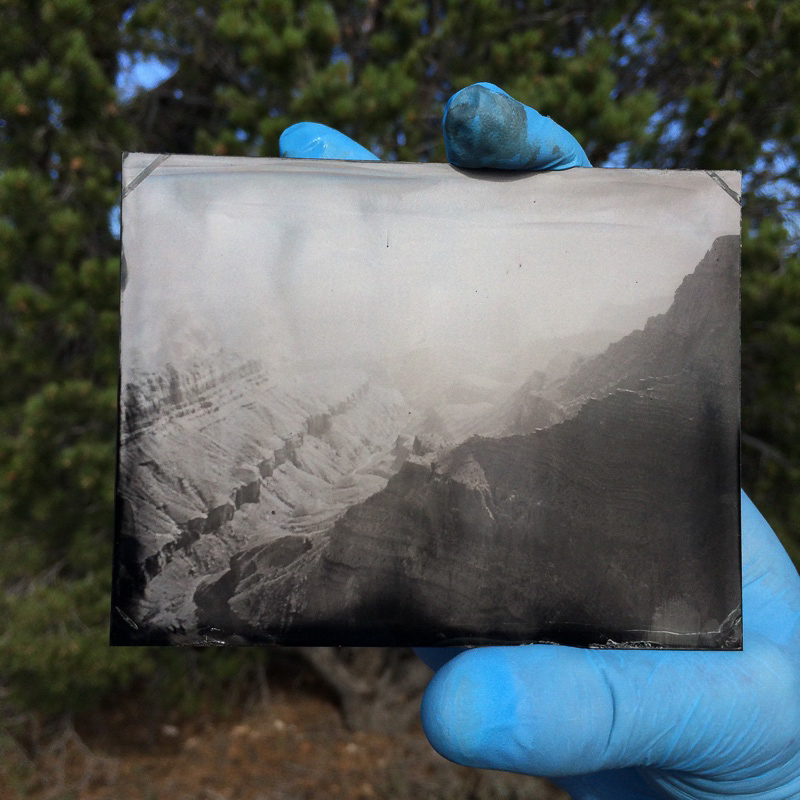
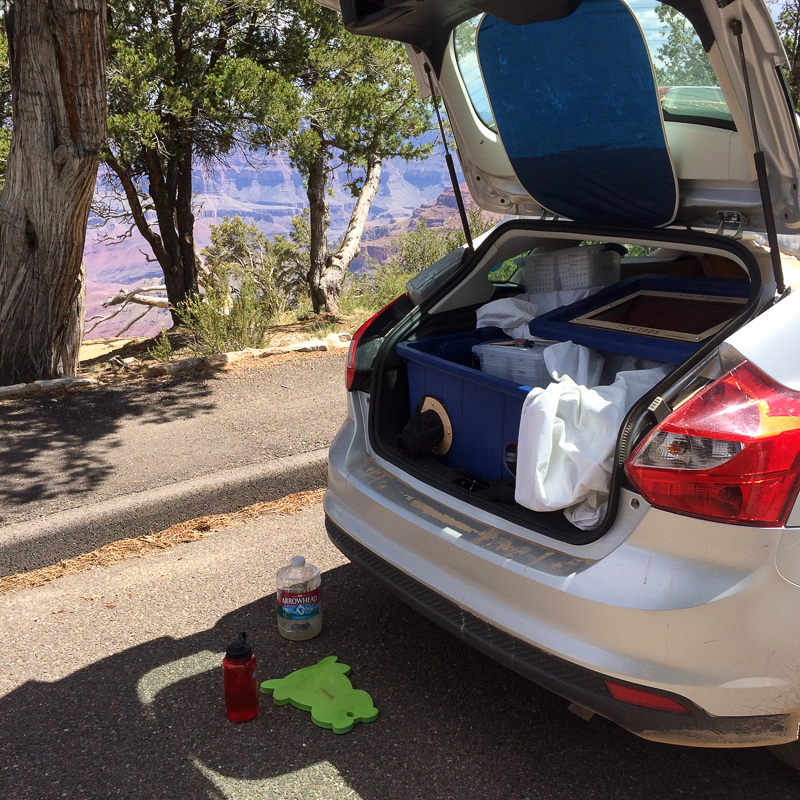
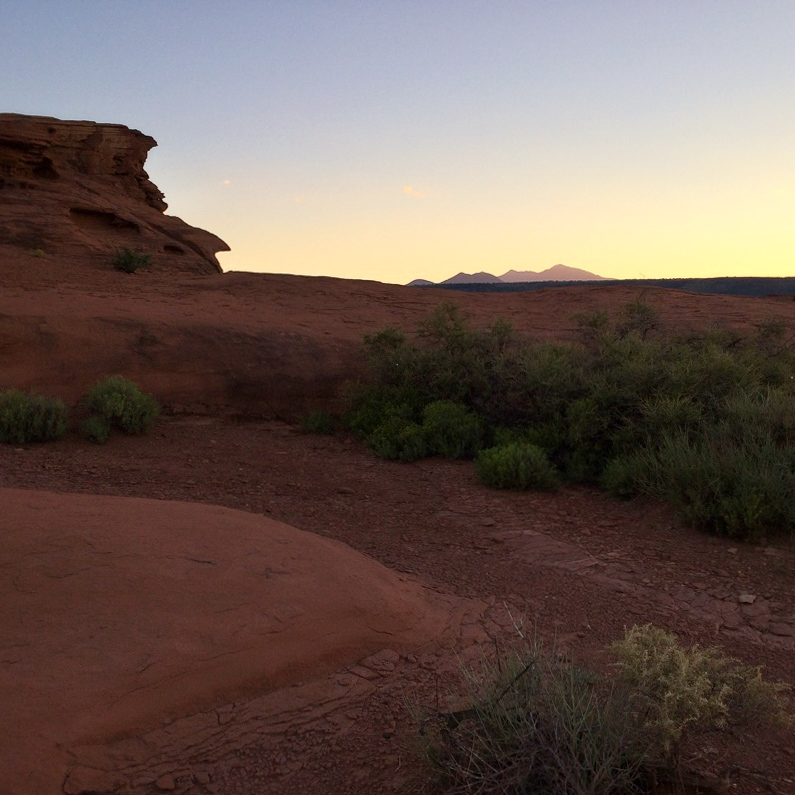
I had one of the National Park Service’s annual passes that expired on August 31st, so to celebrate my (modest) success with the darkbox, to escape the heat of Wukoki, and to get one last day out of my pass, I headed up to the South Rim and set up at Lipan Point to try a few tins there.

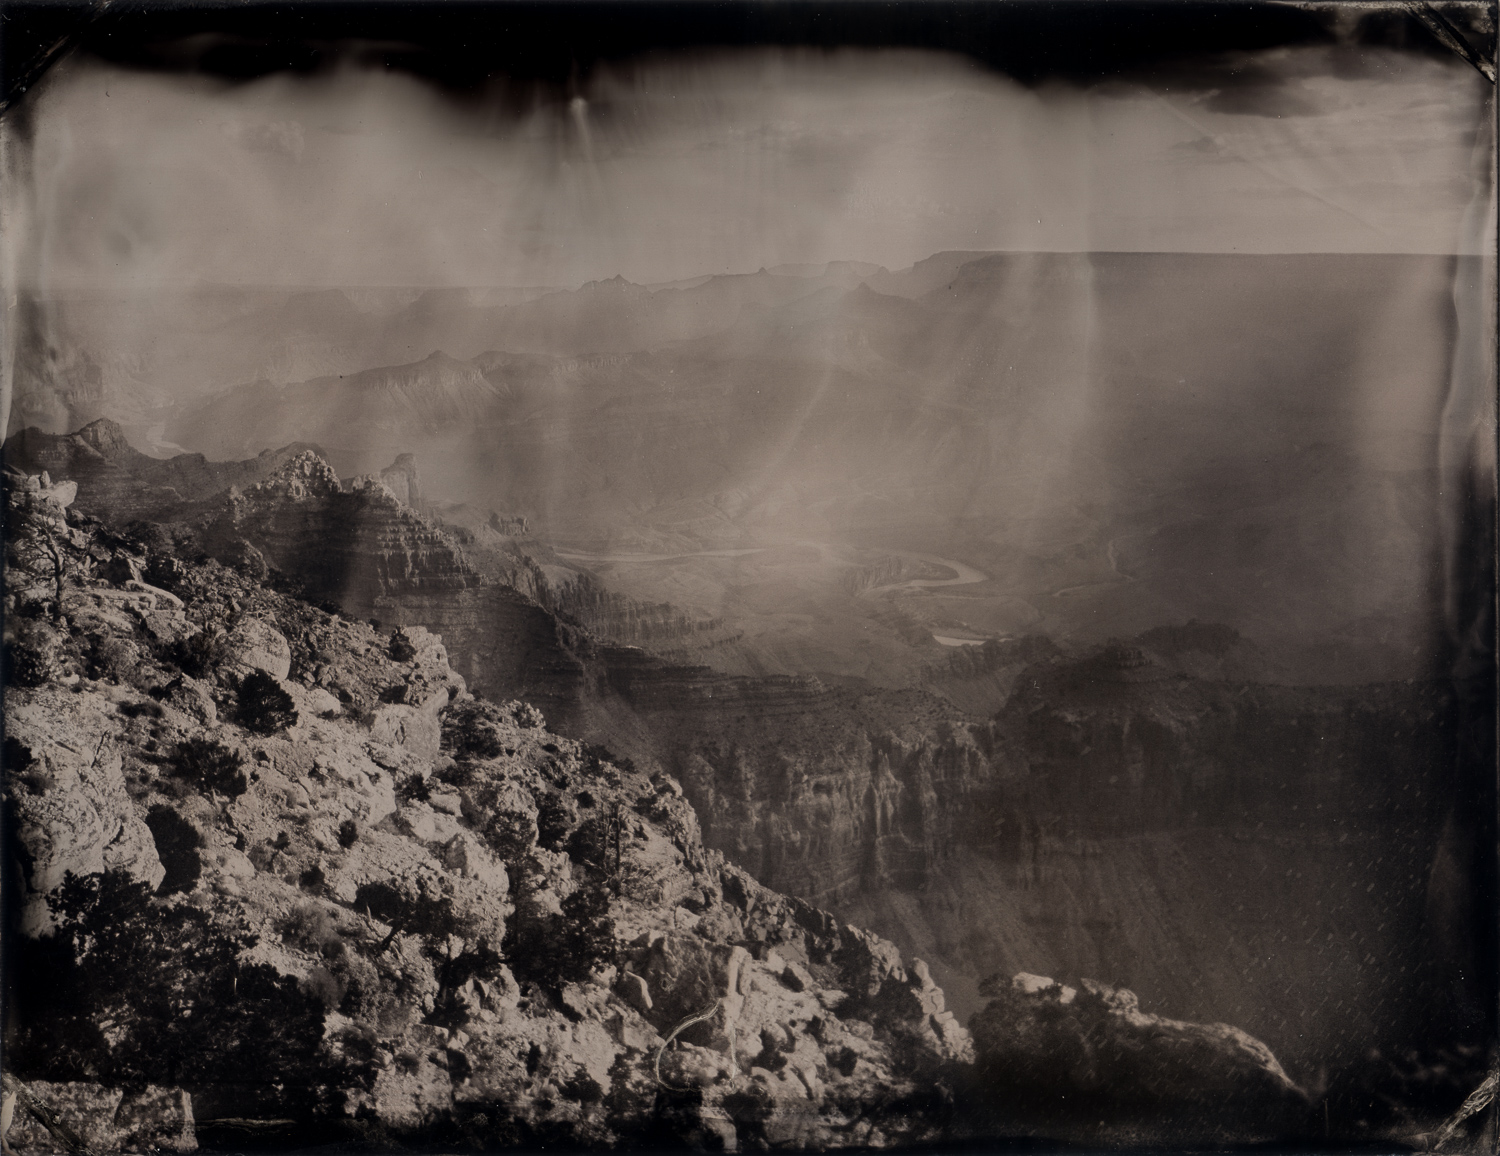
I didn’t have amazing success – I think a combination of issues with the box, extreme haze in the canyon, and being pretty tired by this point – but again, the edge of the Grand Canyon is a mighty fine place to work out problems. (As long as I’m not so frustrated that the box takes the fast route to the river…)
So, Dawson Darkbox Version 2 is far from finished, and I’m still refining my workflow – for example, so I can reach the fixer tray without risking the plate going in upside down – and have yet to produce a plate that I consider “good”, but I’m at least confident I’m on the right path, finally.
Other links:
http://www.cwreenactors.com/phorum/read.php?1,6572,6574
http://www.cwreenactors.com/phorum/read.php?1,6494,6509

Pingback: The Nomadic Frog Blog » Archive » Wukoki Pueblo and the Grand Canyon Tintypes
Pingback: The Nomadic Frog Blog » Archive » DIY Soles for my Birks
Pingback: The Nomadic Frog Blog » Archive » More than one way to create with light
Some good memories of your dad. :)
Yeah. Every time I’m in the woodshop now, gluing things together like I own stock in Titebond, I hear dad’s voice telling me “it’s stronger than the wood itself” and wishing I could tell him “ok, ok, you were right”.
Pingback: The Nomadic Frog Blog » Archive » Chiricahua National Monument Tintypes
Mark, I appreciate your blog on this topic and your work is great! I know this is an older post, but I’m attempting to DIY a Dark box like yours. One question. What safelight material did you use for the top window area of the box? I bought some Ruby Lith film and its so opaque I can see how I’m gonna be able to see what I’m doing. Any recommendations? or thoughts would be most helpful.
Thanks !
I used regular dark red acrylic (plexiglass), 1/8th inch thick, which is relatively easy to find. Any place that stocks acrylic sheet should have it, and maybe some craft stores too. You can also order it online, but it always seems much more expensive than a local place.
And since, in my design, the window is only for me to look through, it only needs to be a few inches wide and tall. A piece 4×8 inches should be plenty, and some places might just hand you a scrap that size for free.
I’m sure it’s not as “safe” as rubylith, but a few points:
1) In my case, I’m talking about collodion with an ISO somewhere below 0.5, not film with an ISO of 100-320. If you’re also doing wetplate, you’ll be fine with red acrylic. I’ve heard of people making entire box cameras out of clear red acrylic, to allow people to see inside – kind of a “wow, neat” factor”. If you’re processing film in the field…may need to re-think the design some.
2) Again, it’s a small window and doesn’t let much light in, especially since…
3) Any time there is sensitive material in the open in the dark box, my head is over the window blocking most of it.
I use rubylith to cover windows in my portable darkroom tent (aka a pop-up ice fishing shelter), but that’s just to filter sunlight – I don’t have to actually look through it.
Hope that helps! Let me know how it goes – feel free to send some photos of your darkbox and what you make with it!
Something I now realize, in looking at these photos in this post: my original window, that you can see clearly here, is huge. In the end I realized I was better off blocking as much outside light as possible, then lighting the inside with red LEDs. This cut down on glare and everything.
So the current version of the top has a much smaller hole – about 3×6 inches – just for me to look through.
You can kinda see it in one photo here, about halfway down where I’m set up next to a creek:
http://www.nomadicfrog.com/journal/2017/10/26/great-tintype-adventure-of-2017-part-3