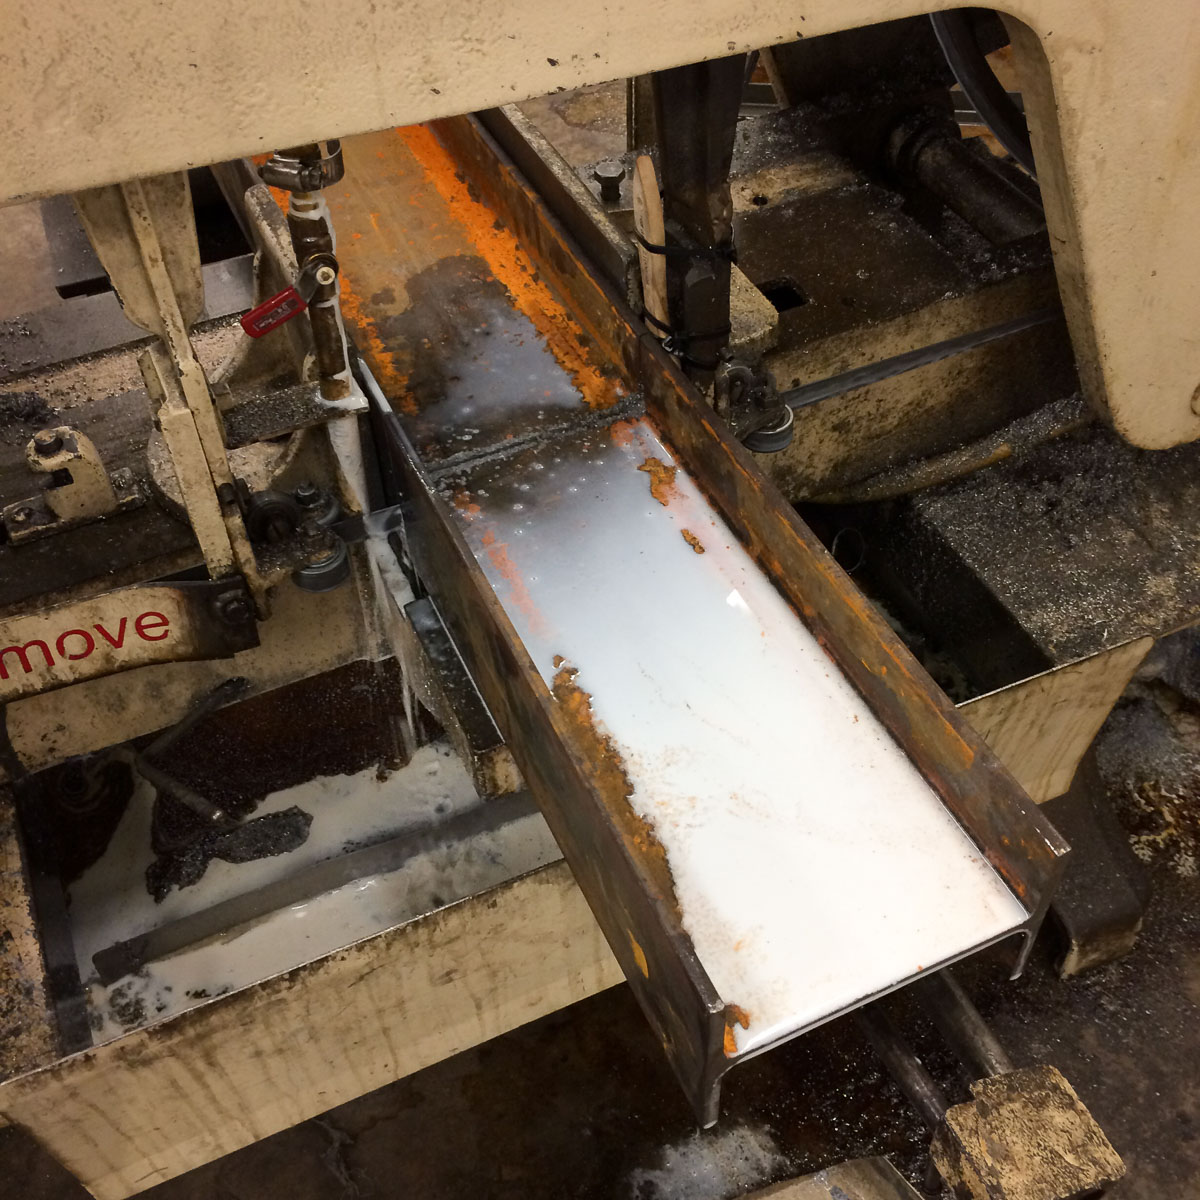
A couple of months ago, while daydreaming about things to make with my newfound skills, I had the idea to use one of the most powerful tools at TechShop – a device that can cut through several inches of solid steel – to make a piece of furniture. This device is typically used on metal and stone, but I wanted to see what happened if I put a thick plank of wood in it and cranked it up.
The first challenge was to find a suitable piece of wood. One of the local reclaimed lumber stores had a piece of Douglas fir they brought in from Chicago that fit my criteria: wide enough to be a small coffee table, thick enough to be an interesting piece of wood, and not crazy expensive, since I wasn’t sure my experiment wouldn’t blast it into a million toothpicks.
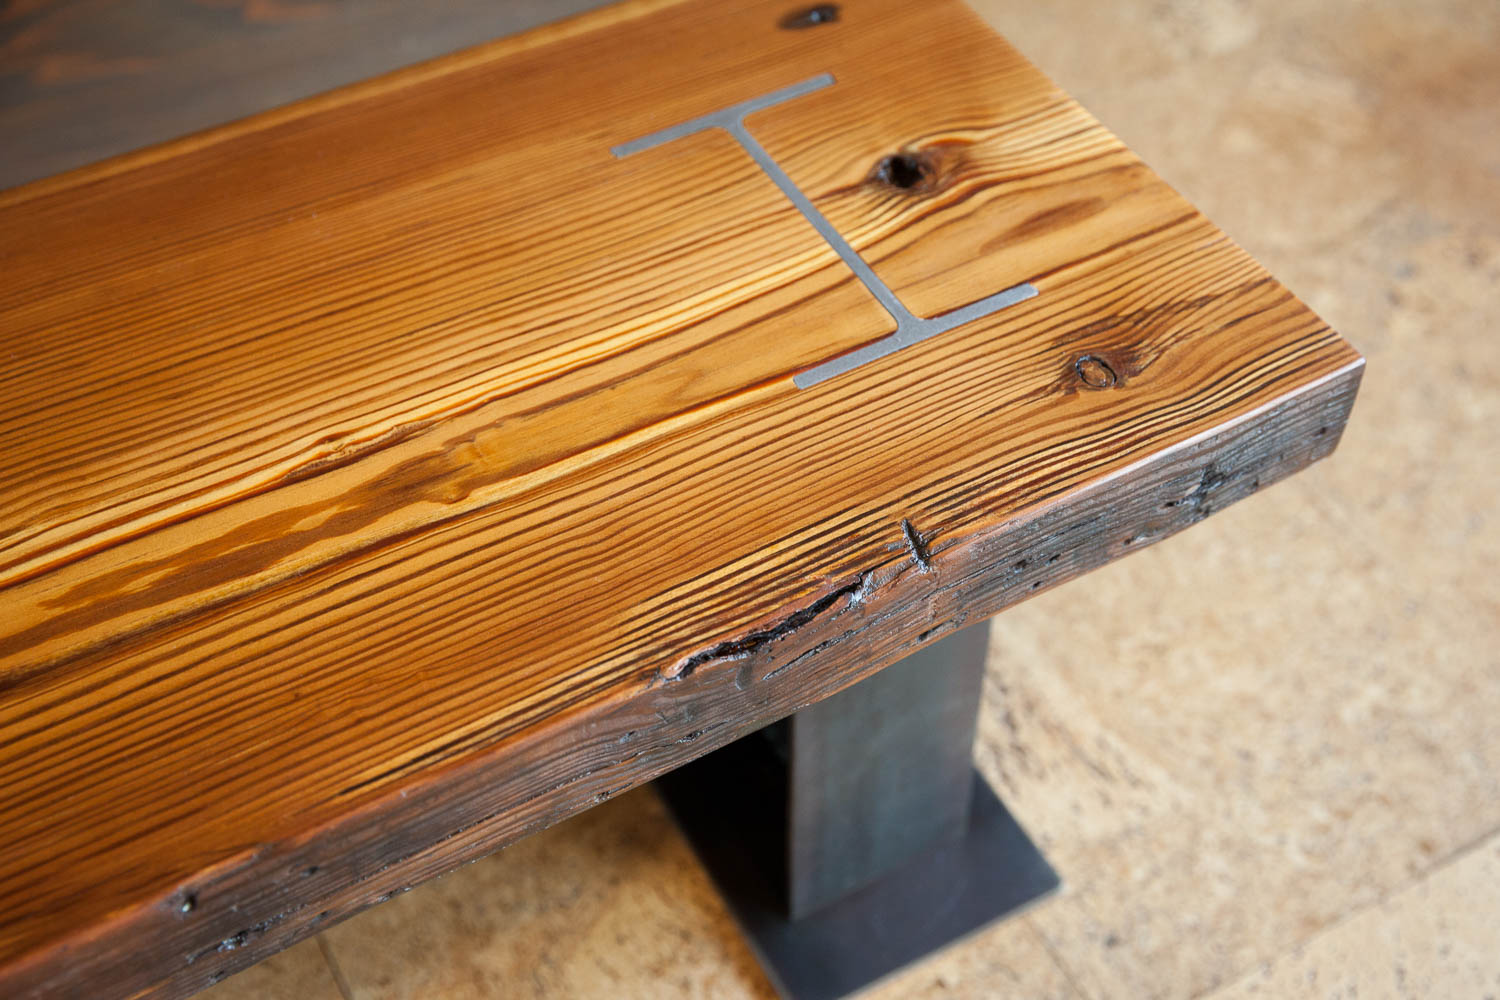
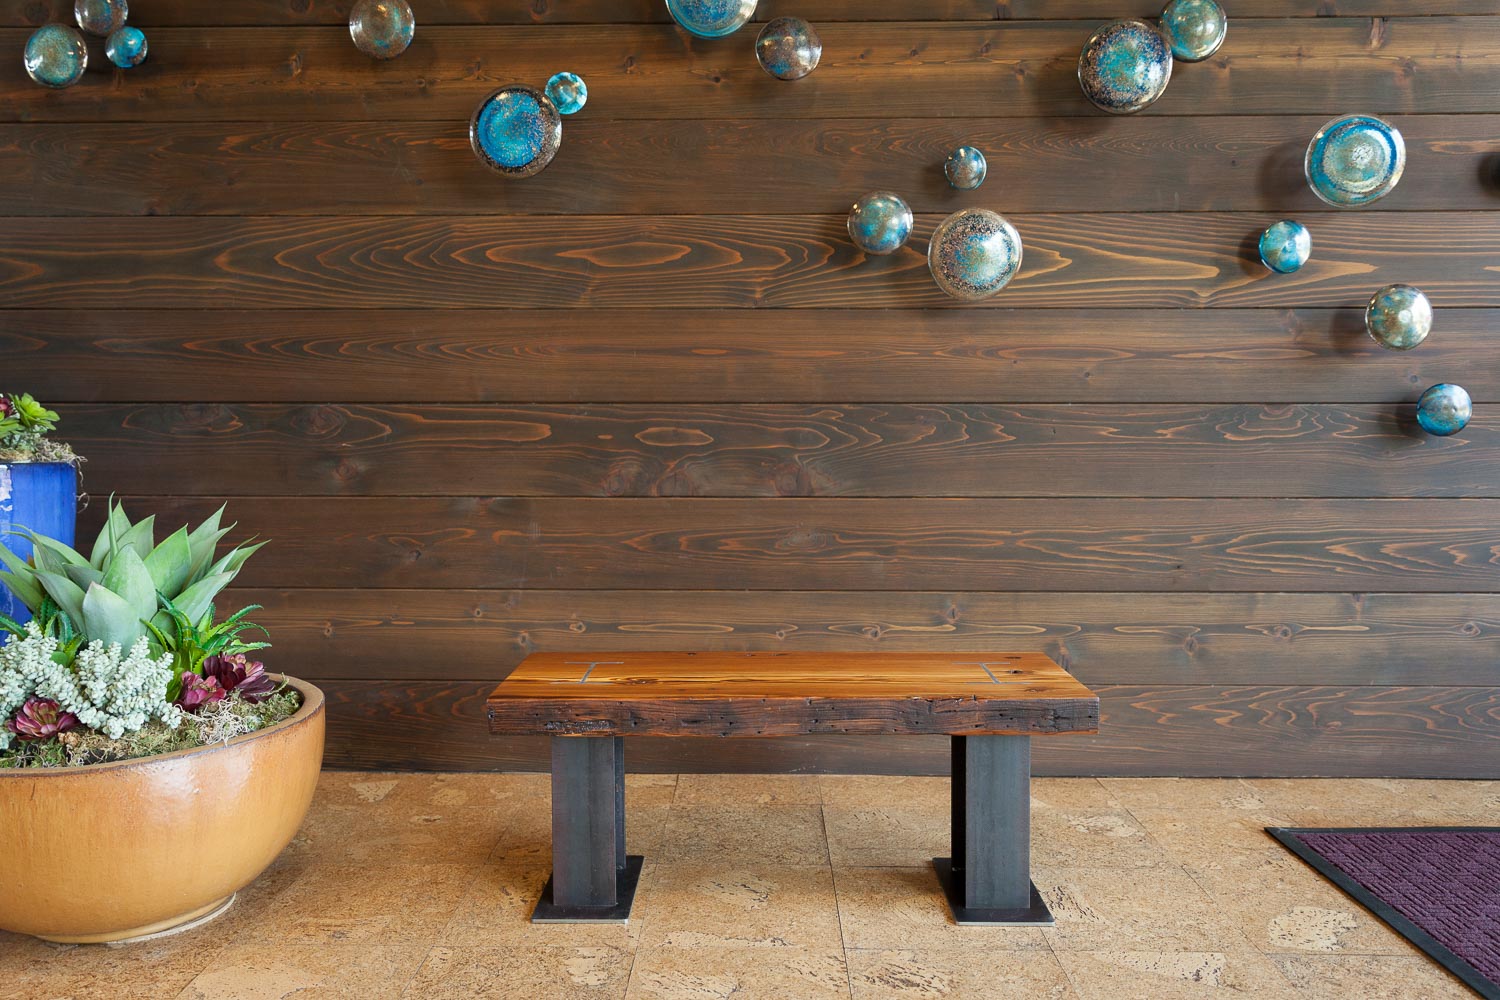
I brought my piece into the shop and planed down one side (the top) so that it was smooth and even. The grain that came out is beautiful, I think, and I left all of the old nail holes and knots as they were, to retain some of the character of whatever barn this thing came from originally.
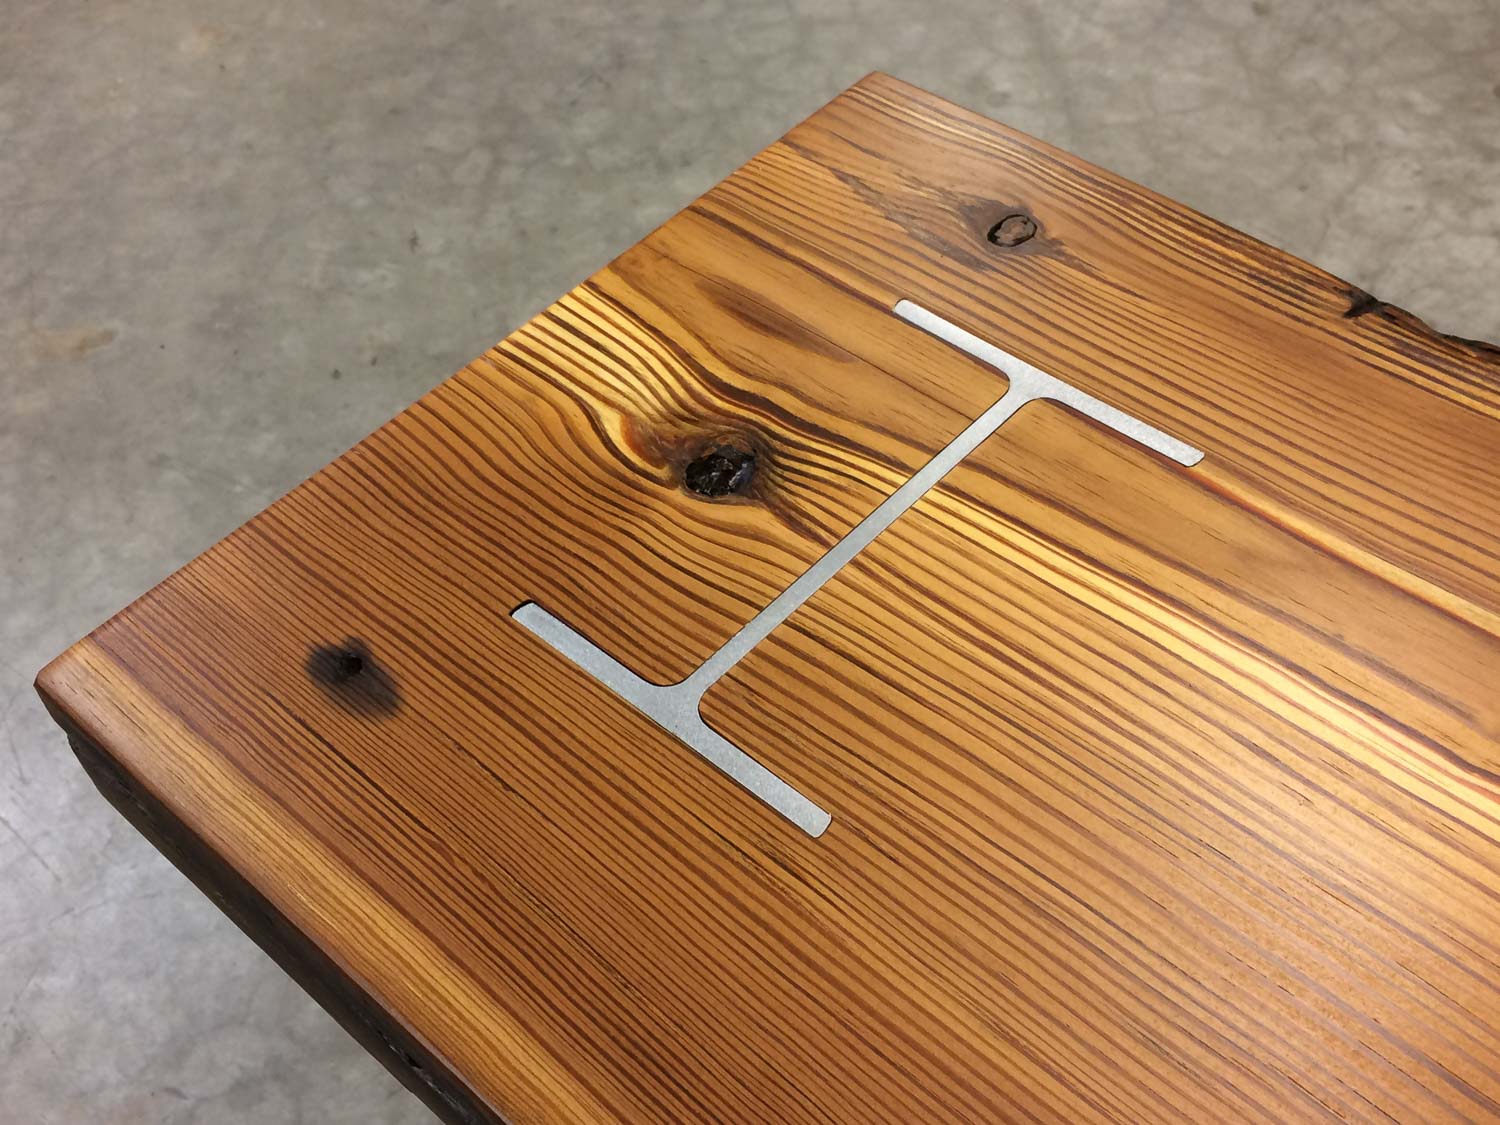
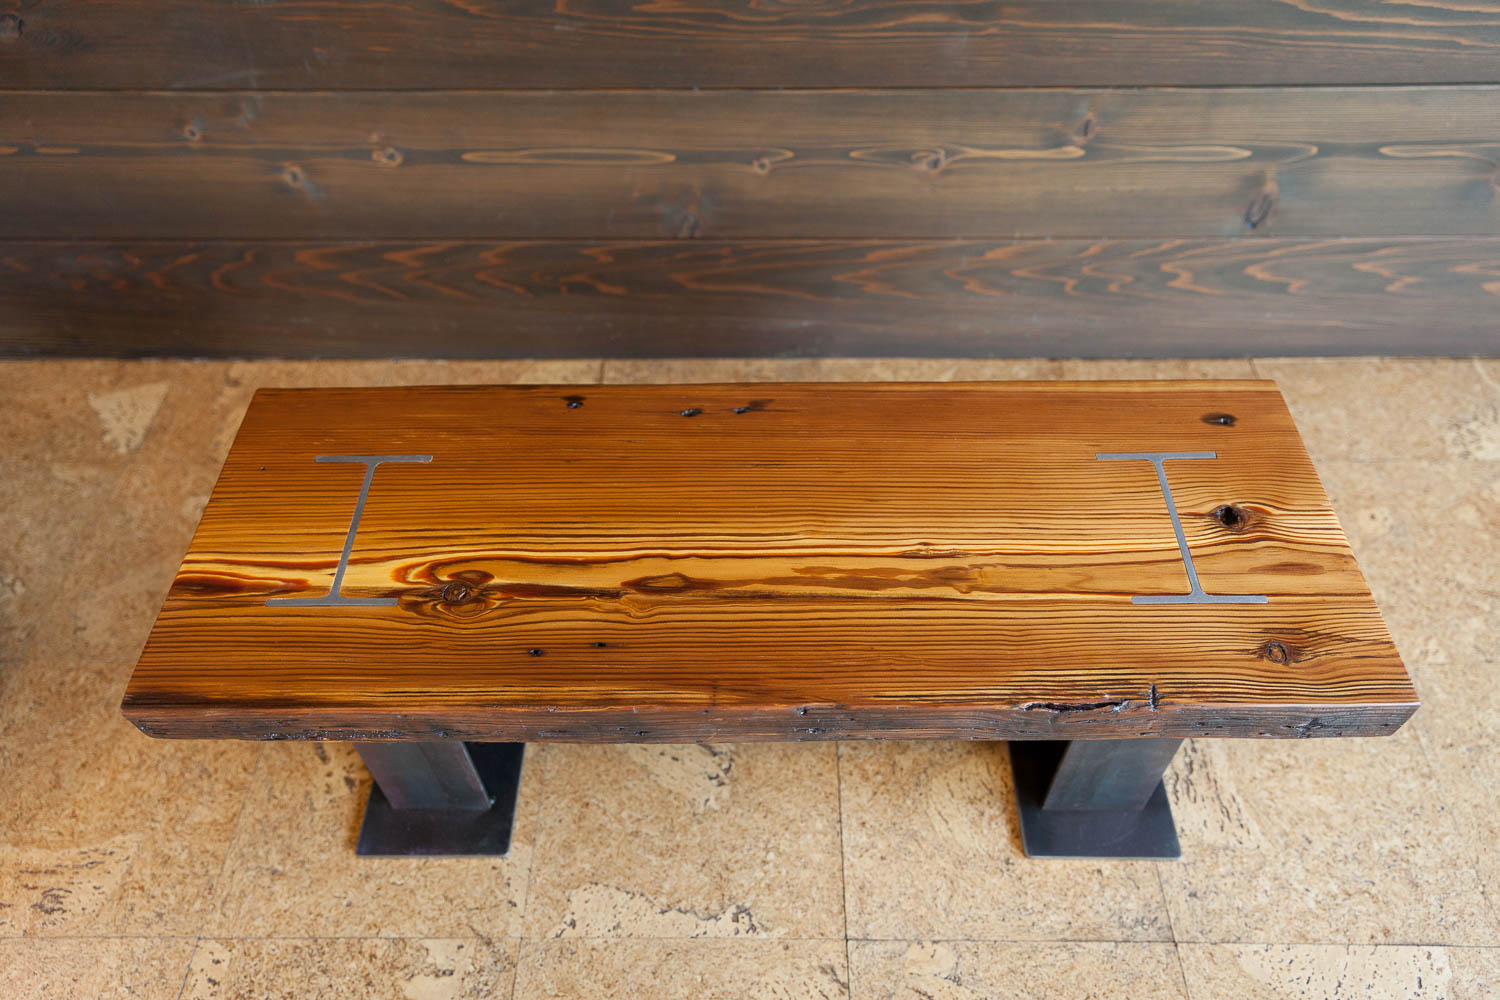
After a little experimentation with the $250,000 piece of equipment I wanted to use, I managed to get the results I wanted! From there all I had to do was design and fabricate some legs, for which I used a piece of I-beam from the local metal supply company.
I welded 1/4″ thick steel plate “feet” to the base of the legs for a little added stability.
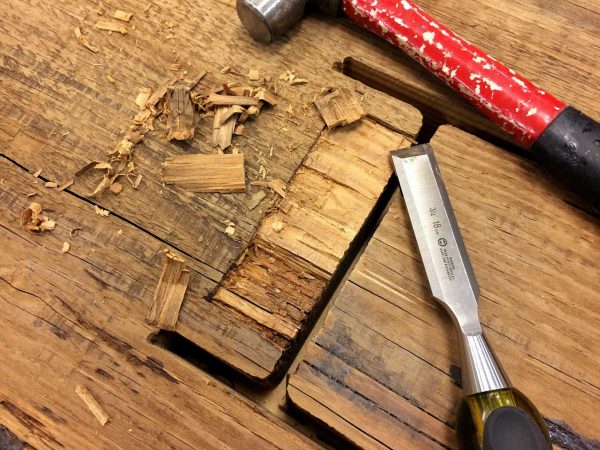
One of the core tenets of my current furniture design concept is that you should only see the main parts of the object, and whatever holds it together should be as invisible as possible. For this piece there are small brackets welded to the I-beam, on the inside, through which large screws go up into the wood to hold it together. You’d really have to lay down on the ground and look up to see anything.
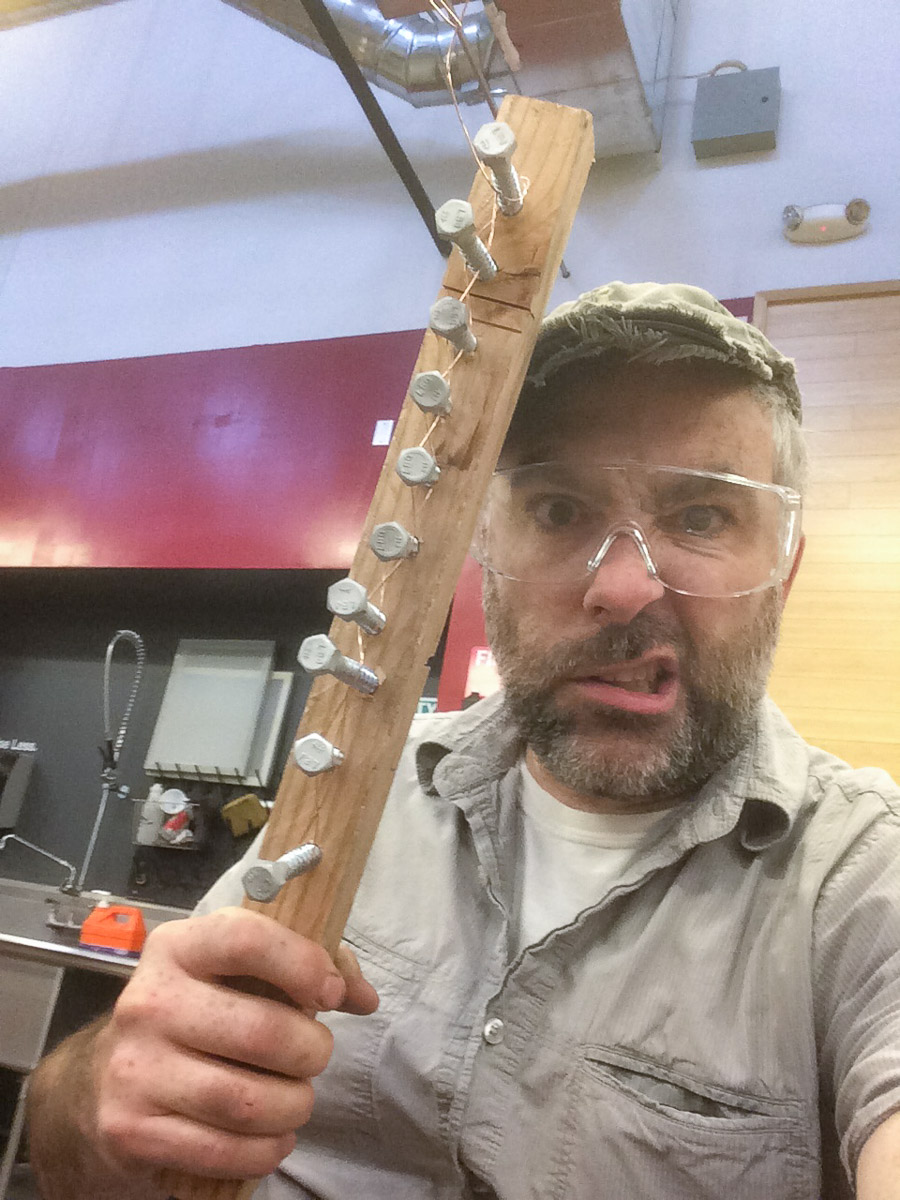
The 3/8″ lag screws were sandblasted and then powdercoated to give a durable black finish. I was too lazy to mask off and hang each screw to be painted, so I rigged myself up a little jig to hold them all at once. The green tape can withstand the 400F heat of the curing oven.
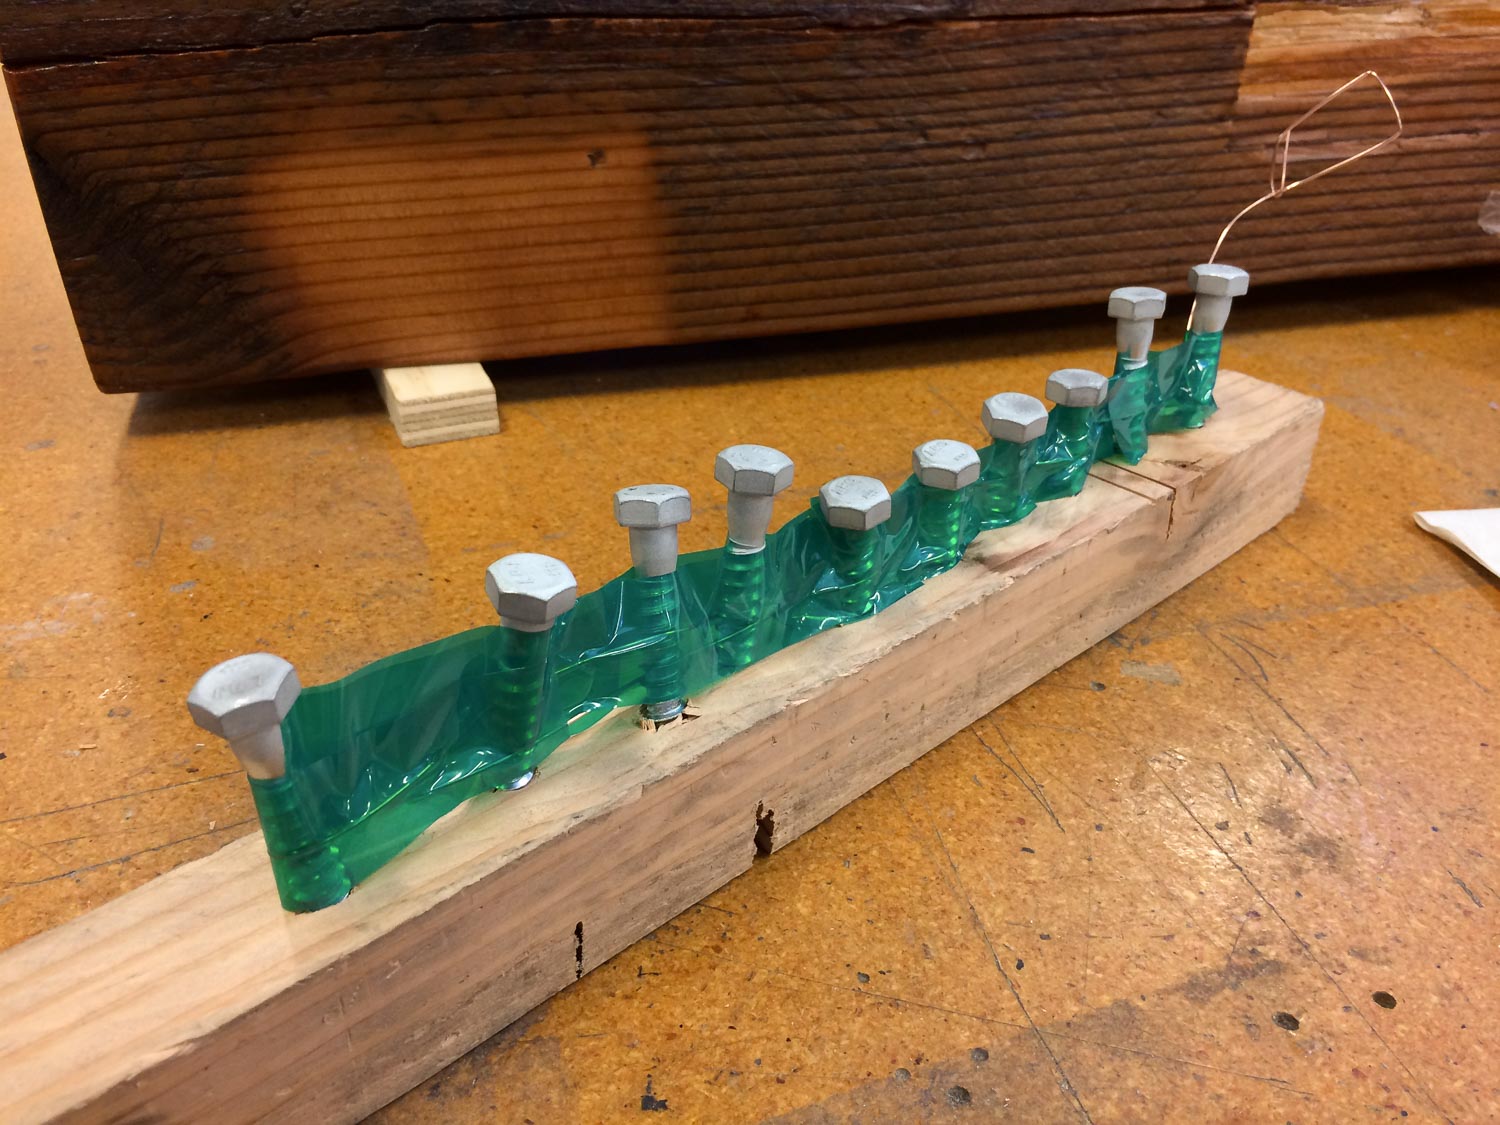
The copper wire (which weaves back and forth between each screw – hard to see under the tape) provides the connection to give the screws an electrical charge which attracts the powdercoating powder.
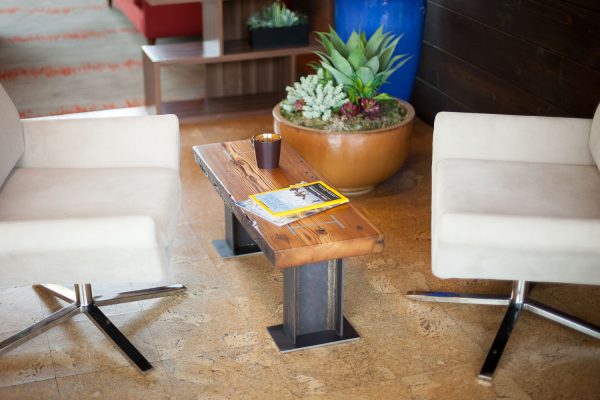
Once I had all the parts cut, planed, welded, and sanded, I gave it all a couple coats of polyurethane, et voila, my first coffee table!

Hello-
How did you treat this wood to get that golden amber color? Very nice work!!!
Thanks
Matt
Thanks, glad you like it! As for the color, that’s just the wood’s natural color, basically. I planed that surface flat, sanded it smooth, and coated with a few layers of clear polyurethane. The reclaimed lumber store where I got the piece of wood said they think it was Douglas Fir, and it was probably pretty old, so that might have something to do with it, not sure.