About Tintype Photographs
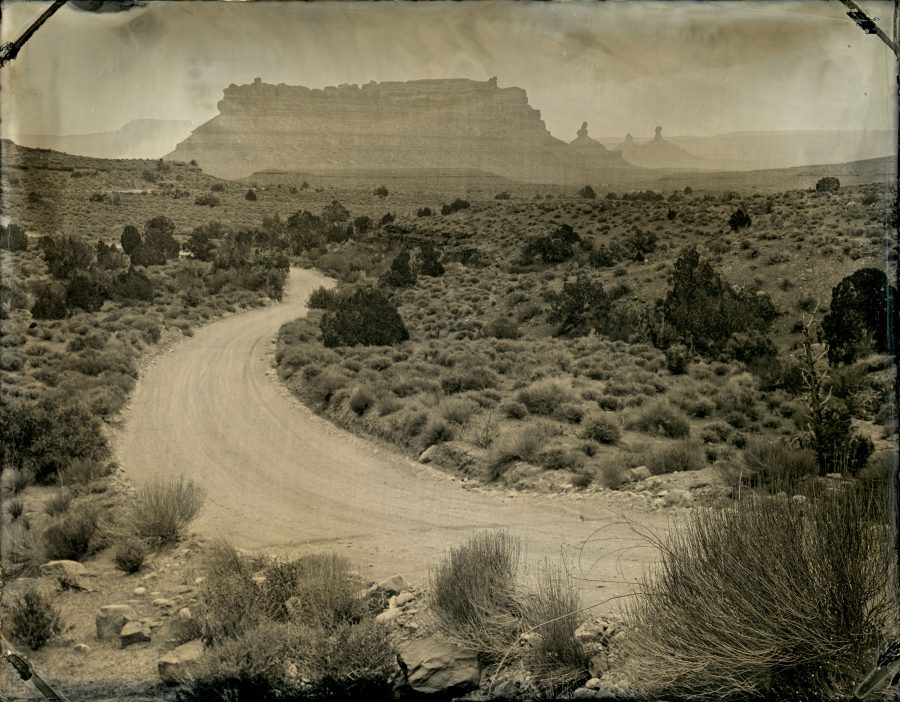
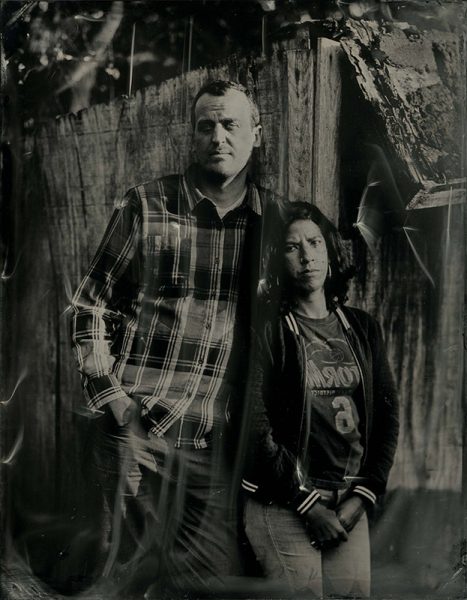
Tintypes are a kind of photograph that was invented in the 1850s and which was very widely used into the early 20th century. Tintypes were some of the first high-quality and (relatively) low-cost means of making photographs.
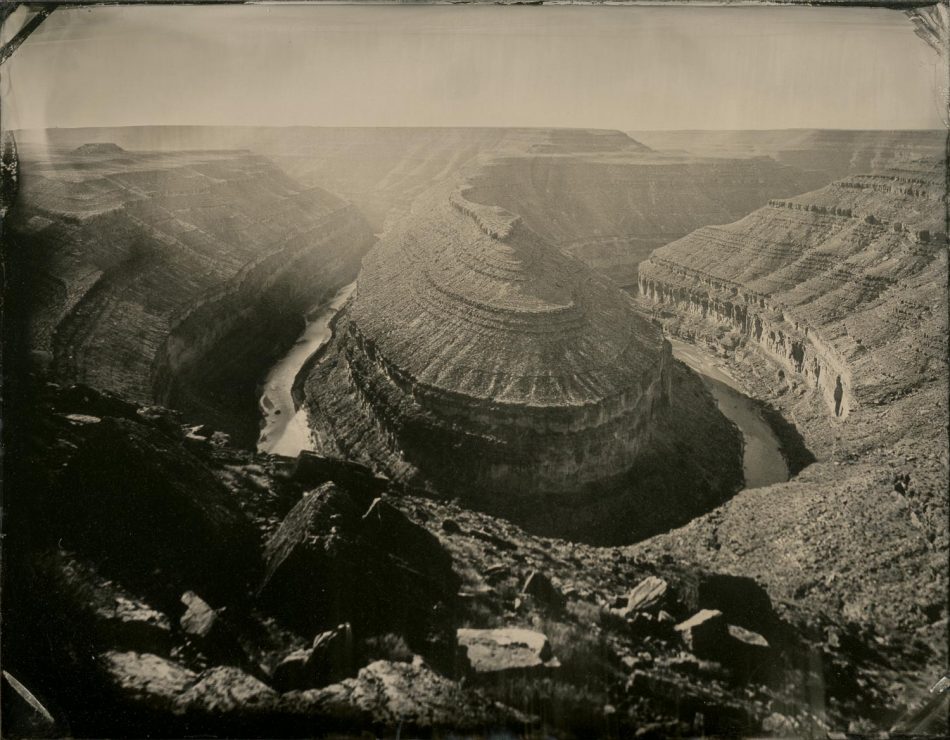
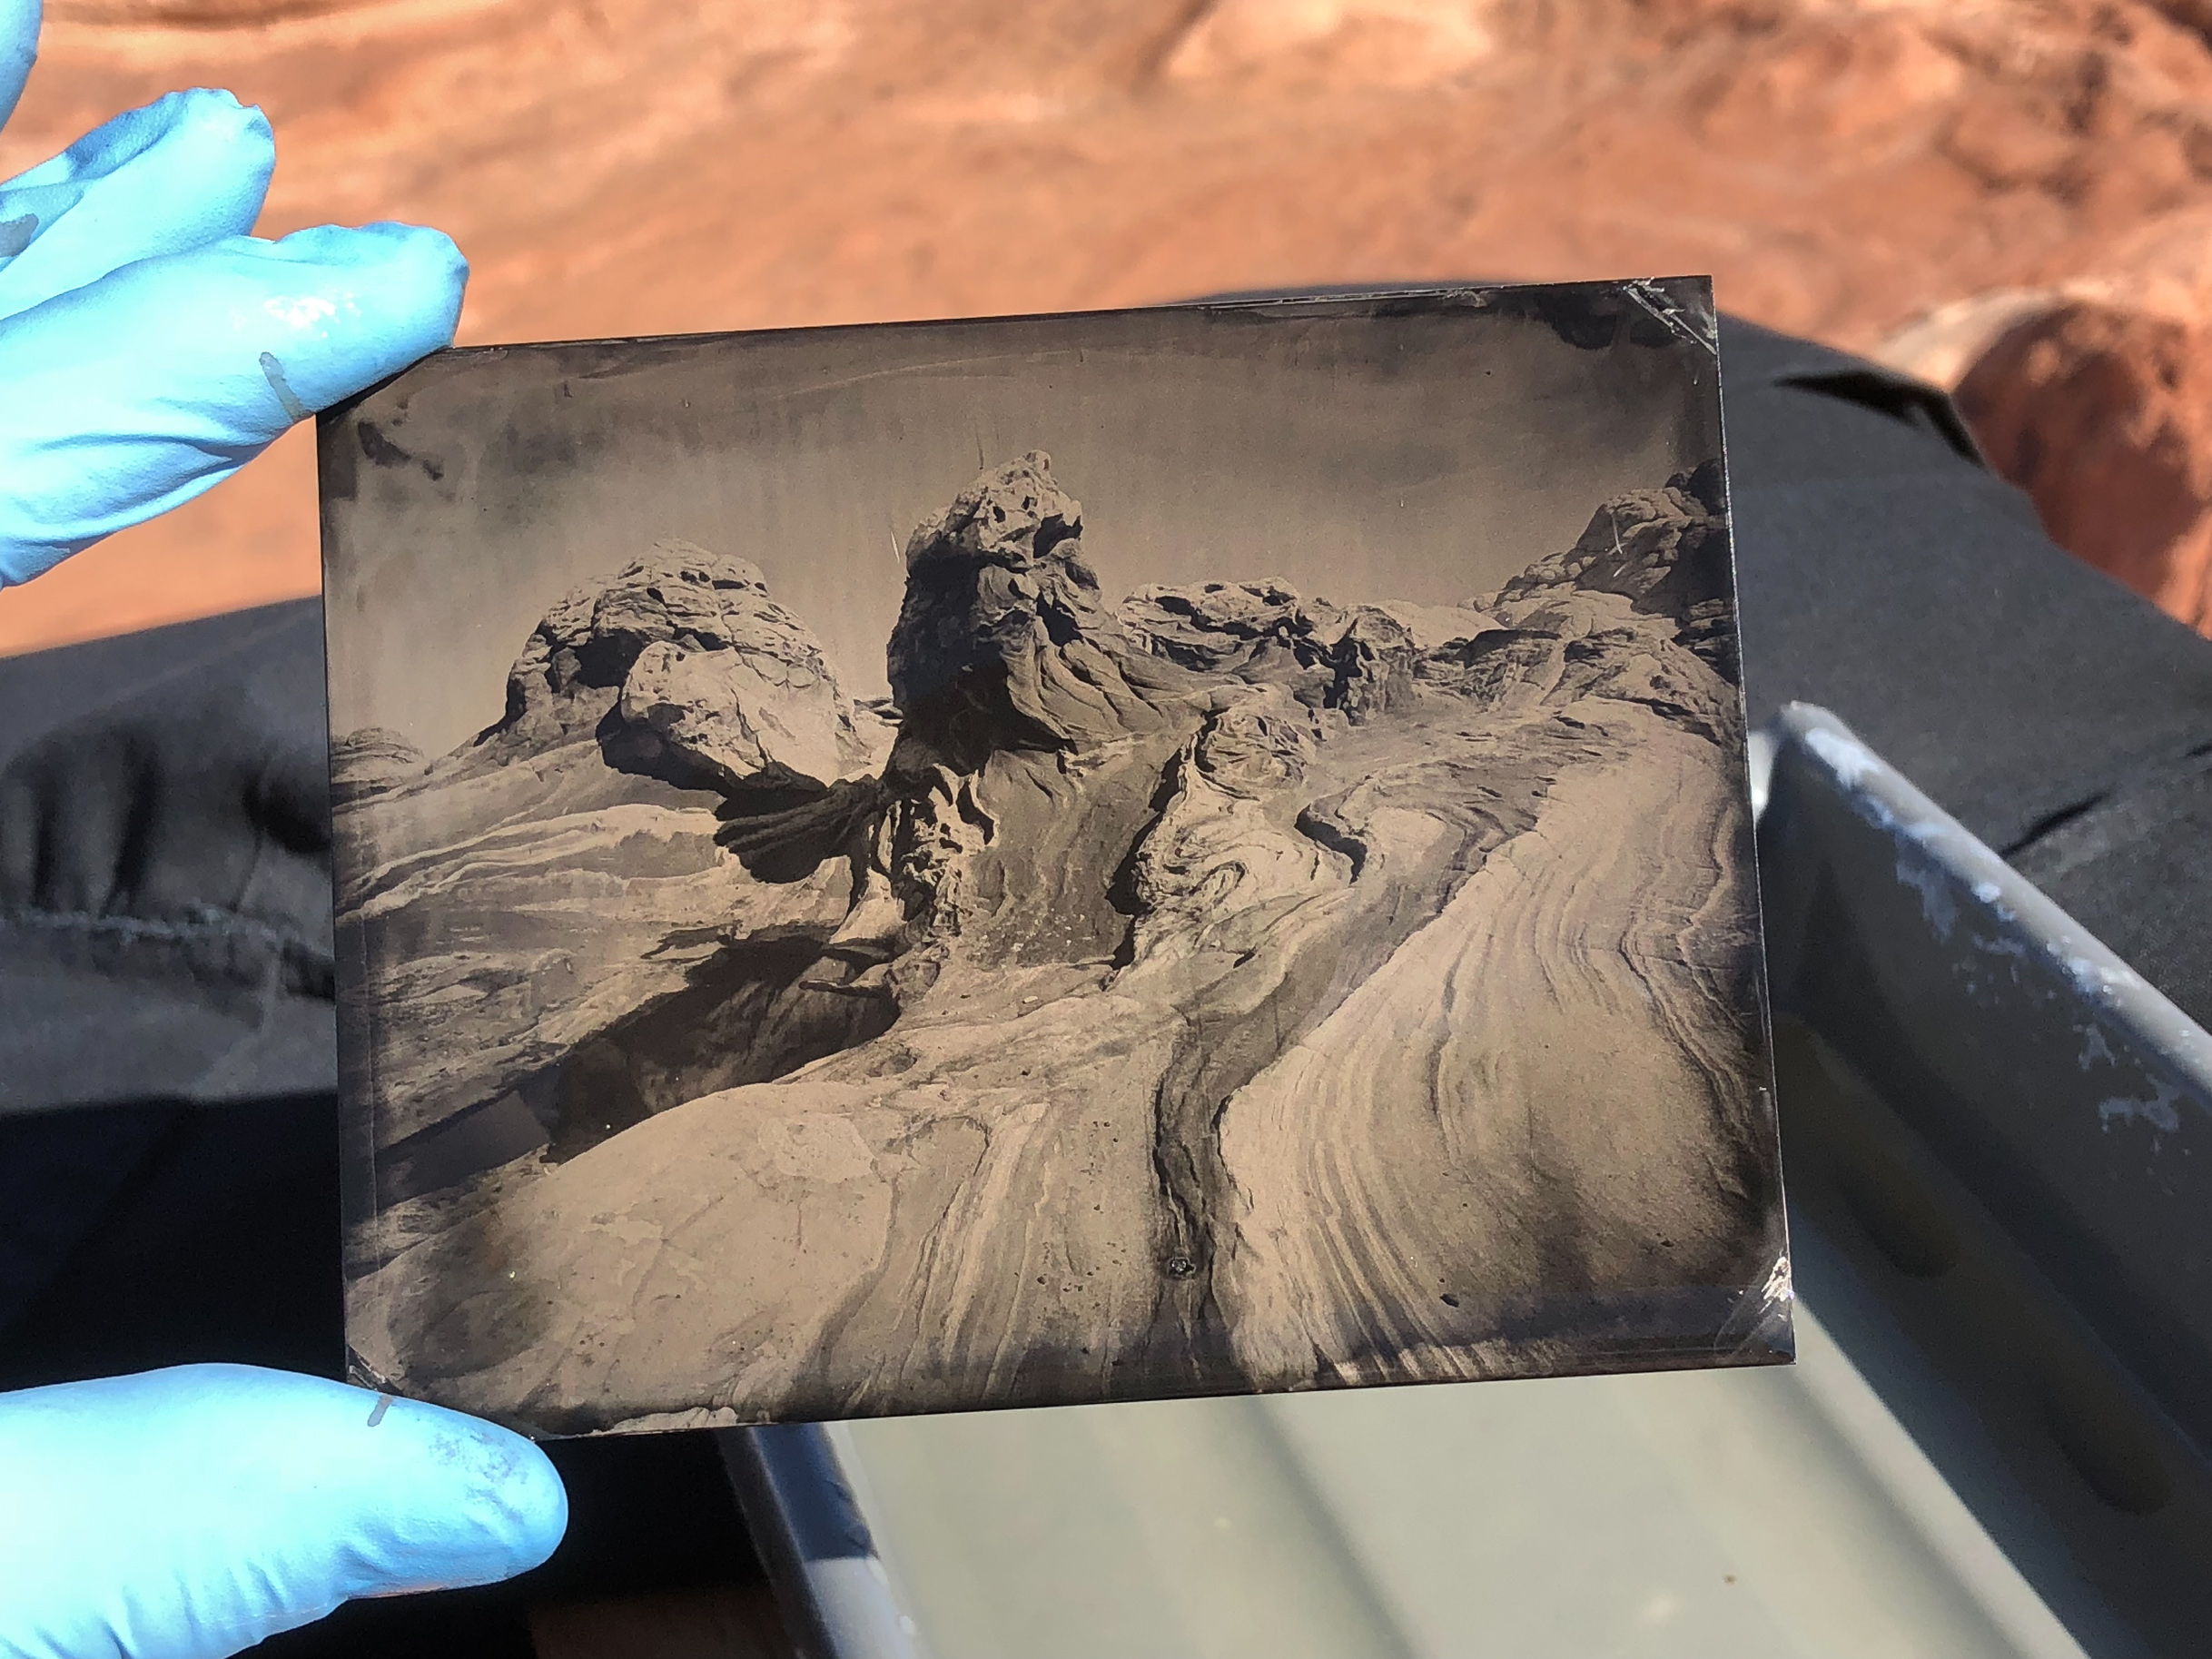
Tintypes, as the name implies, are made on solid metal (although not “tin”), and are a visible, normal, positive image (albeit flipped horizontally). The same basic process can be used on glass, thereby making negatives which in the 1850s could, for the first time, allow for high-resolution reproductions of photographs. There is a ton of information out there about historical tintype photographs: search for “tintypes”, “wetplate photography”, or “wetplate collodion”, and you’ll see what I mean.


These days making tintypes is far from the cheapest means of making a photograph. You can probably pull your cell phone out of your pocket and make a decent shot in the time it took you to read this paragraph. If I work hard for an entire day I might make 5-10 successful photographs. And that is after taking time to mix powders and liquids – some of them highly flammable – and before hours of scanning, varnishing, and cleaning up.
But in an age where such ephemeral photos are ubiquitous and, being digital, largely fleeting and never made into an actual print, there is something fantastic about holding a handmade object in your hand.
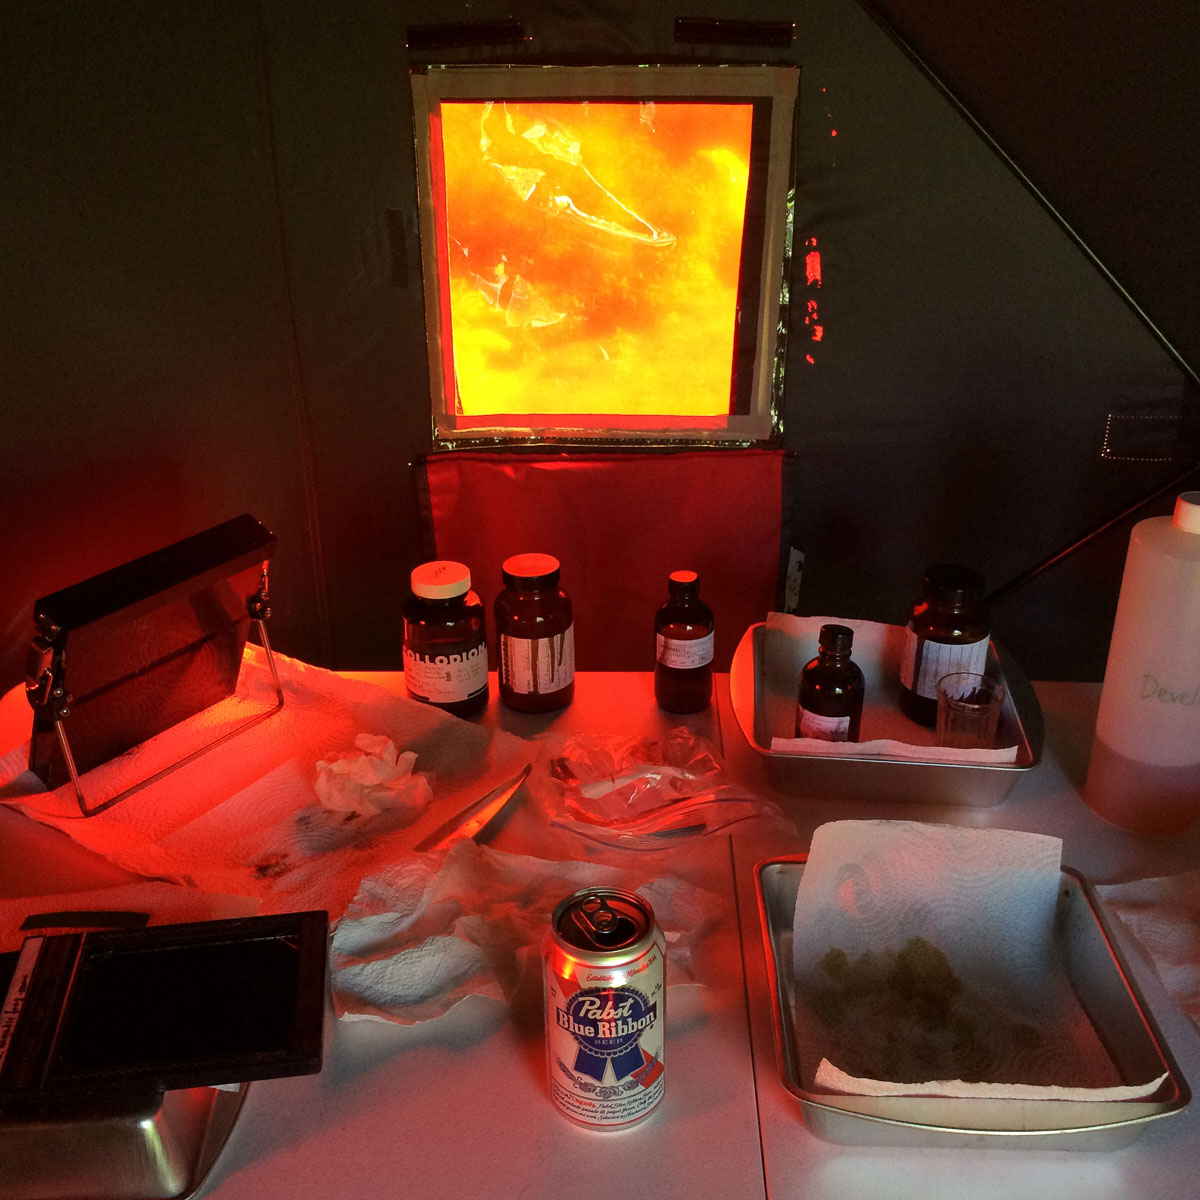
One of the many things I like about this process is that everything is made from scratch. As I mentioned, tintypes are photographs made on a piece of metal – not even a flimsy delicate piece of paper – from scratch, from compounds bought from a chemical supply company. I don’t rely on “photography” companies like Kodak, Fuji, Ilford, etc. I take a piece of metal (I get mine from a trophy supply company), add my chemicals to it, and make the image right on the metal plate inside the camera.
Each tintype photograph was made at the location, at the moment I released the shutter – these are not copies created later in the darkroom. Each one takes a certain amount of time to make, not counting set up and clean up time, and not every tintype works out ok. A long hard day’s work might result in only a few usable tintypes.
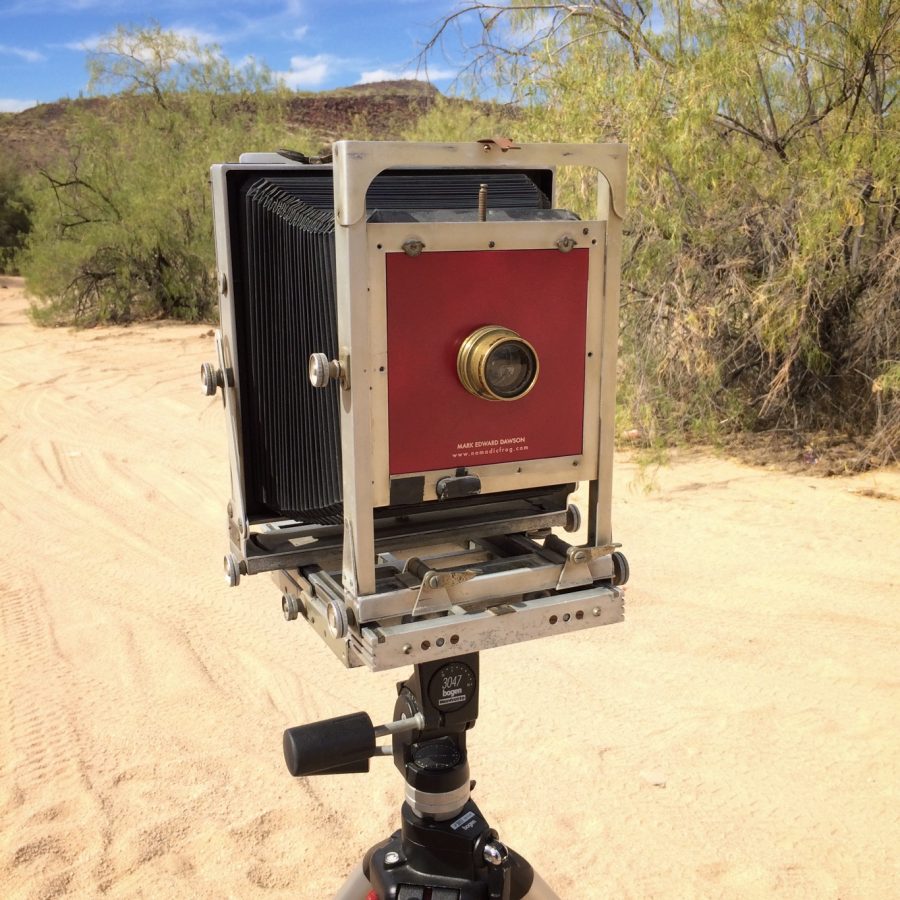
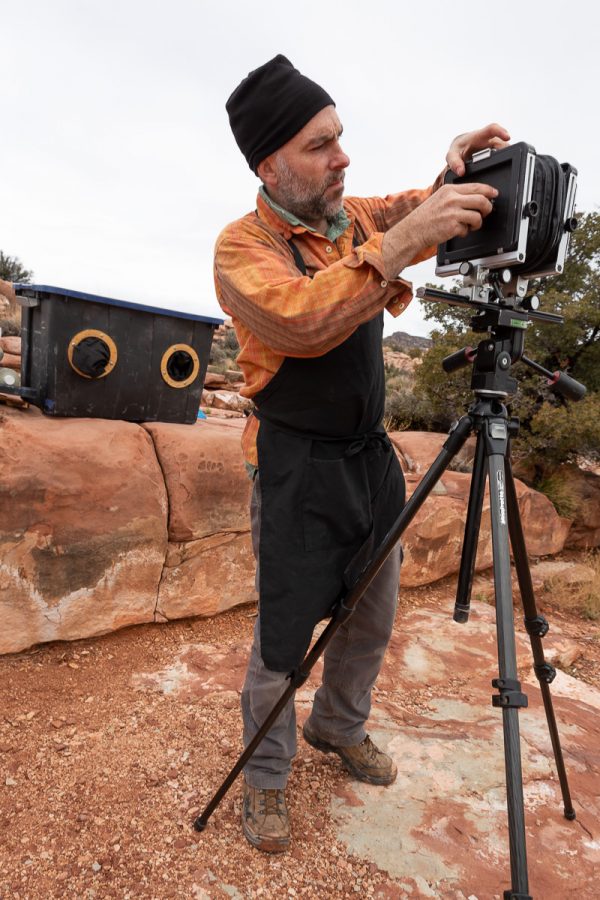
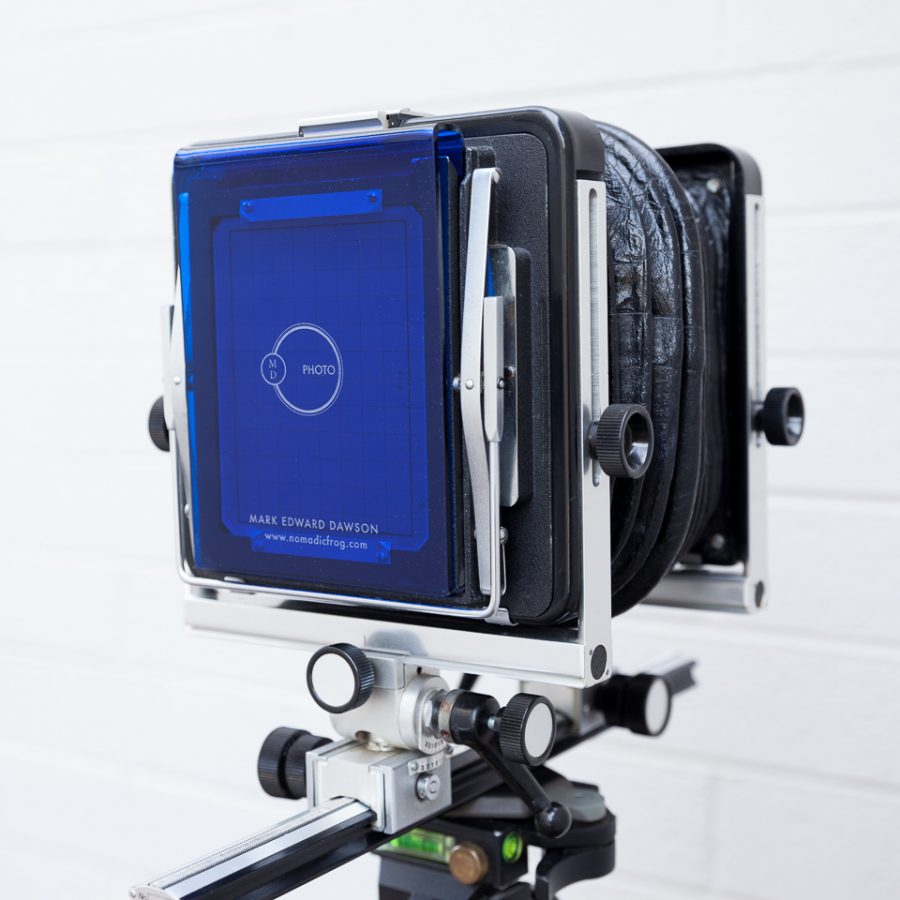
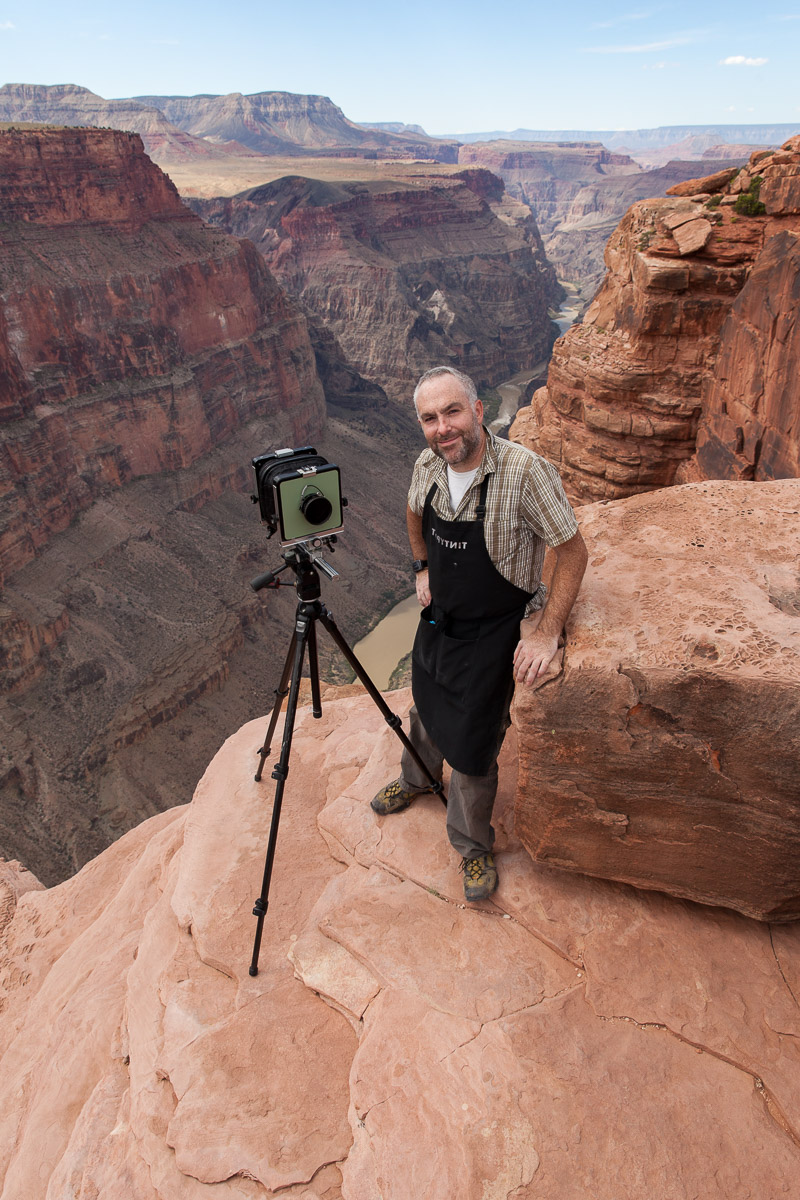
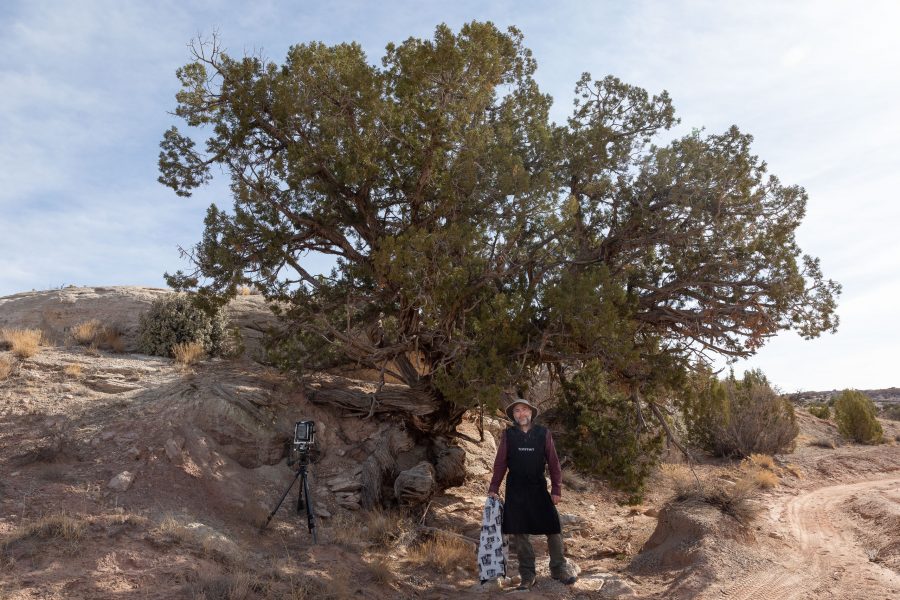
I usually work with a camera that makes tintypes that are 3.5 inches by 4.5 inches in size. I do have a camera which makes 7in x 9in tintypes, but so far I haven’t hauled it out into the field much. Everything is four times bigger: the camera, the equipment, and the space needed to process the tintypes.
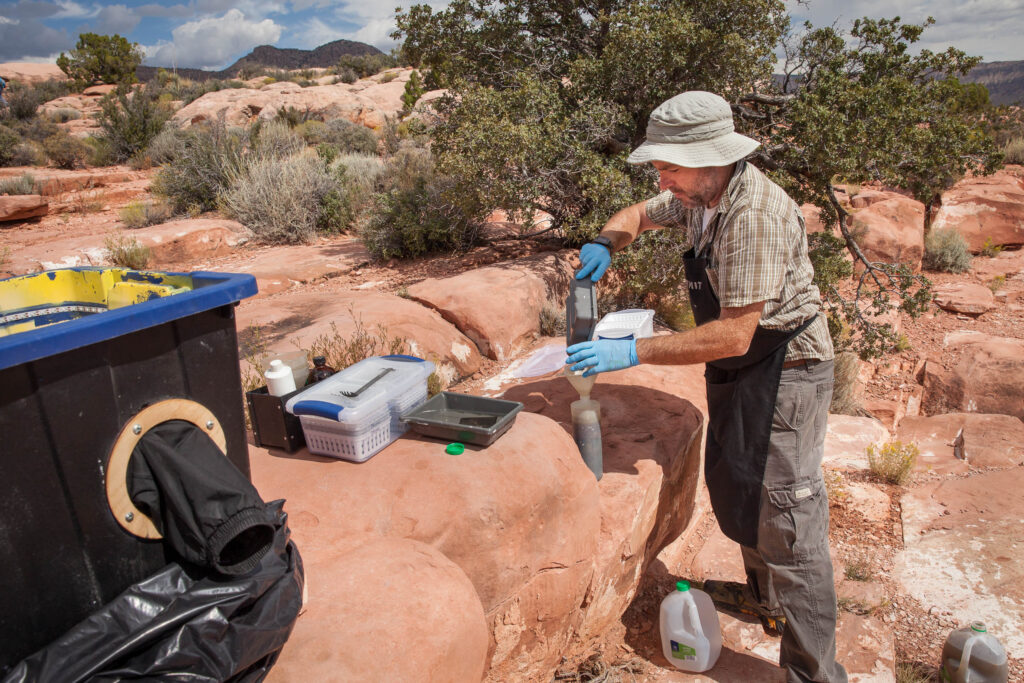
After I make the tintypes they need to be thoroughly washed and dried. Then I can scan them to make digital versions, which then need to be retouched for dust and lint. Once the tins have been scanned I will then varnish them, and that protective surface needs 36-48 hours to cure.
More about Gear
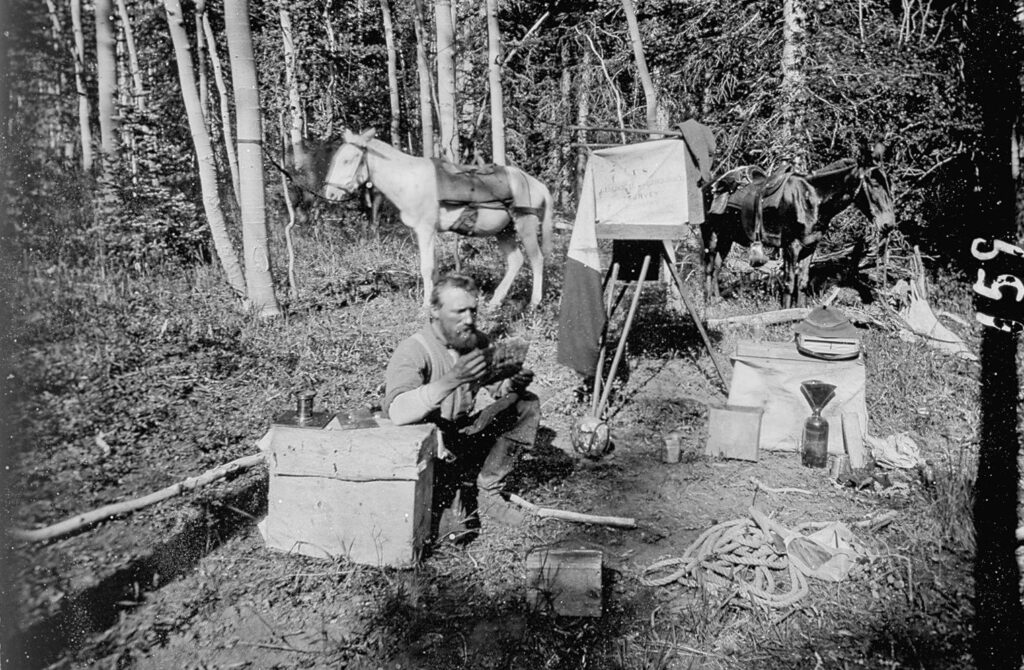
Here are some photos from making tintypes “in the field”.
Sometimes I set up a portable darkroom – the big red tent in these photos – which is nice since I can stand up, use a table, and have plenty of space to work.
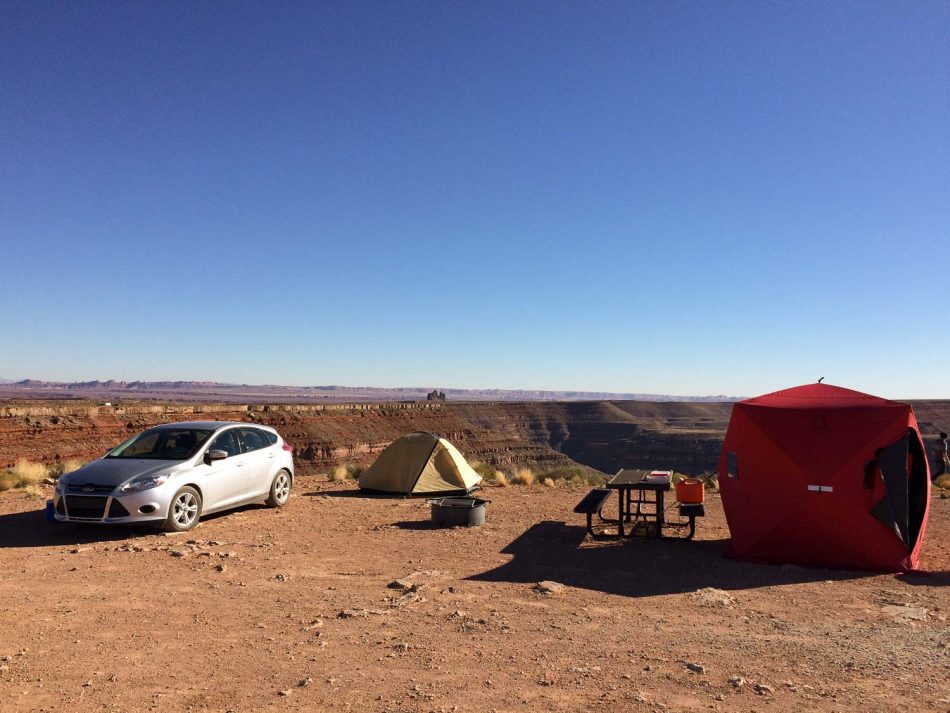
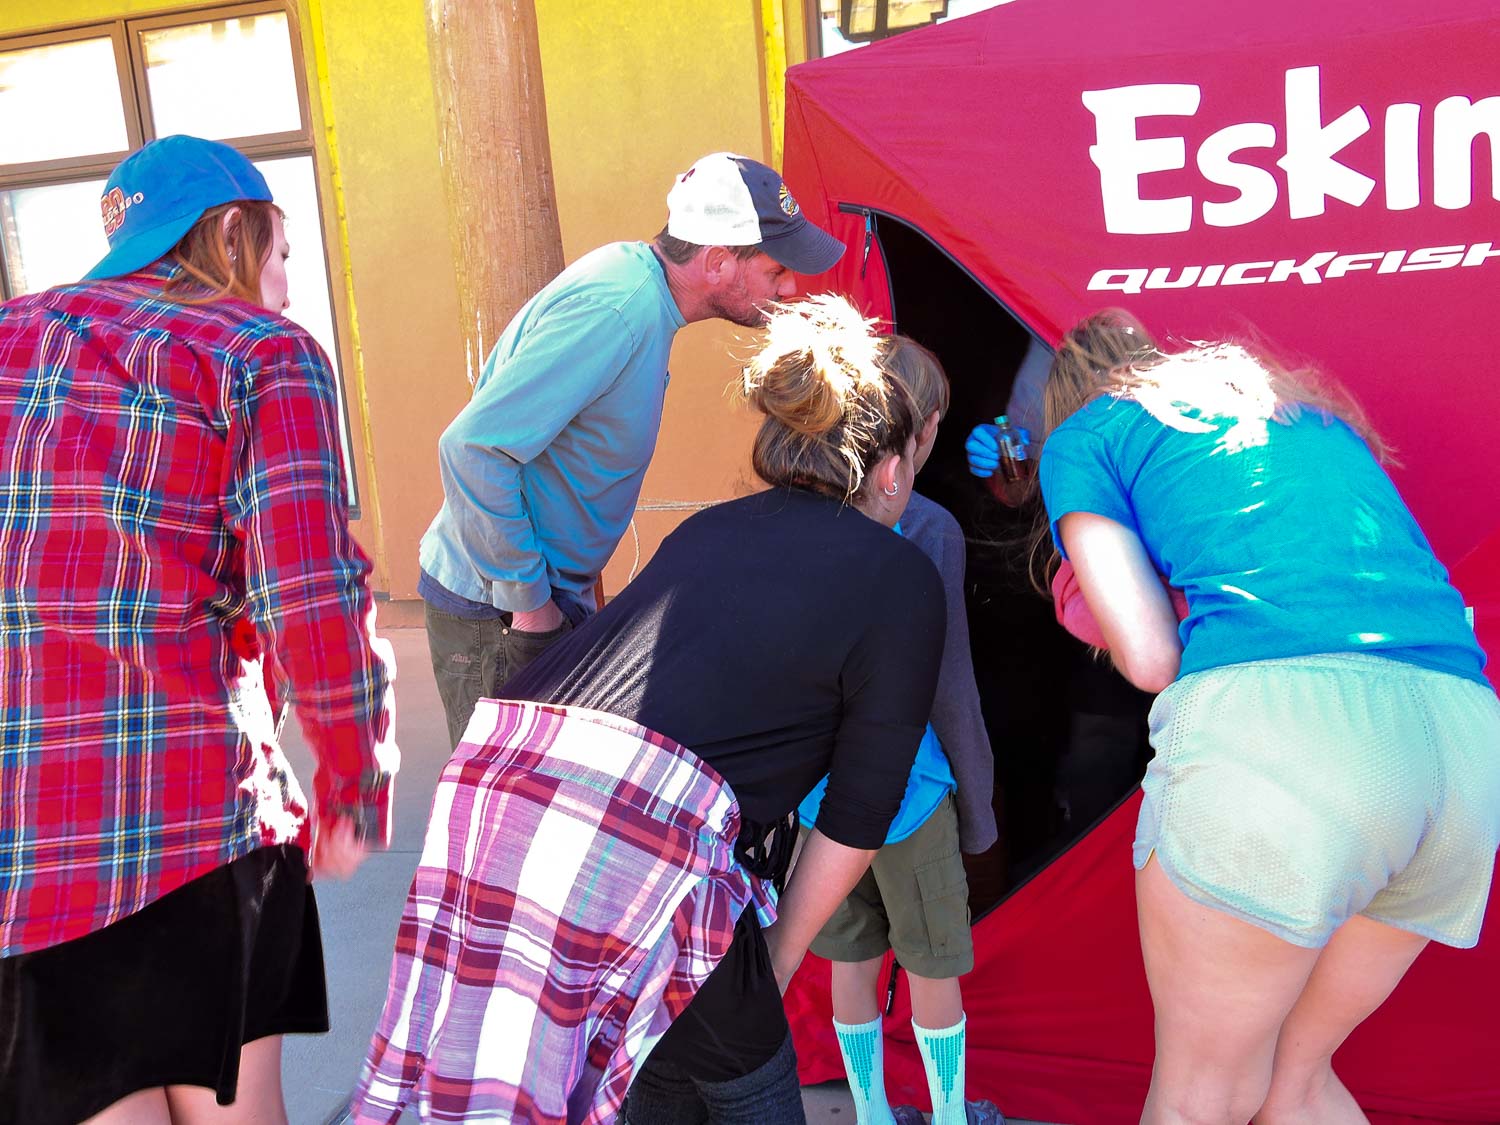
It’s great having a big comfortable space in which to work. One giant downside to having lots of space is that if there is any wind, the big tent turns into a big kite.
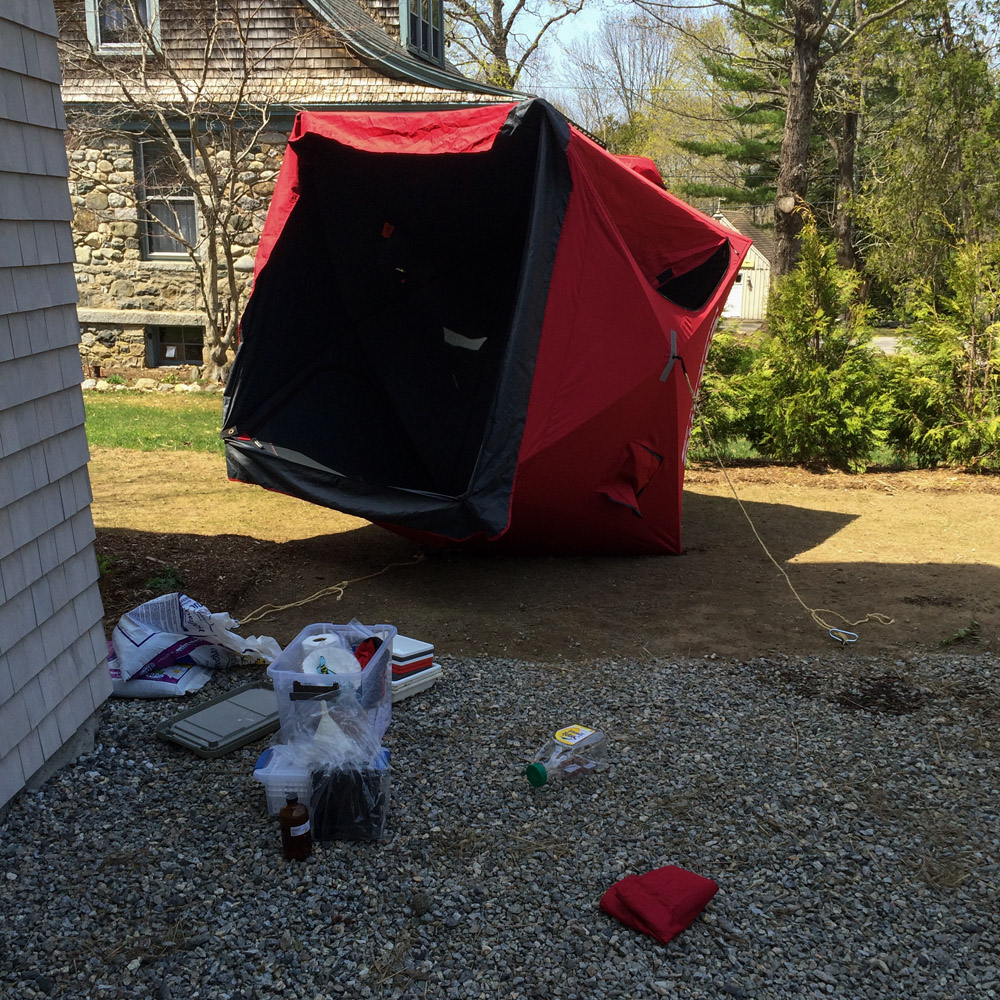
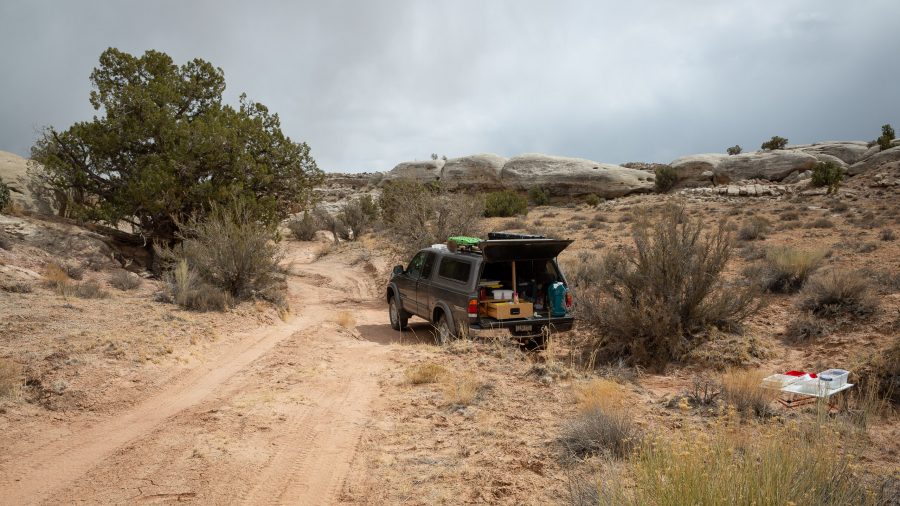
The tent also takes up quite a bit of space, which needs to be safe and out of the way of everything else going on (like passing traffic). Finally, the tent and folding table take up a lot of precious space in my dinky little hatchback. (I ended up getting a 4×4 pickup truck in part to haul all this gear out into the field.) :-D

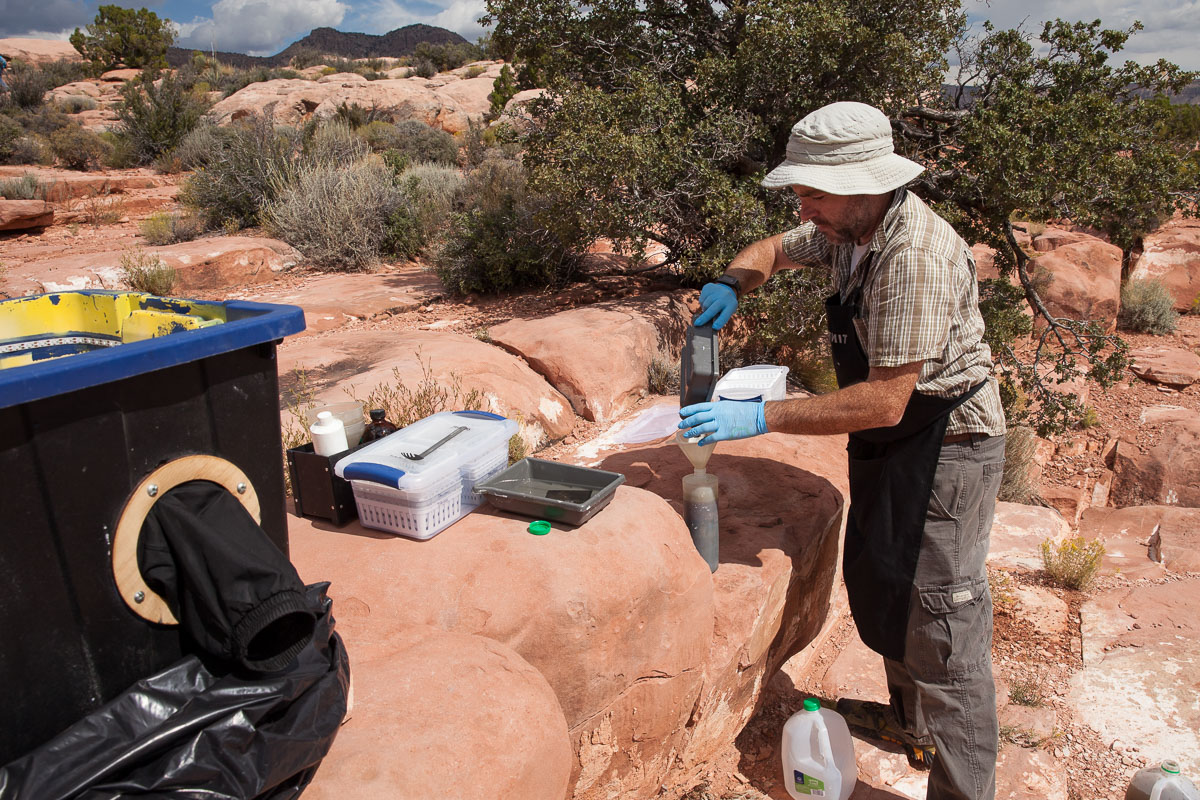

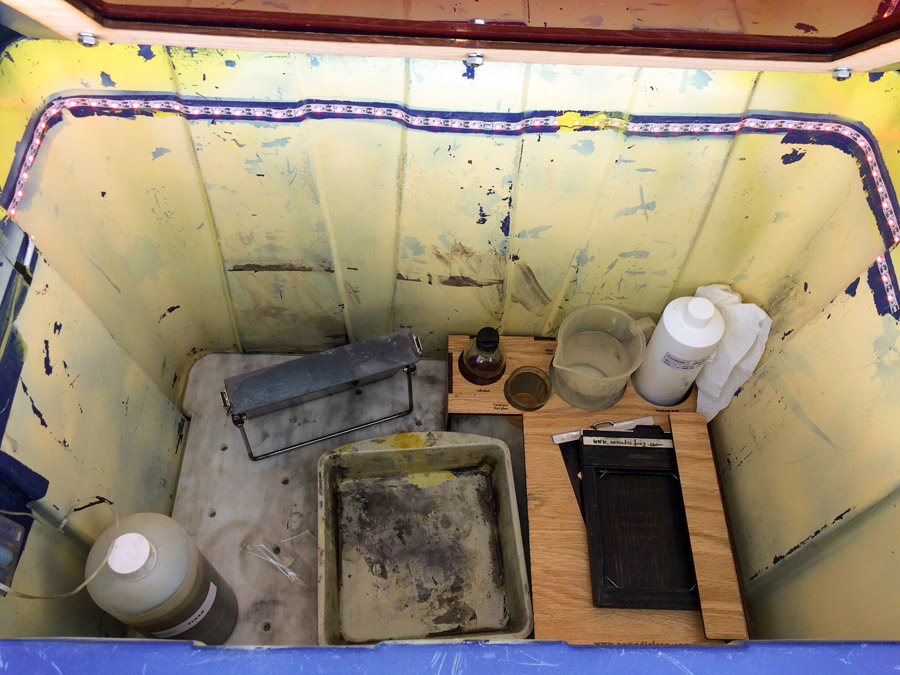
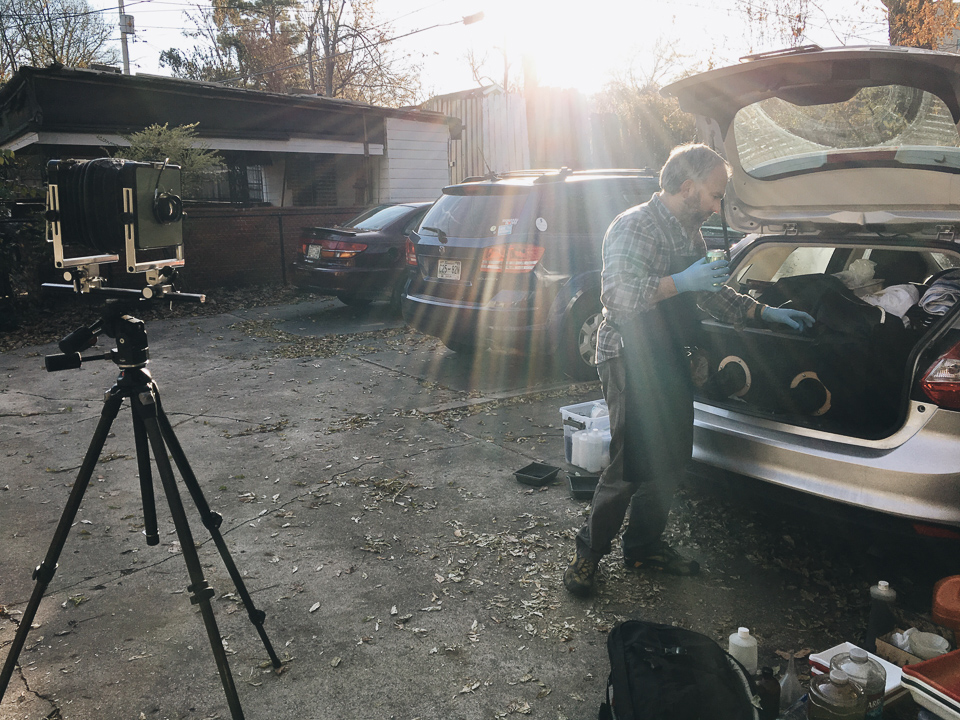
To solve these problems, I made a darkbox that fits right in the trunk of my car truck. This is a 27 gallon storage tub, into which I’ve cut holes for a window (red acrylic) and for my arms to reach in. Here is a lot more about making the darkbox.
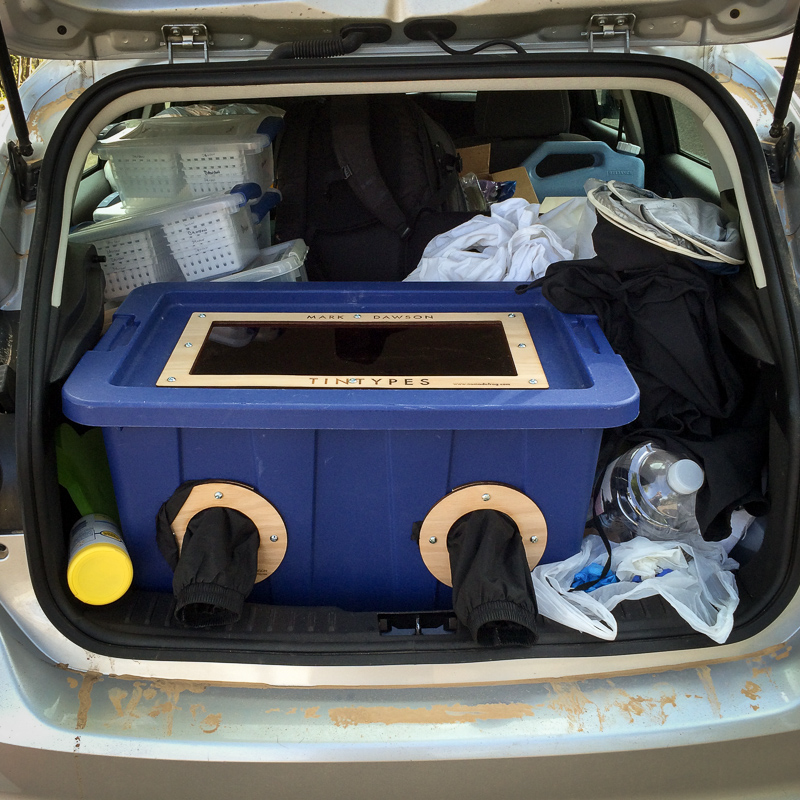

Because I can fit all of the supplies I need to make a tintype inside the tub (except for a jug of rinse water, my camera, and the tripod) it basically doesn’t take up any extra space in the truck!

All I need to do is pull off the road in a safe spot, open the trunk tailgate and unload the box, and I can be making photographs within about 10-15 minutes if I really hustle. And, while wind is still an issue – especially in dry areas with lots of blowing dust – I don’t need to be concerned with my darkroom blowing over the cliff into the Grand Canyon.
Here are some journal entries with more tintypes and behind-the-scenes photos of my gear: