For the longest time back in college, whenever a pair of my Birkenstocks wore out (and I mean, nothing between my big toe and the pavement) I’d just hang ’em on a nail (through said toe hole, much to mom’s dismay) and eventually throw them out. Seems I could always find a pair somewhere (in some giant bin at Sam’s Club or something) for $35 or so.
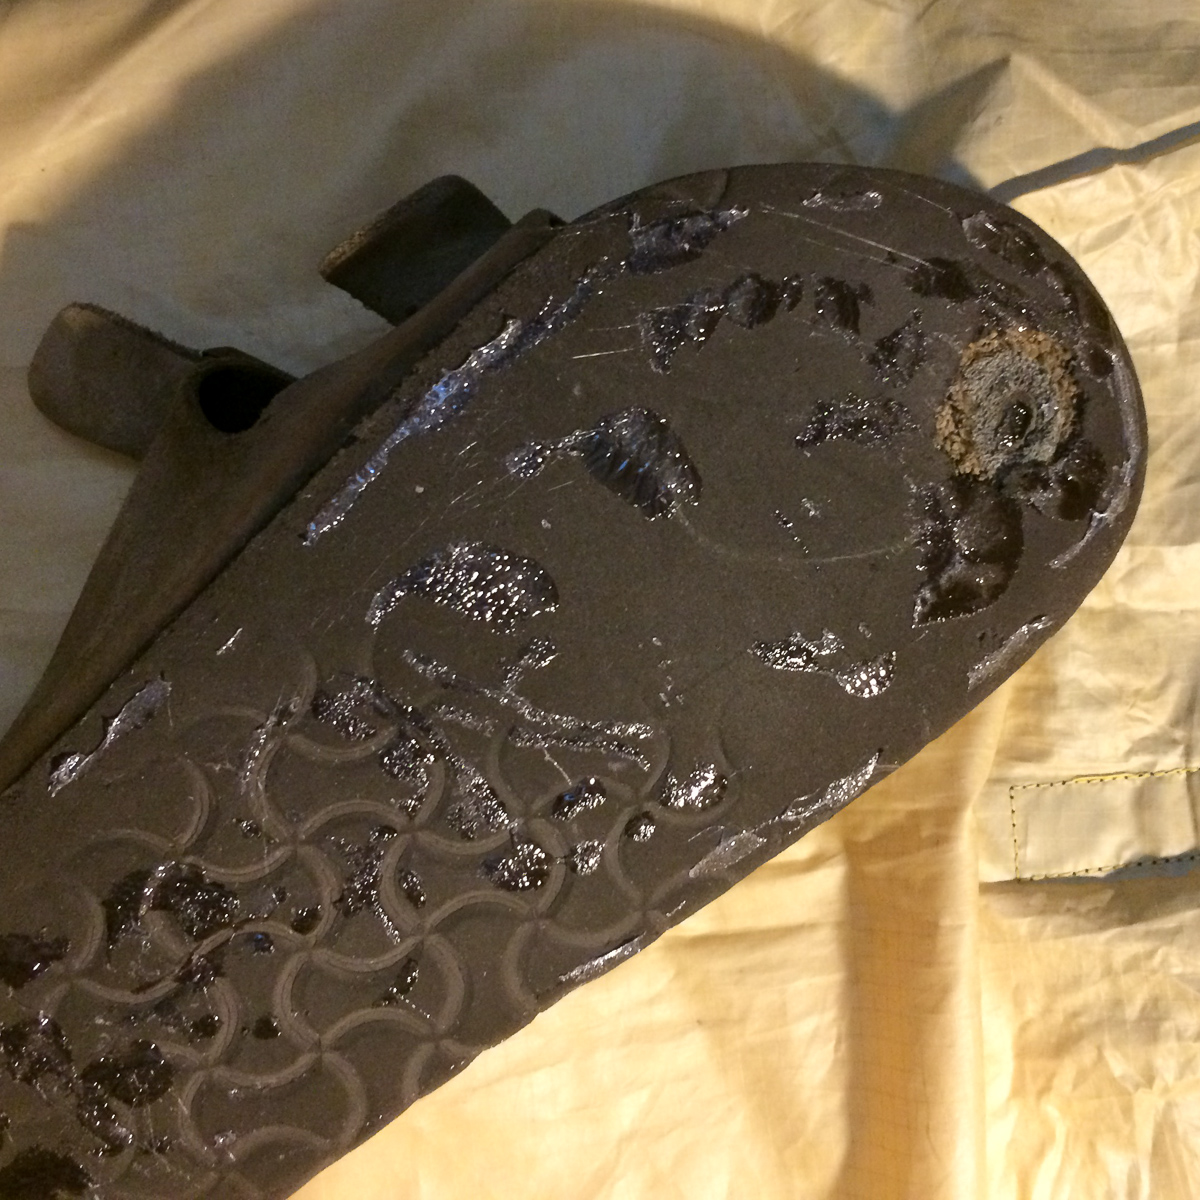
Around the time they suddenly started costing $120 a pair I happened to find out that you could have them repaired for a good bit less, so I started doing that. Still, by the time I got around to it, with the cork mostly gone, it would still set me back $80 to replace everything but the straps and buckles.
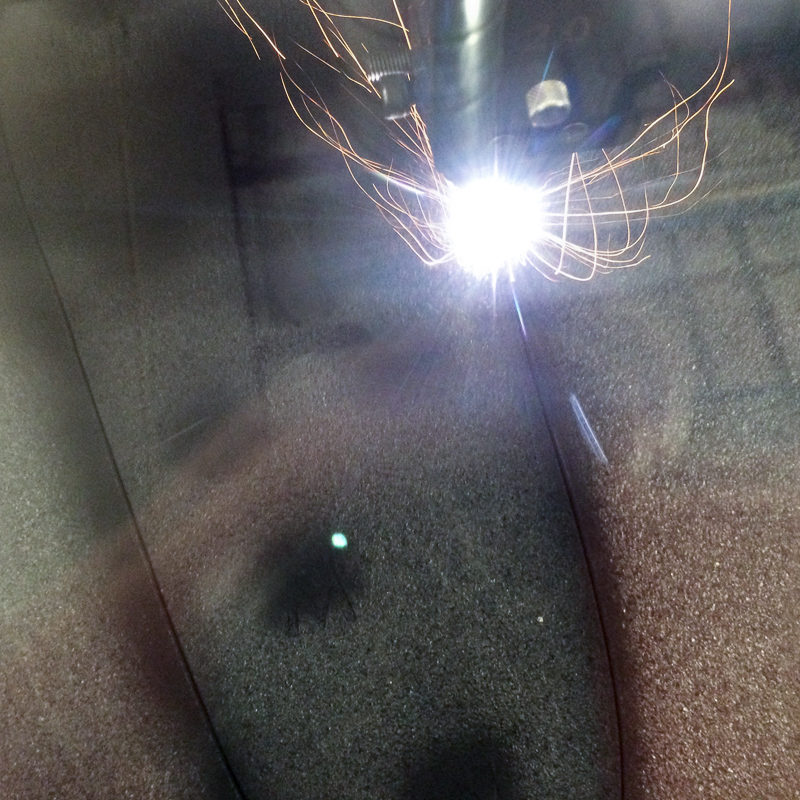
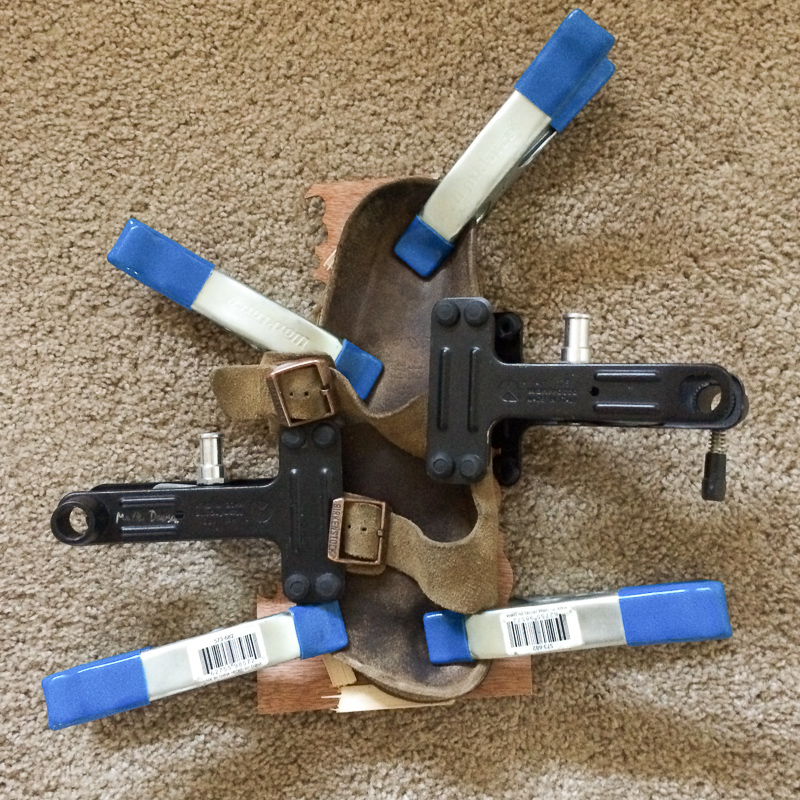
This time around, though, I am newly-empowered DIY Man. Cutting my own hair, making my own iPhone stand, building my own photography gear, etc. Why send them off for weeks, and spend $80, when some rubber from the scrap bin at TechShop and a few minutes on the laser will do the trick?
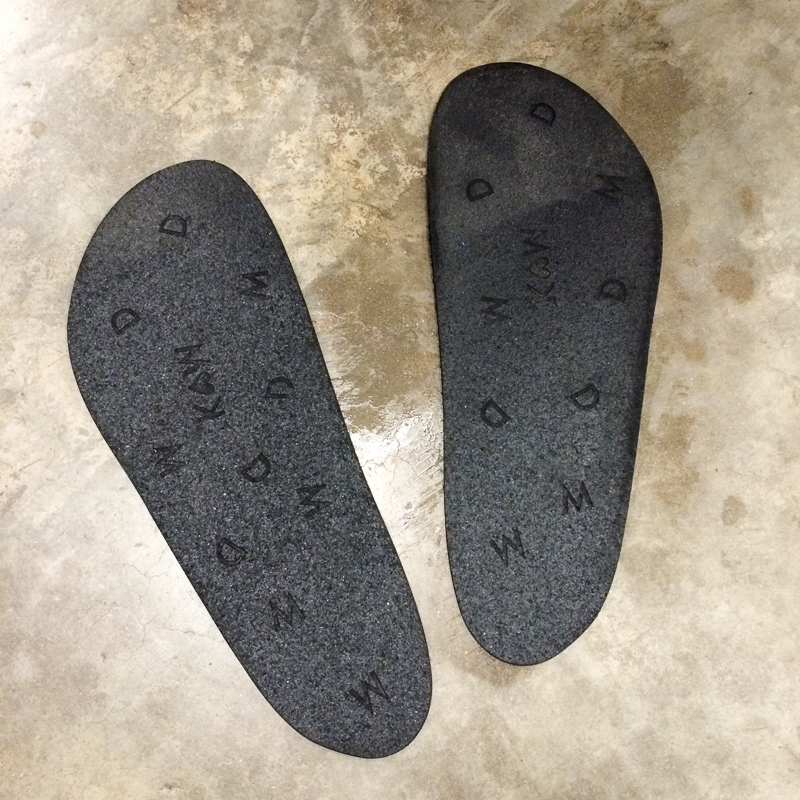
I had just re-sealed the seams in my camping tent (after a slightly damp night in a thunderstorm in the mountains above Flagstaff) with some amazingly sticky Seam Grip. I’d read stories of people repairing hiking boots on the trail with this stuff, and since I had some left over from my tent I gave it a try. A week and a road trip later and my new soles are still holding up!
Pingback: More than one way to create with light - Mark Edward Dawson