One of the many things I’ve learned recently is how to screen print, at least one method of doing it. TechShop has a CNC vinyl cutter and a basic screen printing station, so I started with a vinyl mask for the screen (as opposed to a photo-sensitive process to mask off the screen).
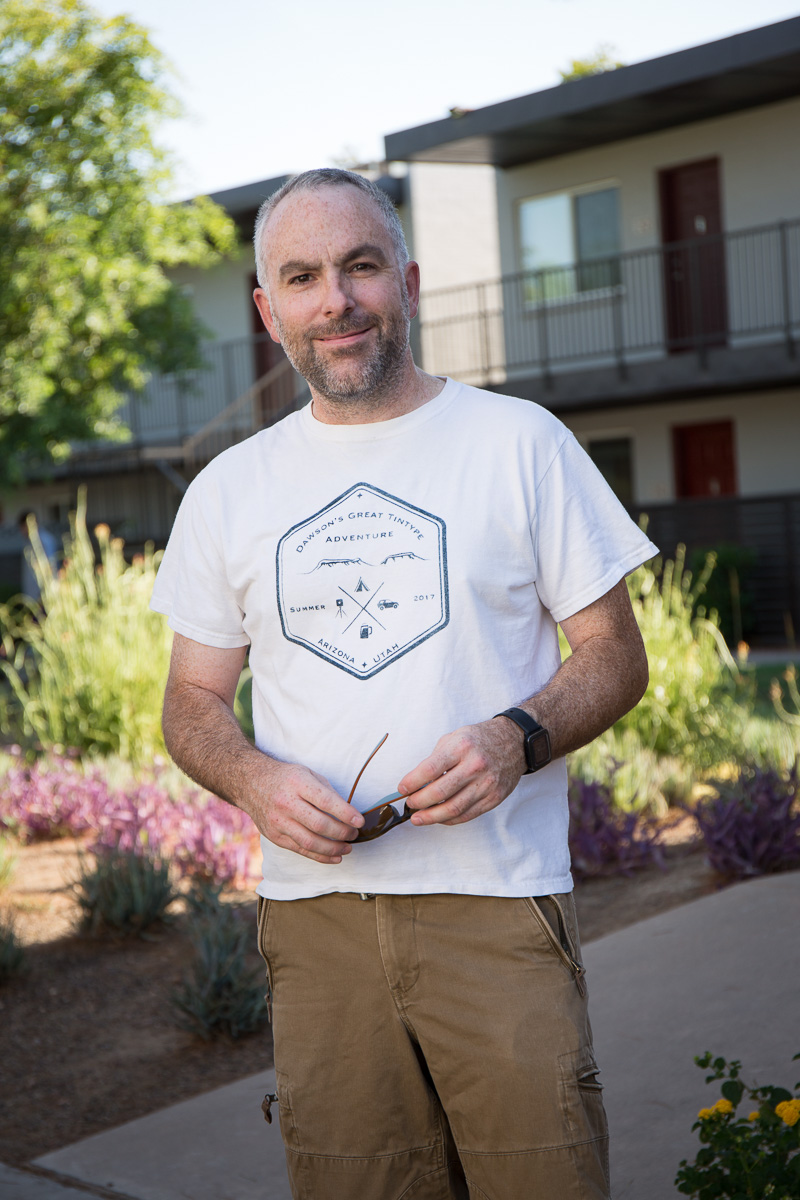
And since I have a big road trip coming up, I thought it only fitting that my first screen printing project should be Dawson’s Amazing Road Trip Screen Printed T-Shirt.
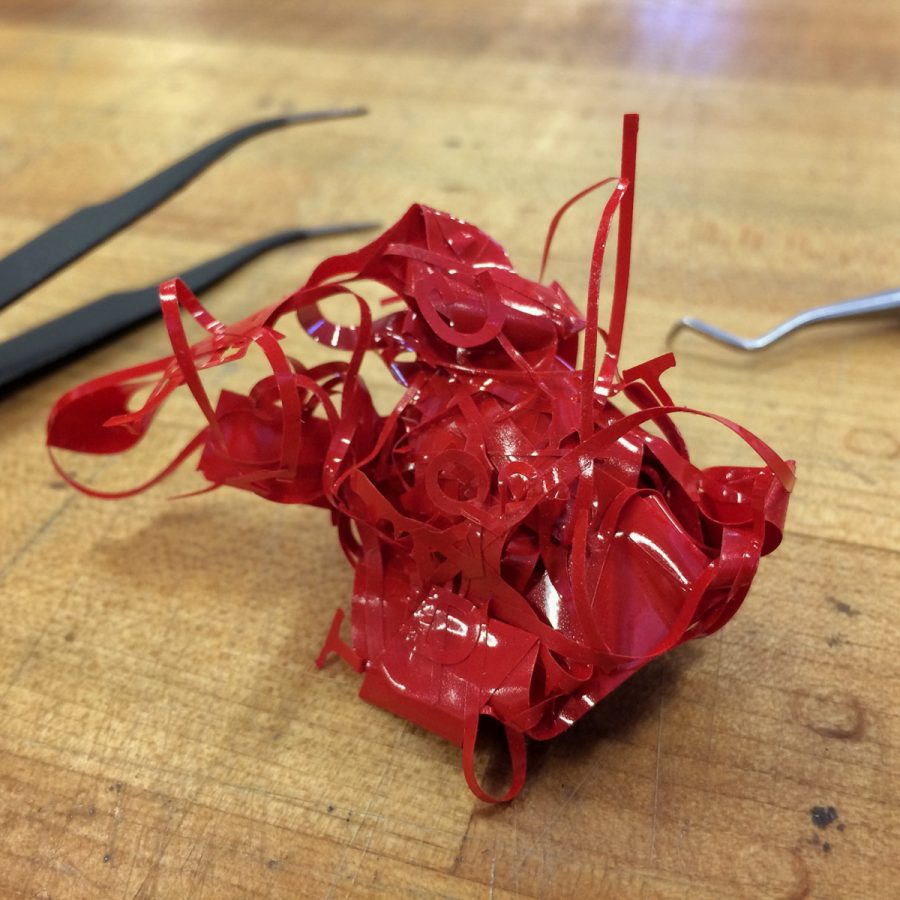
The first thing to do after cutting the vinyl is to “weed” it, which involves several minutes of mind-numbing picking and pulling to separate the vinyl wheat from the chaff. This is extra tedious if the vinyl cutter is missing a part that controls the quality and thoroughness of the cut…ahem.
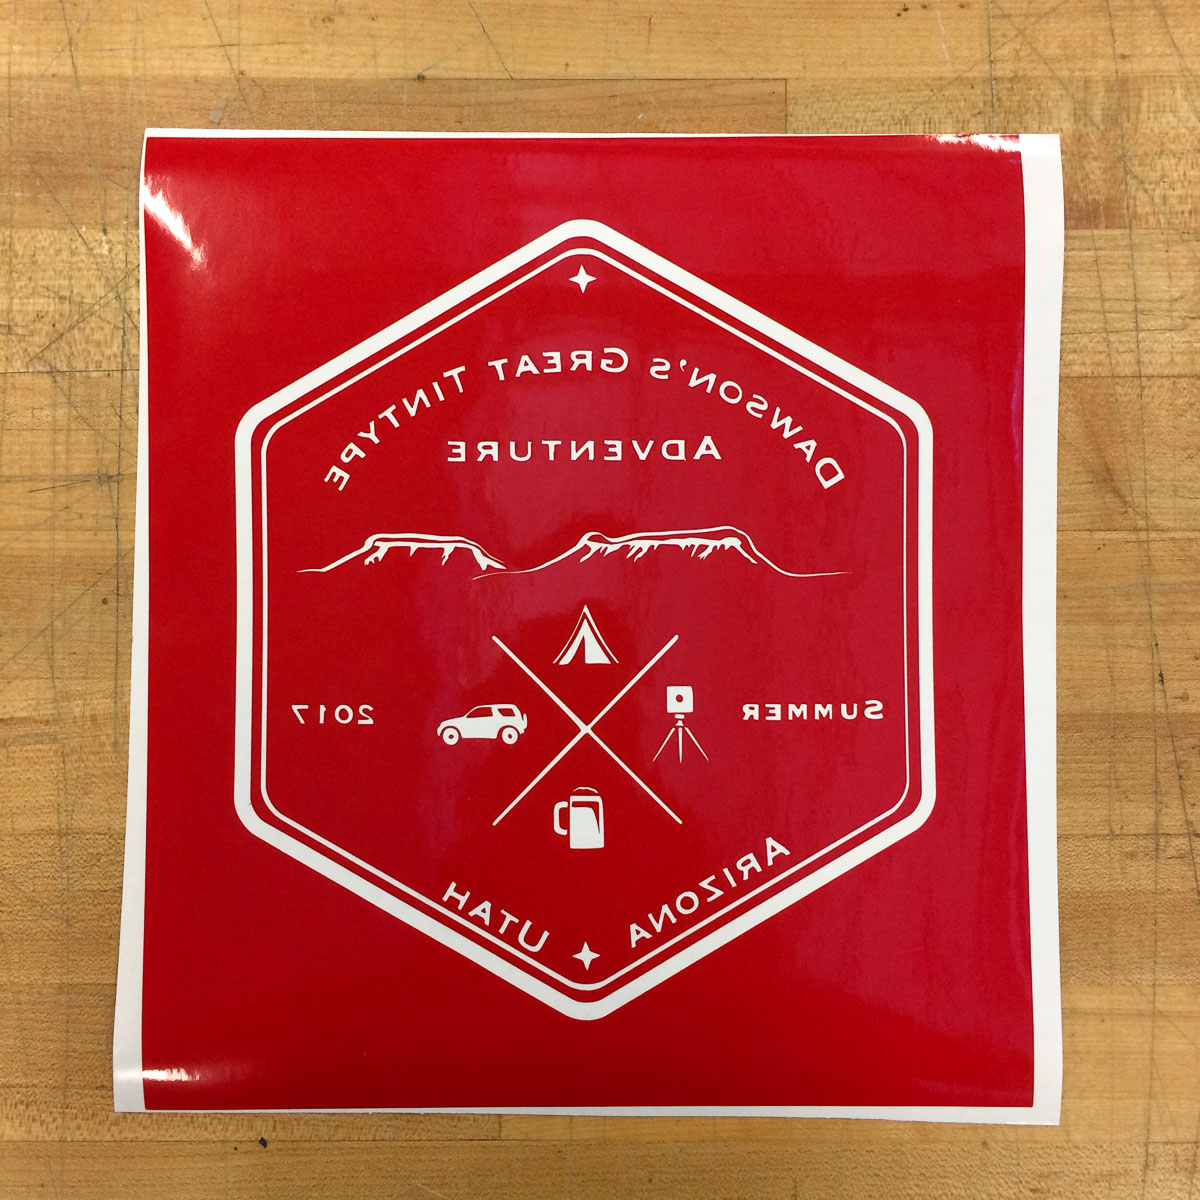
After pulling out the weeds, the vinyl stencil gets mounted to the screen….of which I apparently failed to get a photo.

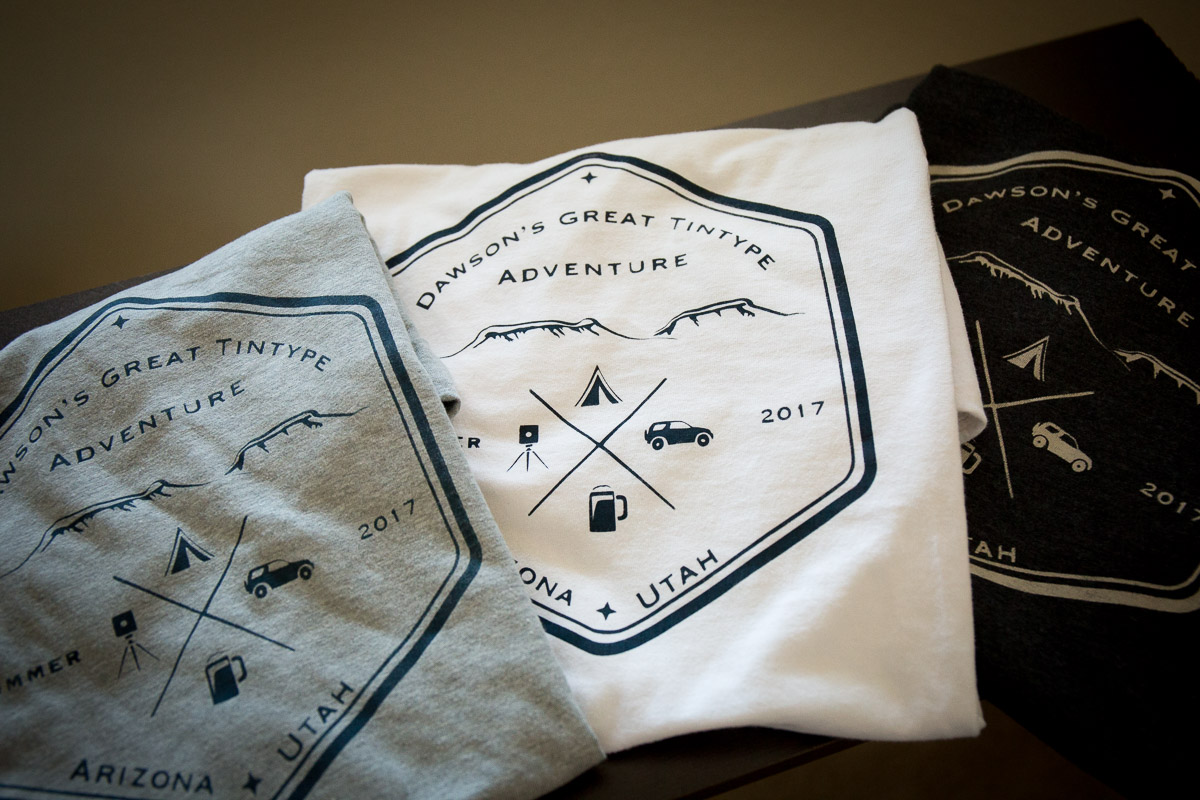
As usual, the basic concept is relatively simple: make a stencil (or have some plan for getting the ink on the object), push the ink through it, cure it with some heat. The stuff that comes first – having a good idea for a design – and then actually being good at printing – are harder. I can’t imagine doing this well, reliably and repeatedly, like my friend David’s business does (and in multiple colors on all sorts of objects…mind boggling.)
And of course there are a ton of variables to keep things interesting. For example, to start with I printed a few shirts with Speedball’s denim colored ink, but for fun I got a few dark colored shirts, and used “discharge paste” to, instead of adding color, remove the dye that is in the shirt to start with.
In case you couldn’t see the discharge paste in action well enough in that photo…
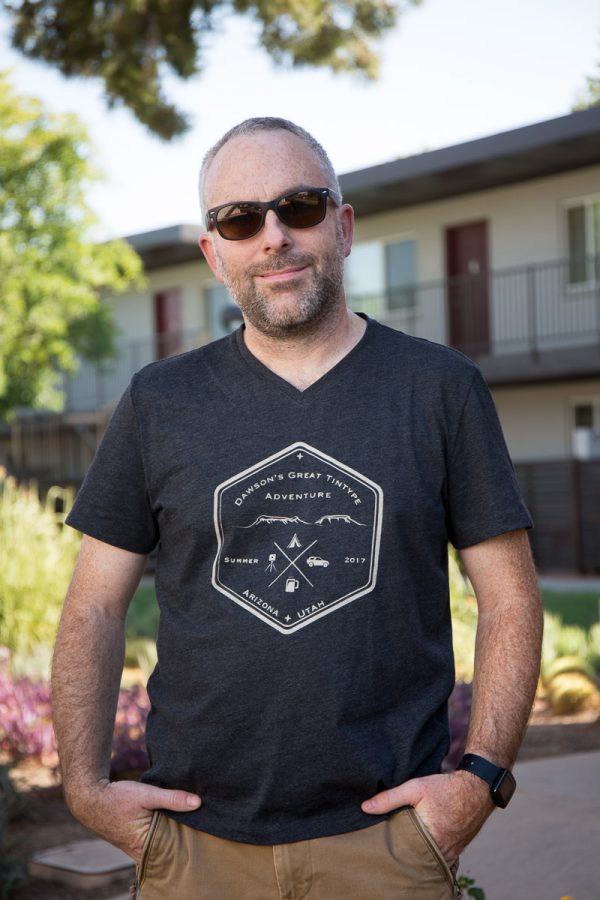
As an aside, here’s how the design came together: First, I had the idea that I wanted to make a shirt, with a kinda retro feel to it. Couldn’t figure out anything more specific than that. Kari has a look at my sketches, makes a few comments, and bang, it falls into place. Except I can’t draw for beans, so my “Bears Ears Buttes” look more like…melted sticks of butter or something. So Shane, one of the regulars over at TechShop, took a few minutes and created the mesas that fit so well with my design idea. (Shane is also the guy that taught me screen printing (and vacuum forming, but that’s a different post) and is generally very helpful with all manner of things.)

Pingback: The Nomadic Frog Blog » Archive » Great Tintype Adventure of 2017 (Part 1)