One of the first changes I made to my 2003 Toyota Tundra when I got it was to remove one of the rear seat pieces to give me more room. I only removed the bottom of one side since I was new to all of this, wasn’t sure what I wanted, maybe I needed rear seats, etc. It didn’t take long before I removed the back of that seat, and soon after that, all of the rear seats entirely. They really take up a lot of volume, and they are heavy. Now they take up a lot of volume in my home office…
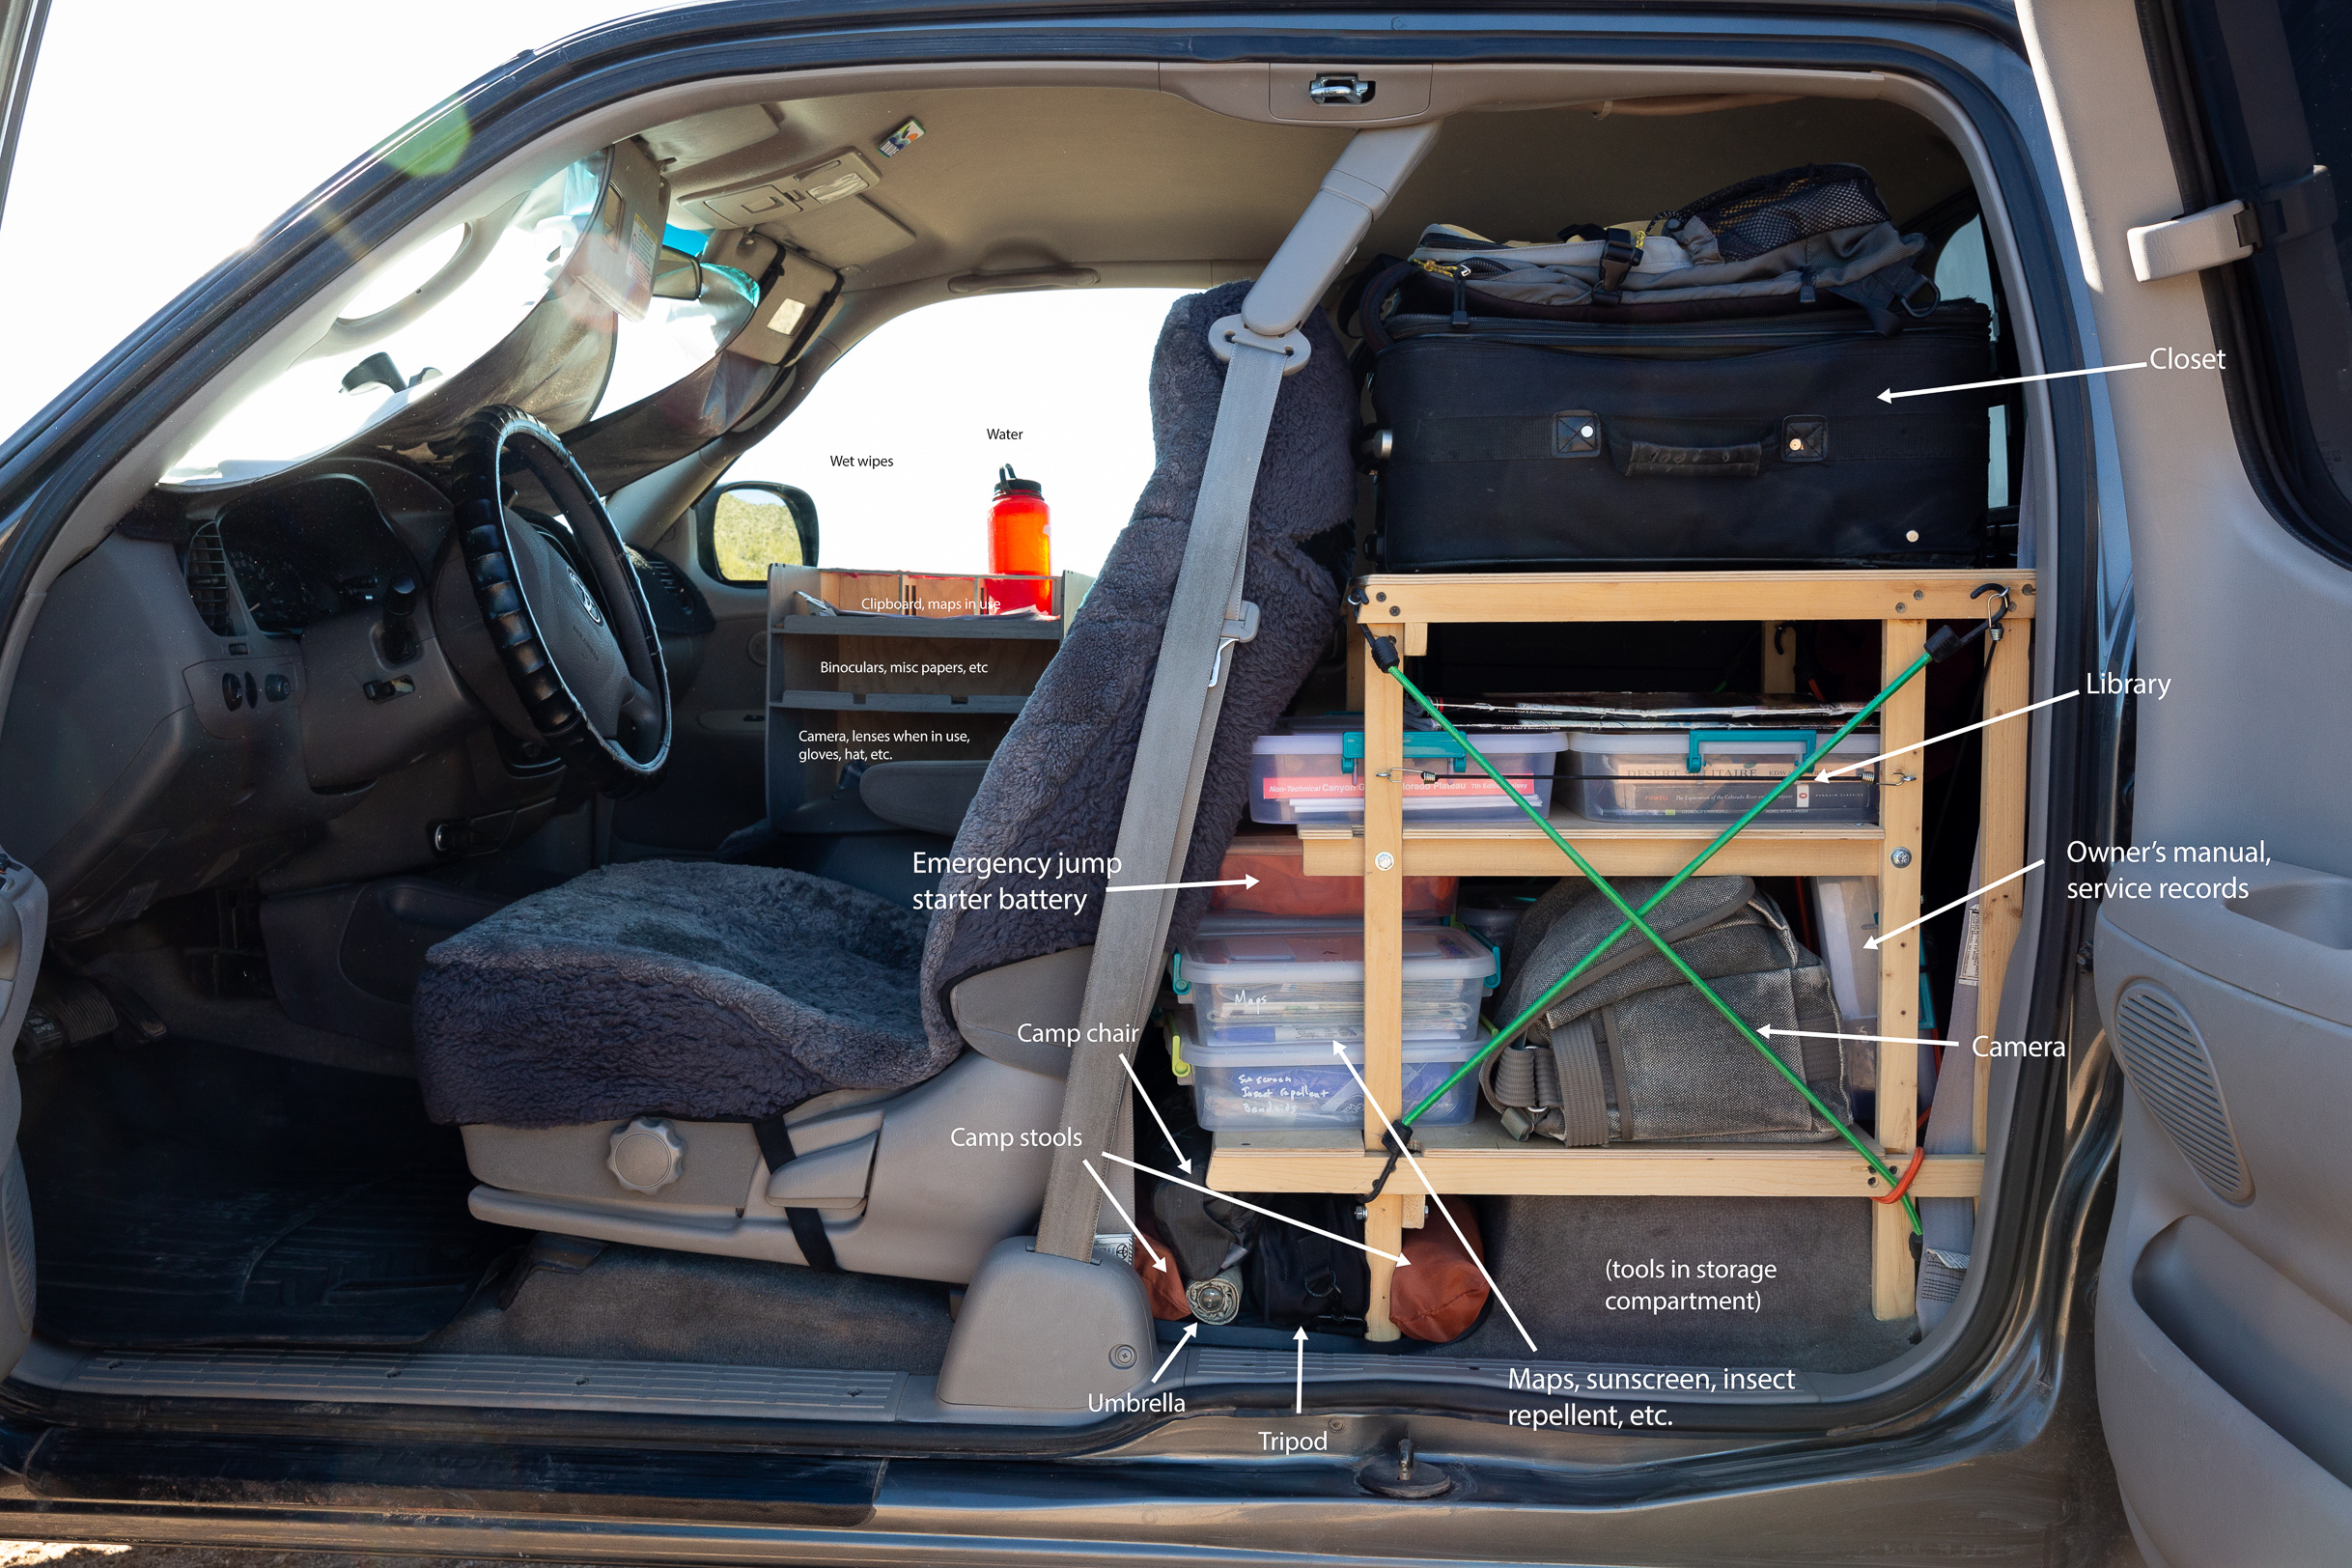
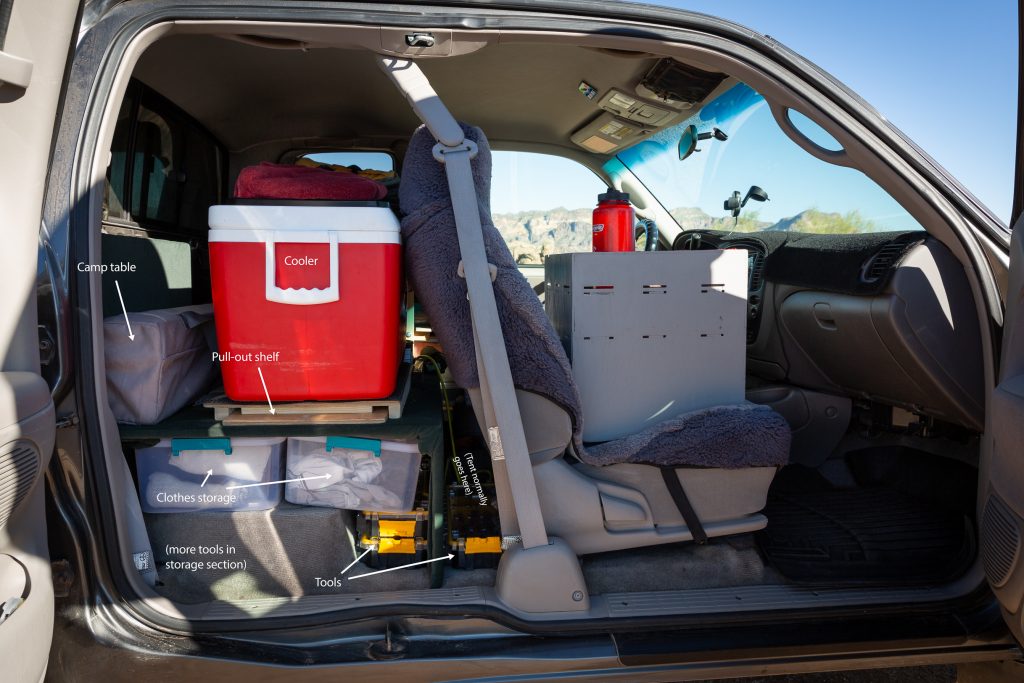
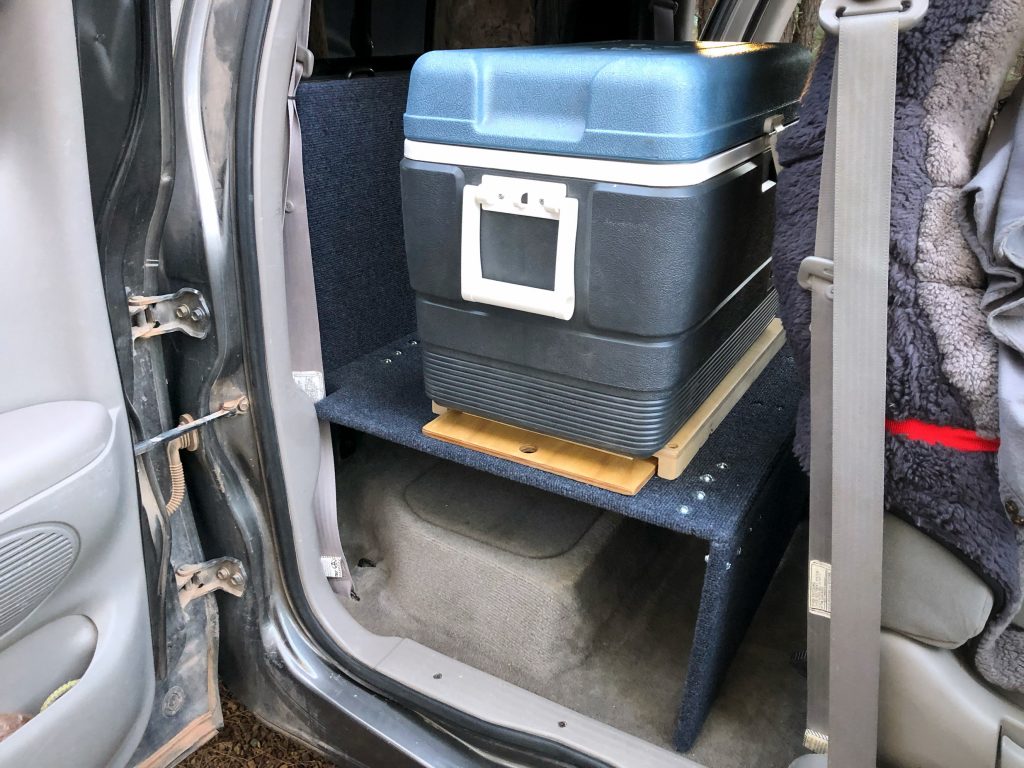
I filled that space in the Access Cab portion of my truck with shelving to organize various off-road travel stuff. Behind the driver is “The Library”: primarily books, maps, cameras, other small totes with supplies. In the center are boxes for tall things that don’t fit elsewhere: windshield washer fluid, paper towel roll, etc. On the passenger side is a large open shelf for the cooler, with space underneath for clothing, tools, and dry food. More on all of that here.

Passenger side, uncarpeted 
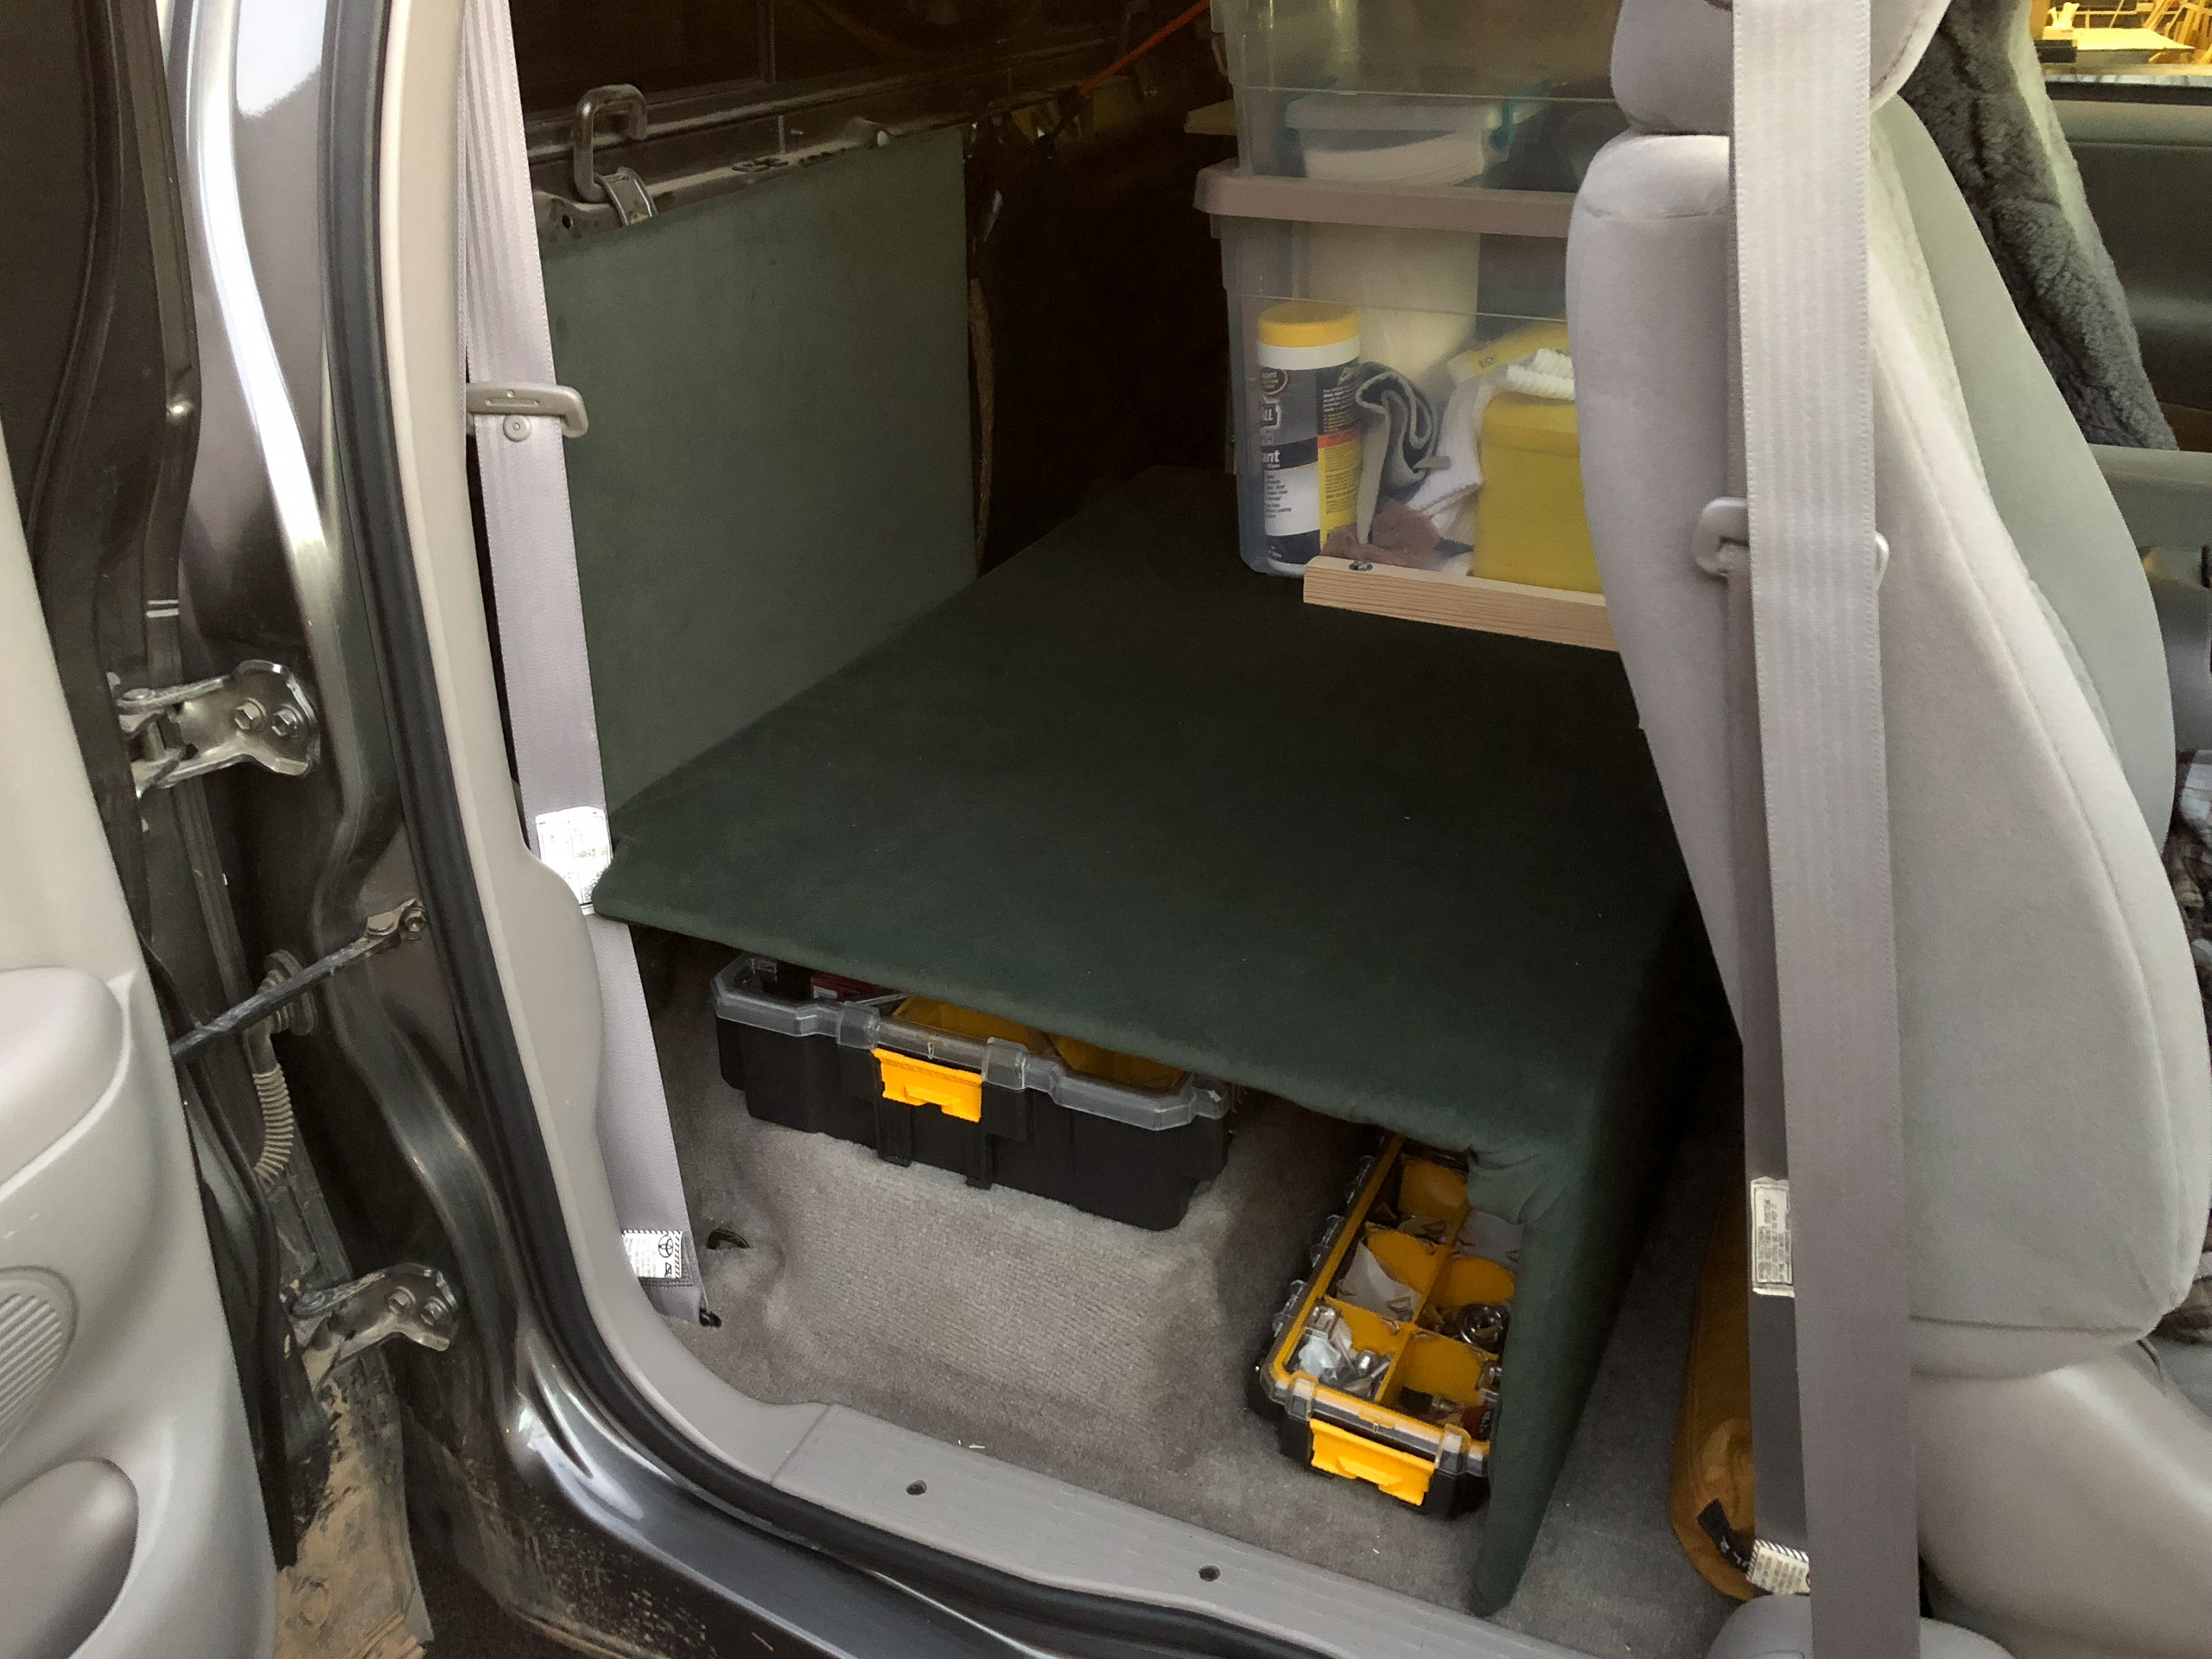
Passenger side with lovely Goodwill fleece blanket “carpeting”
I had done quick-and-dirty job of those shelves at the time, for various reasons, but mostly because I wasn’t sure what I needed and how it was going to work. It was always a beta test version, with the goal of revising it nicely in the future.
Turns out it worked well for a couple of years. I was happier with all of it than I expected, and I got good use out of the space.
But every time I looked at it I got annoyed and wanted to make it better. This past weekend I finally got started!
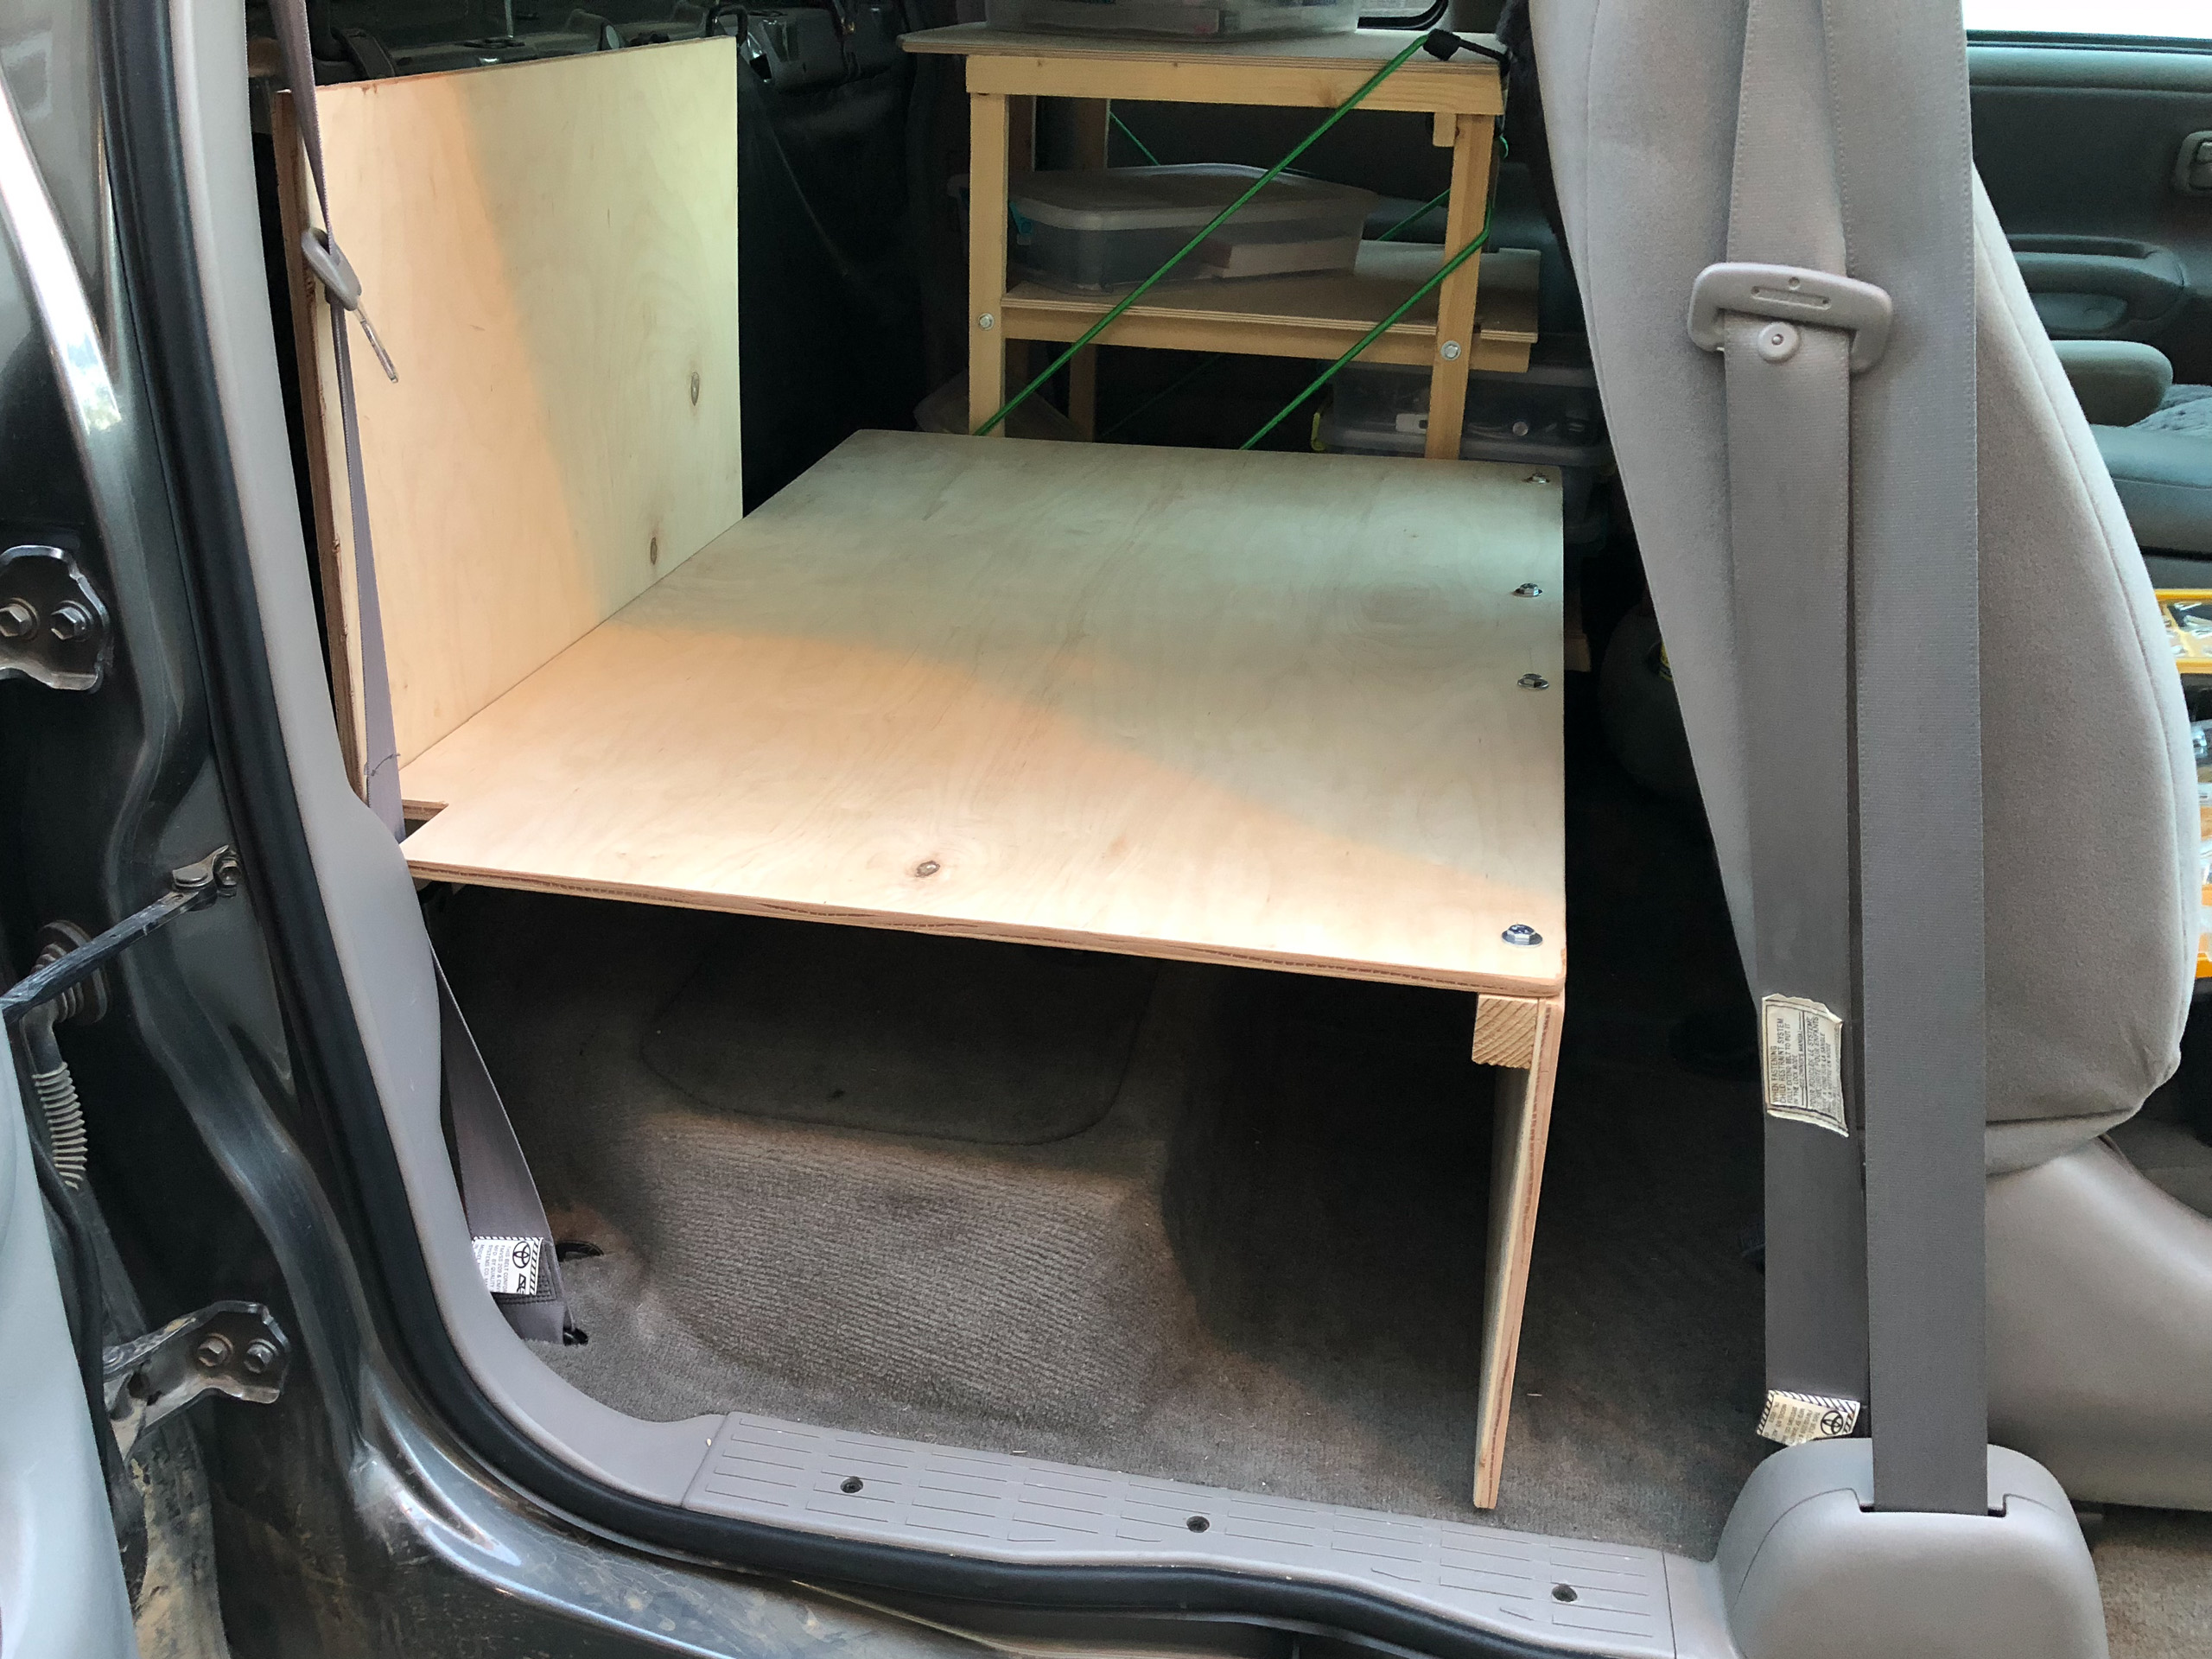
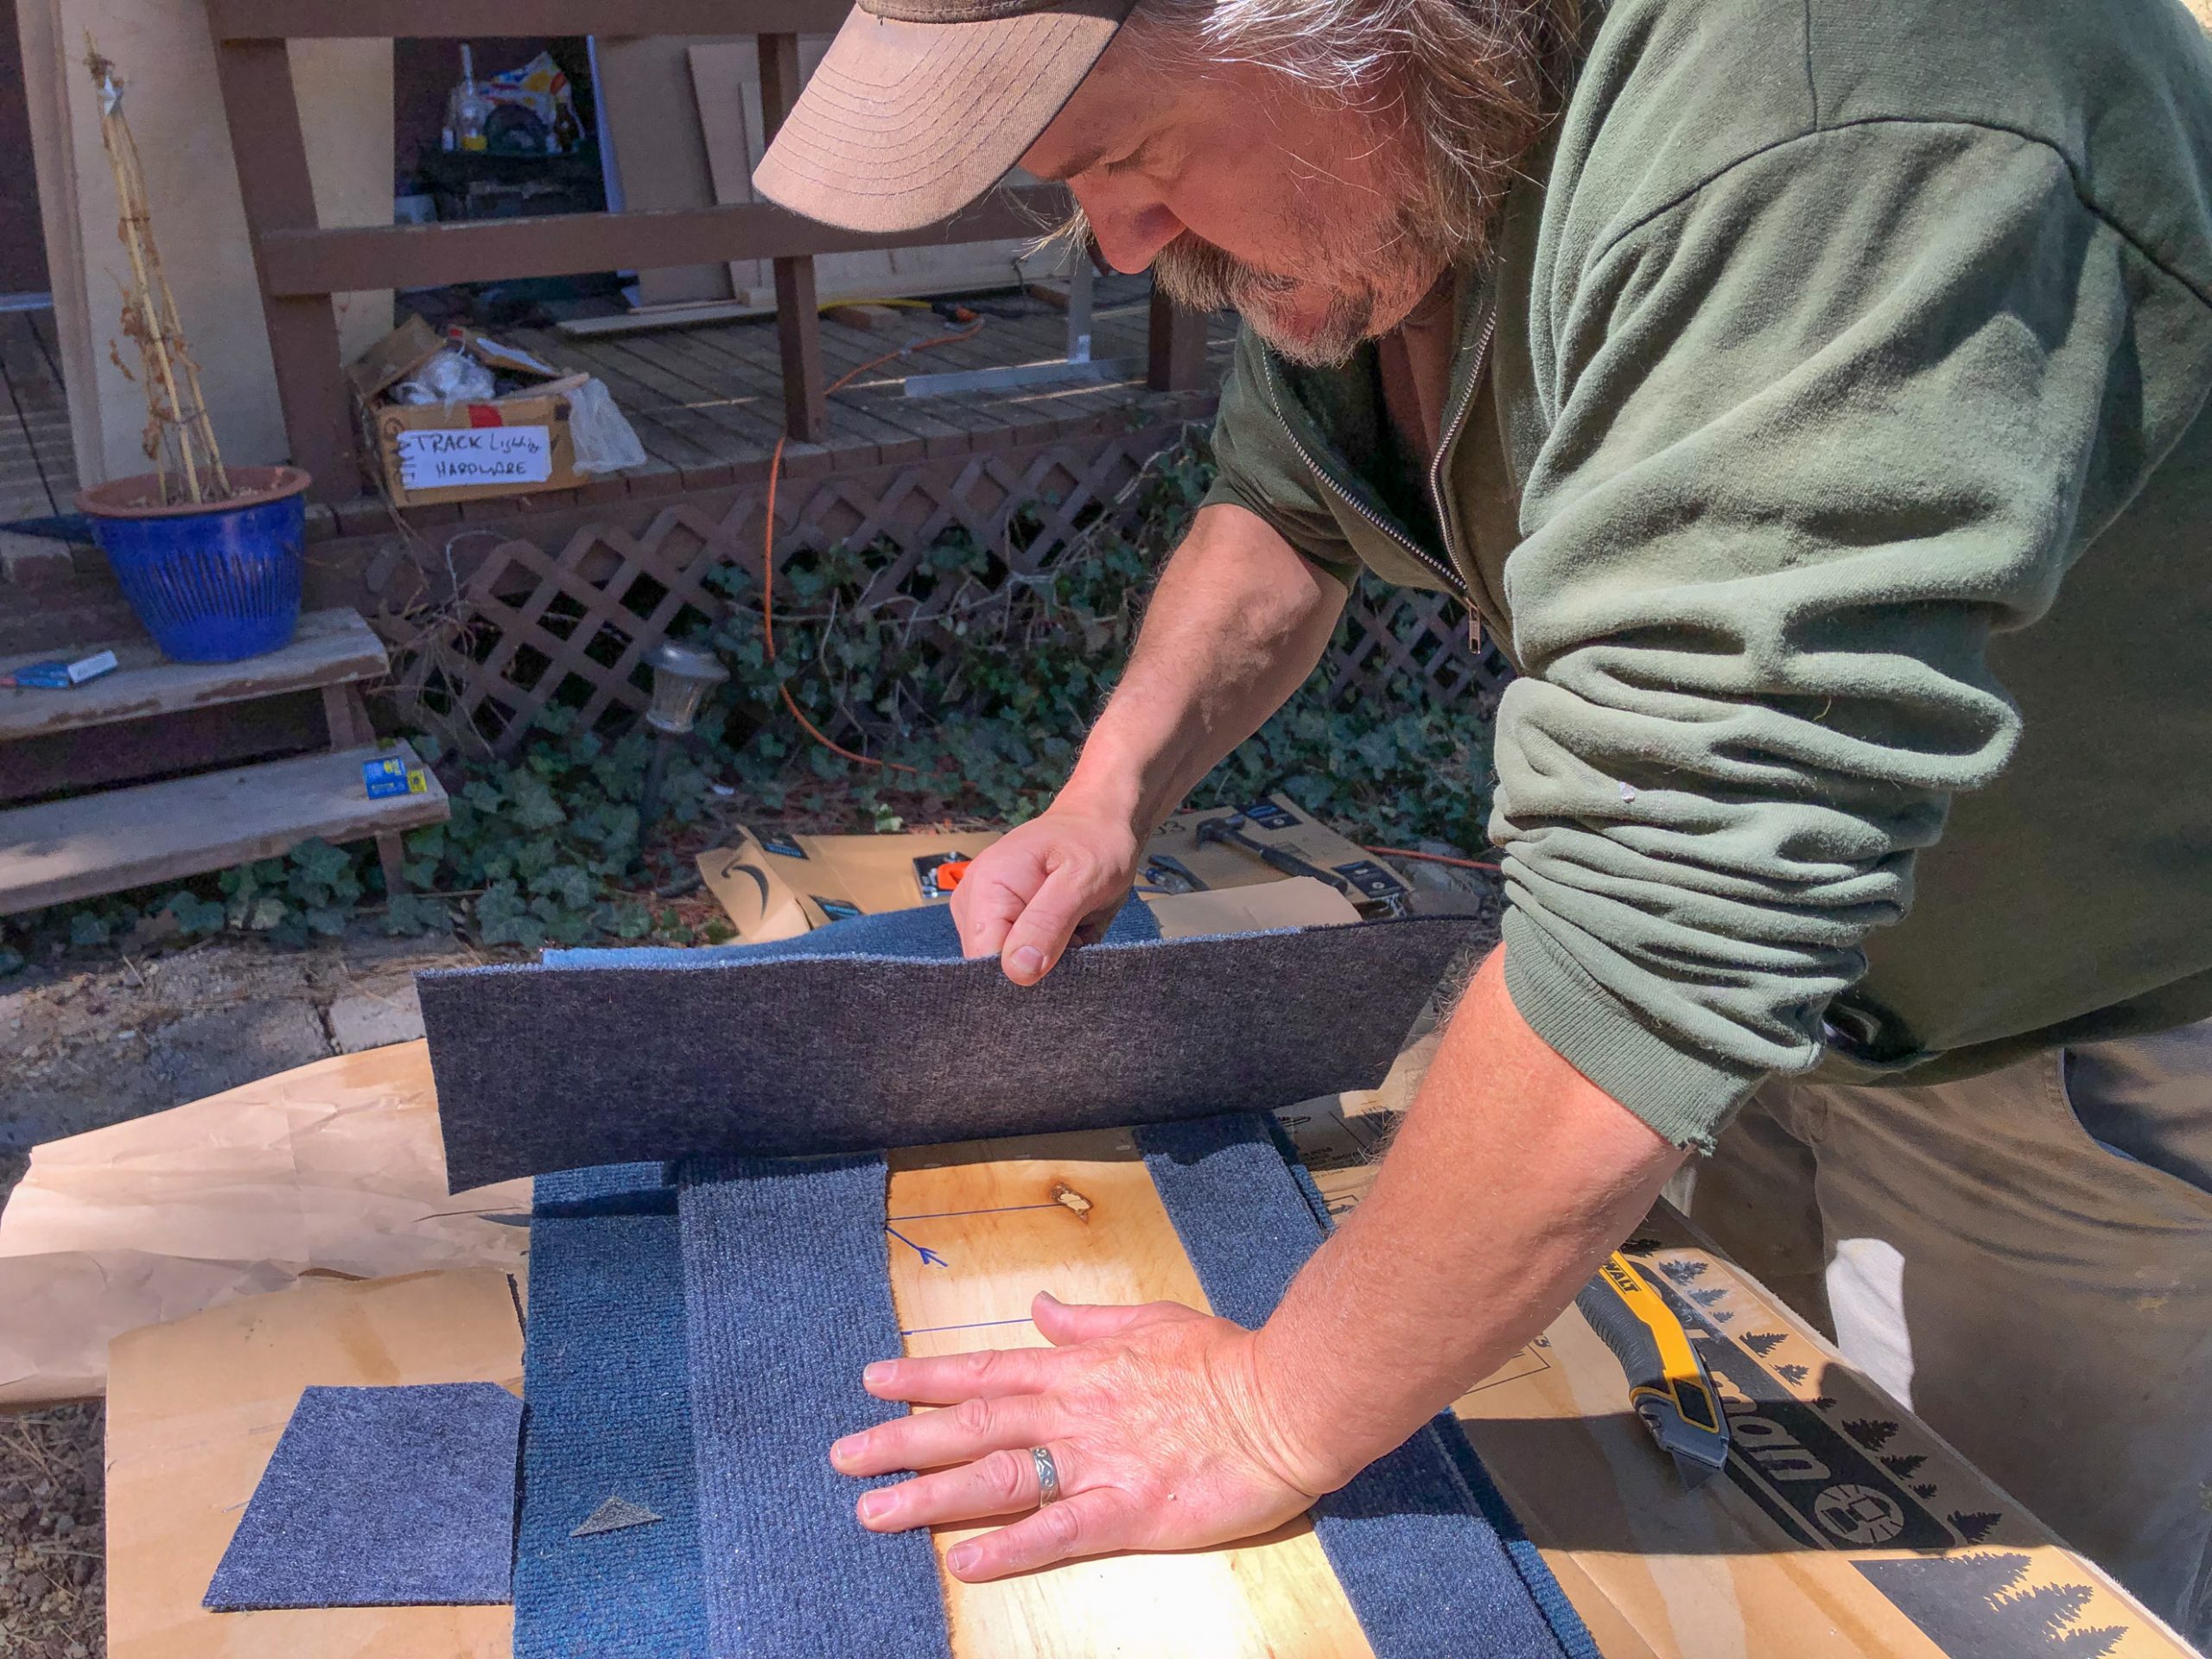
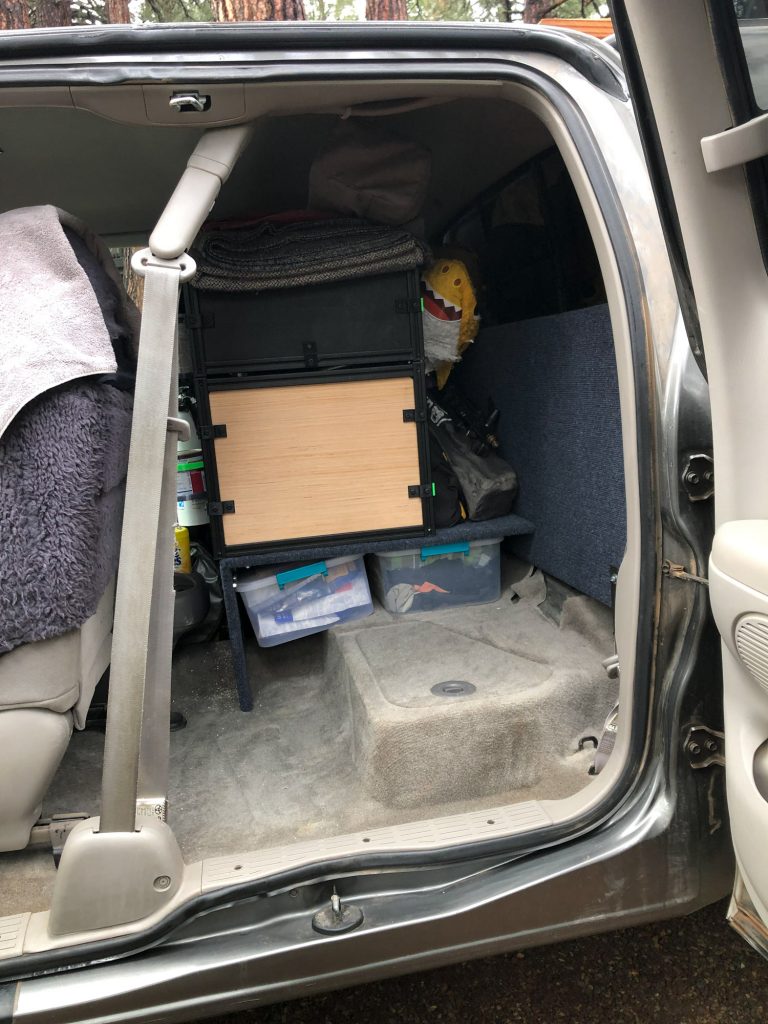
The original shelf for the cooler was very flimsy, basically just sitting in the space, resting on blocks, and bolted together with wood reinforcements and bolts that were too long. All of that wasted a lot of space, and damaged things as they slid past the exposed bolts. And I had “carpeted” it – after assembly – with whatever cheap fleece blanket I found at Goodwill. All in all, ugly, flimsy, and inefficient.

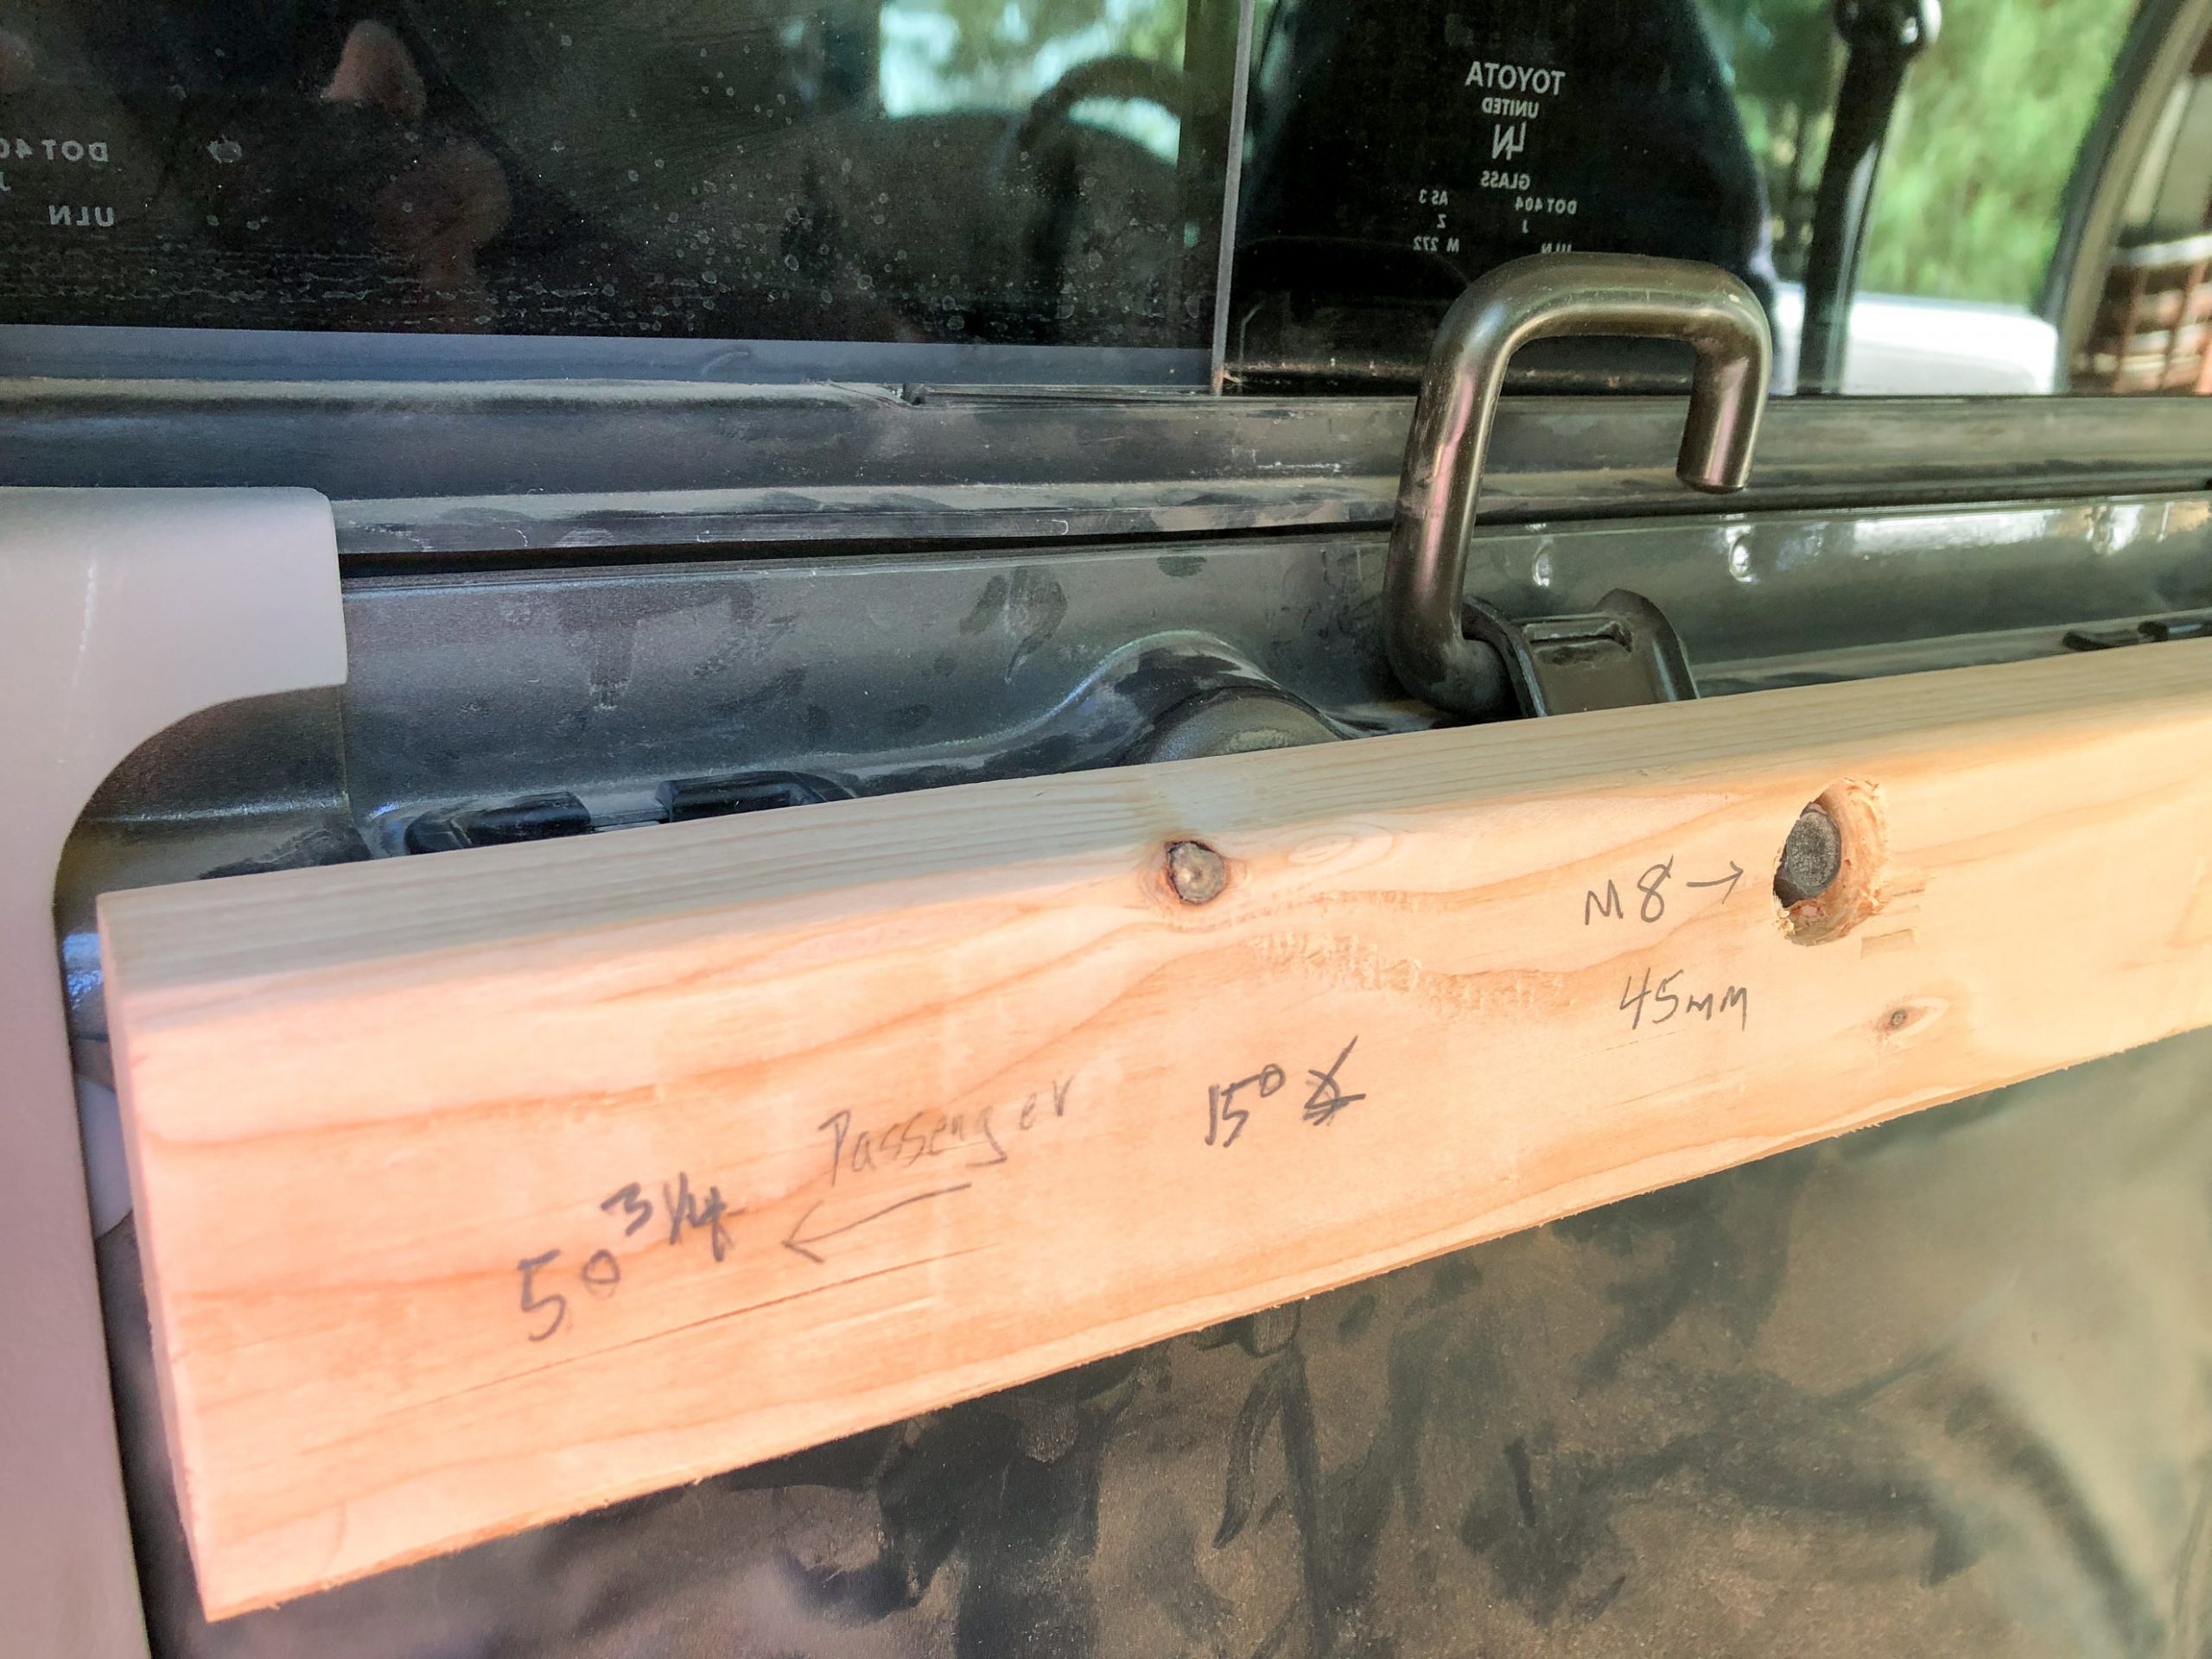
2×3 runner, with the back edge beveled 15º to match the body metal 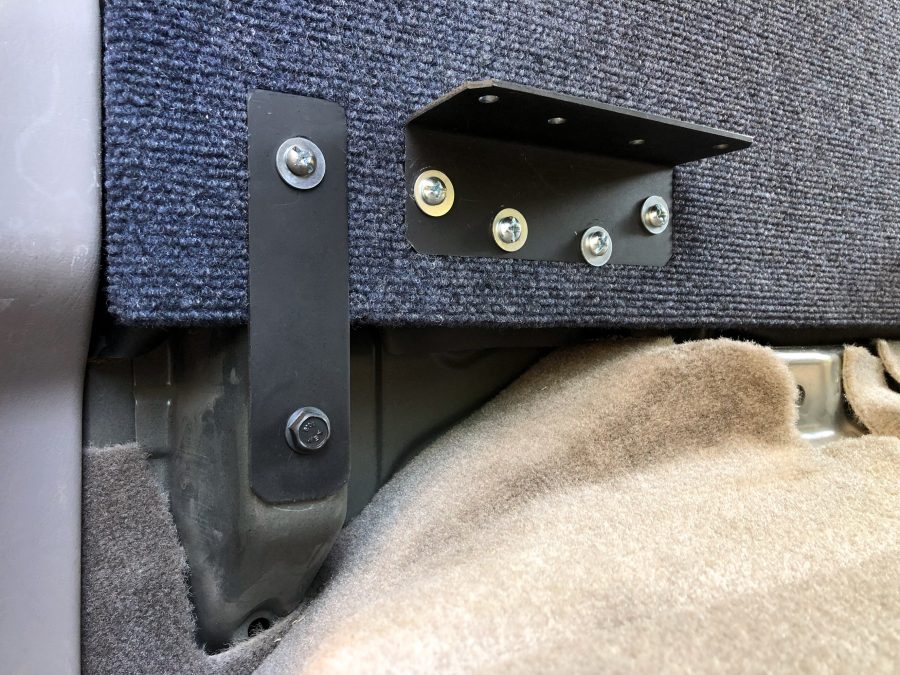
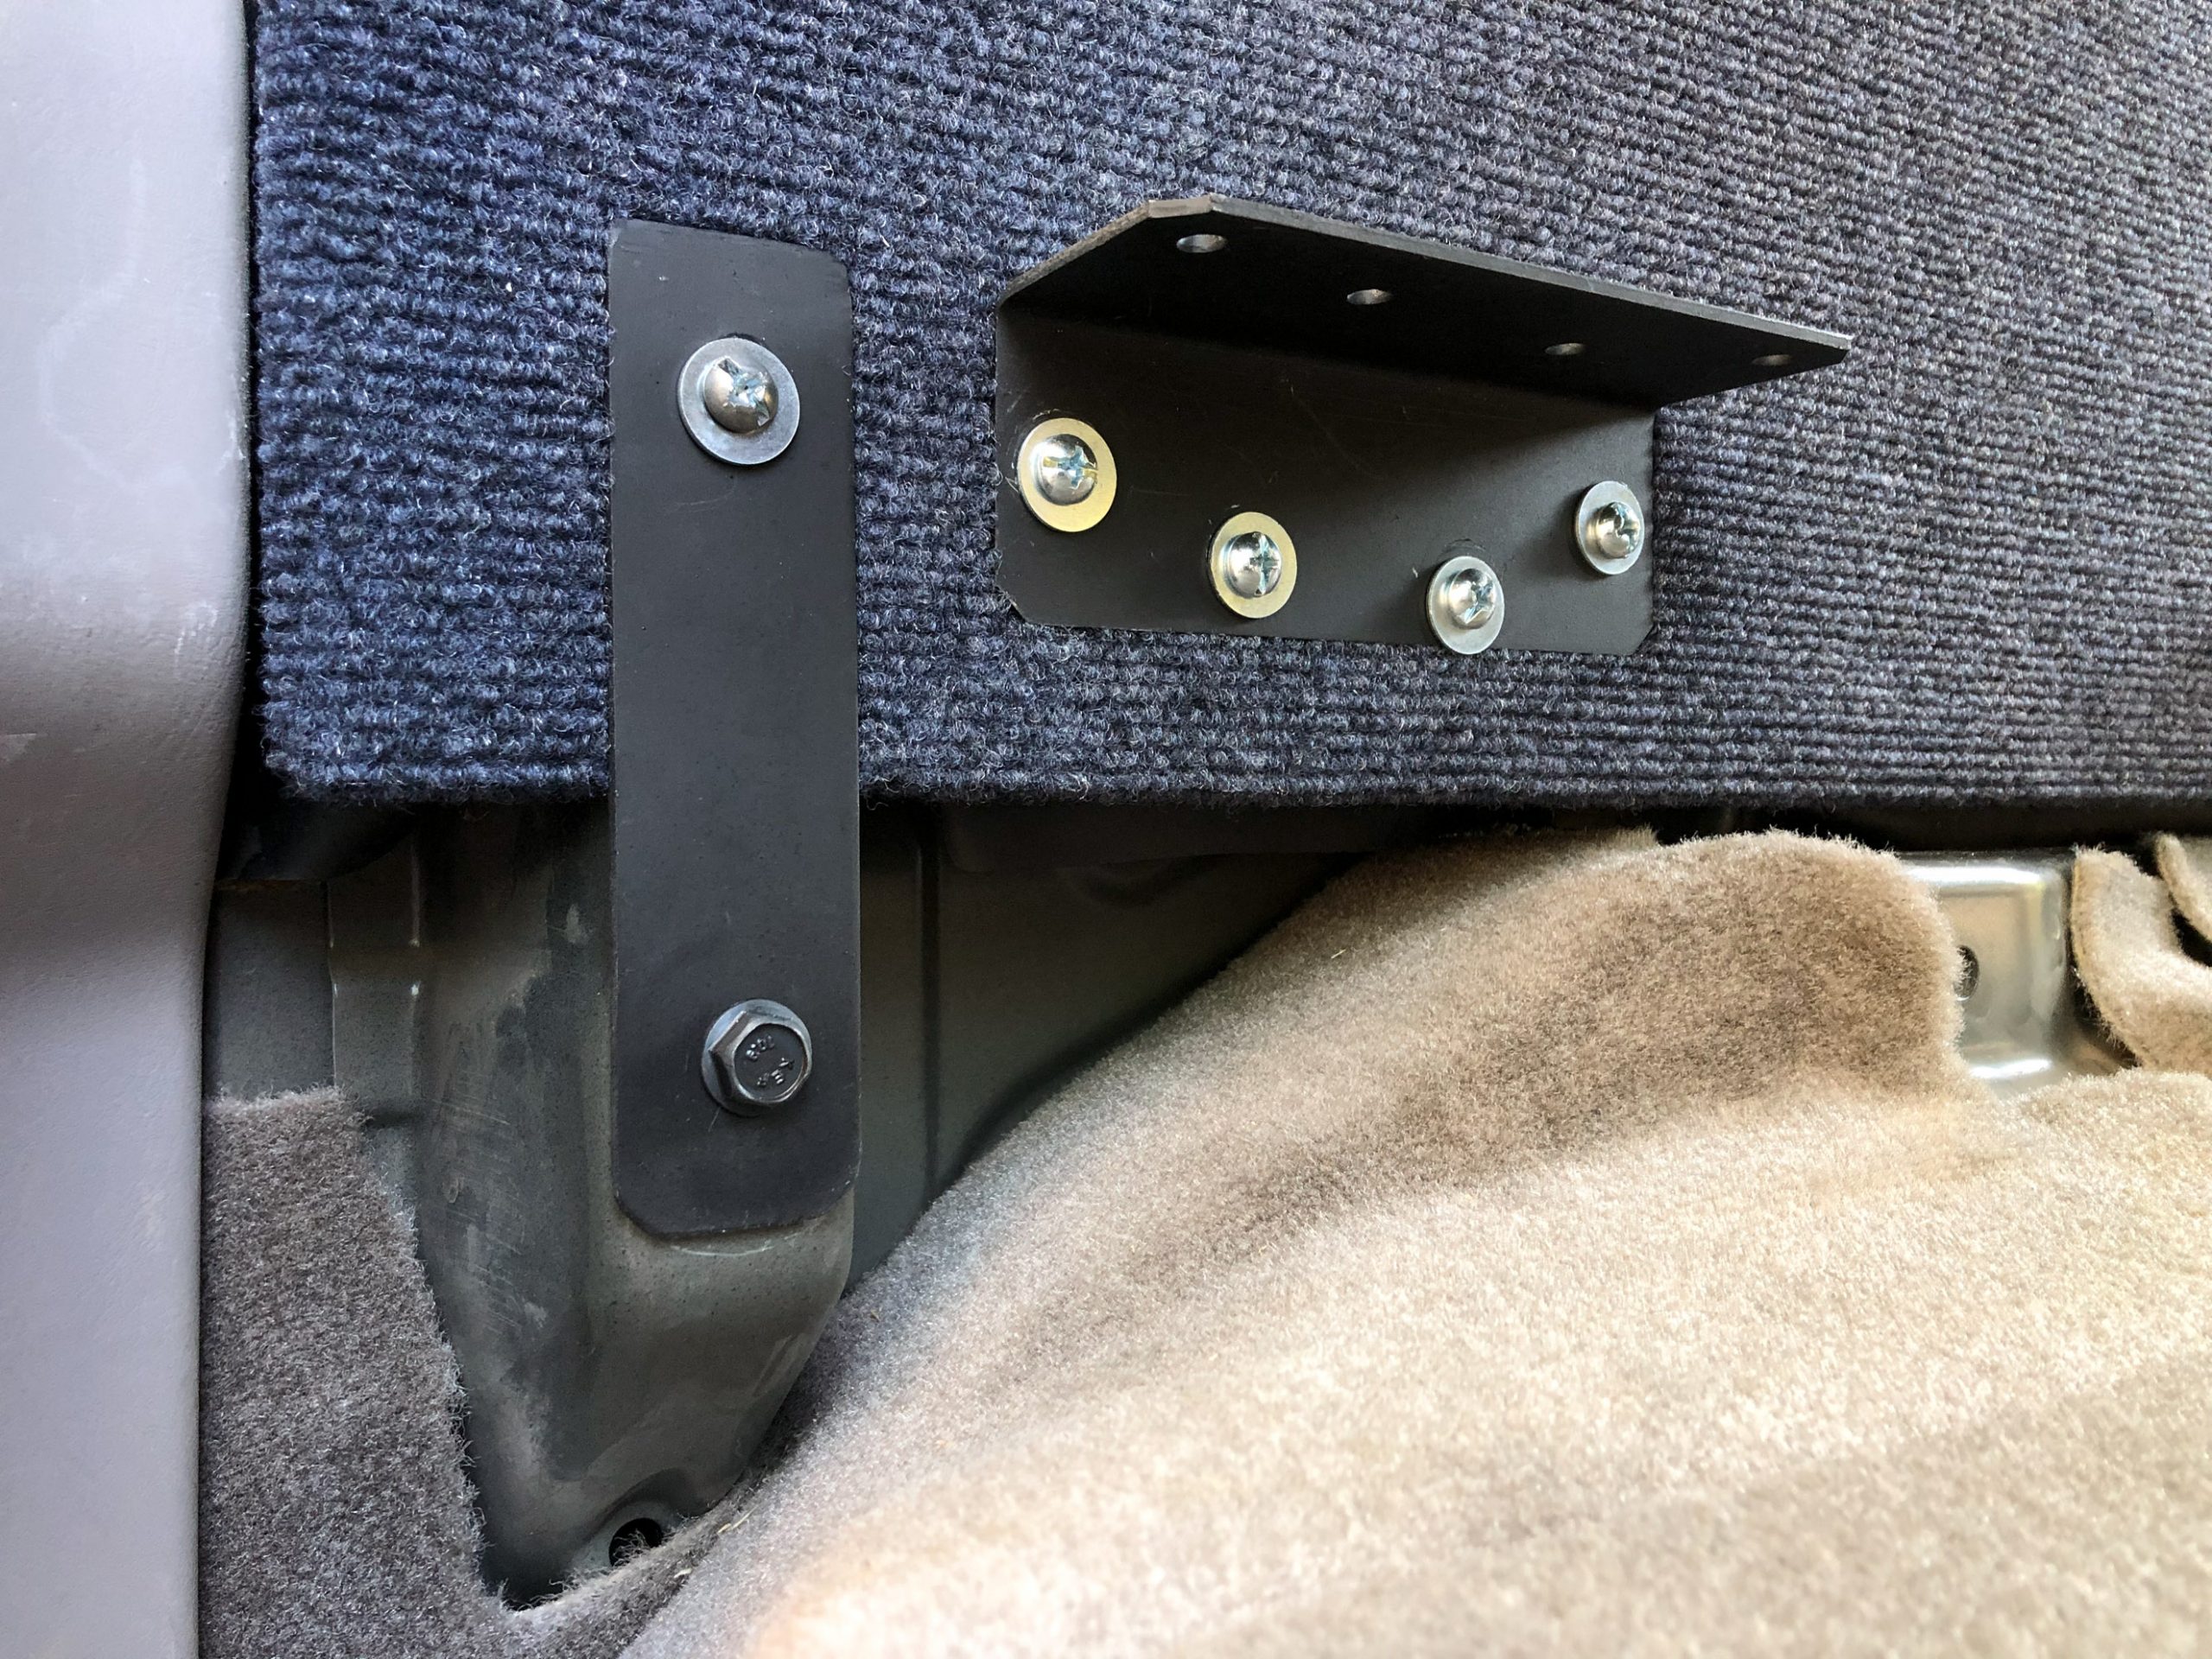
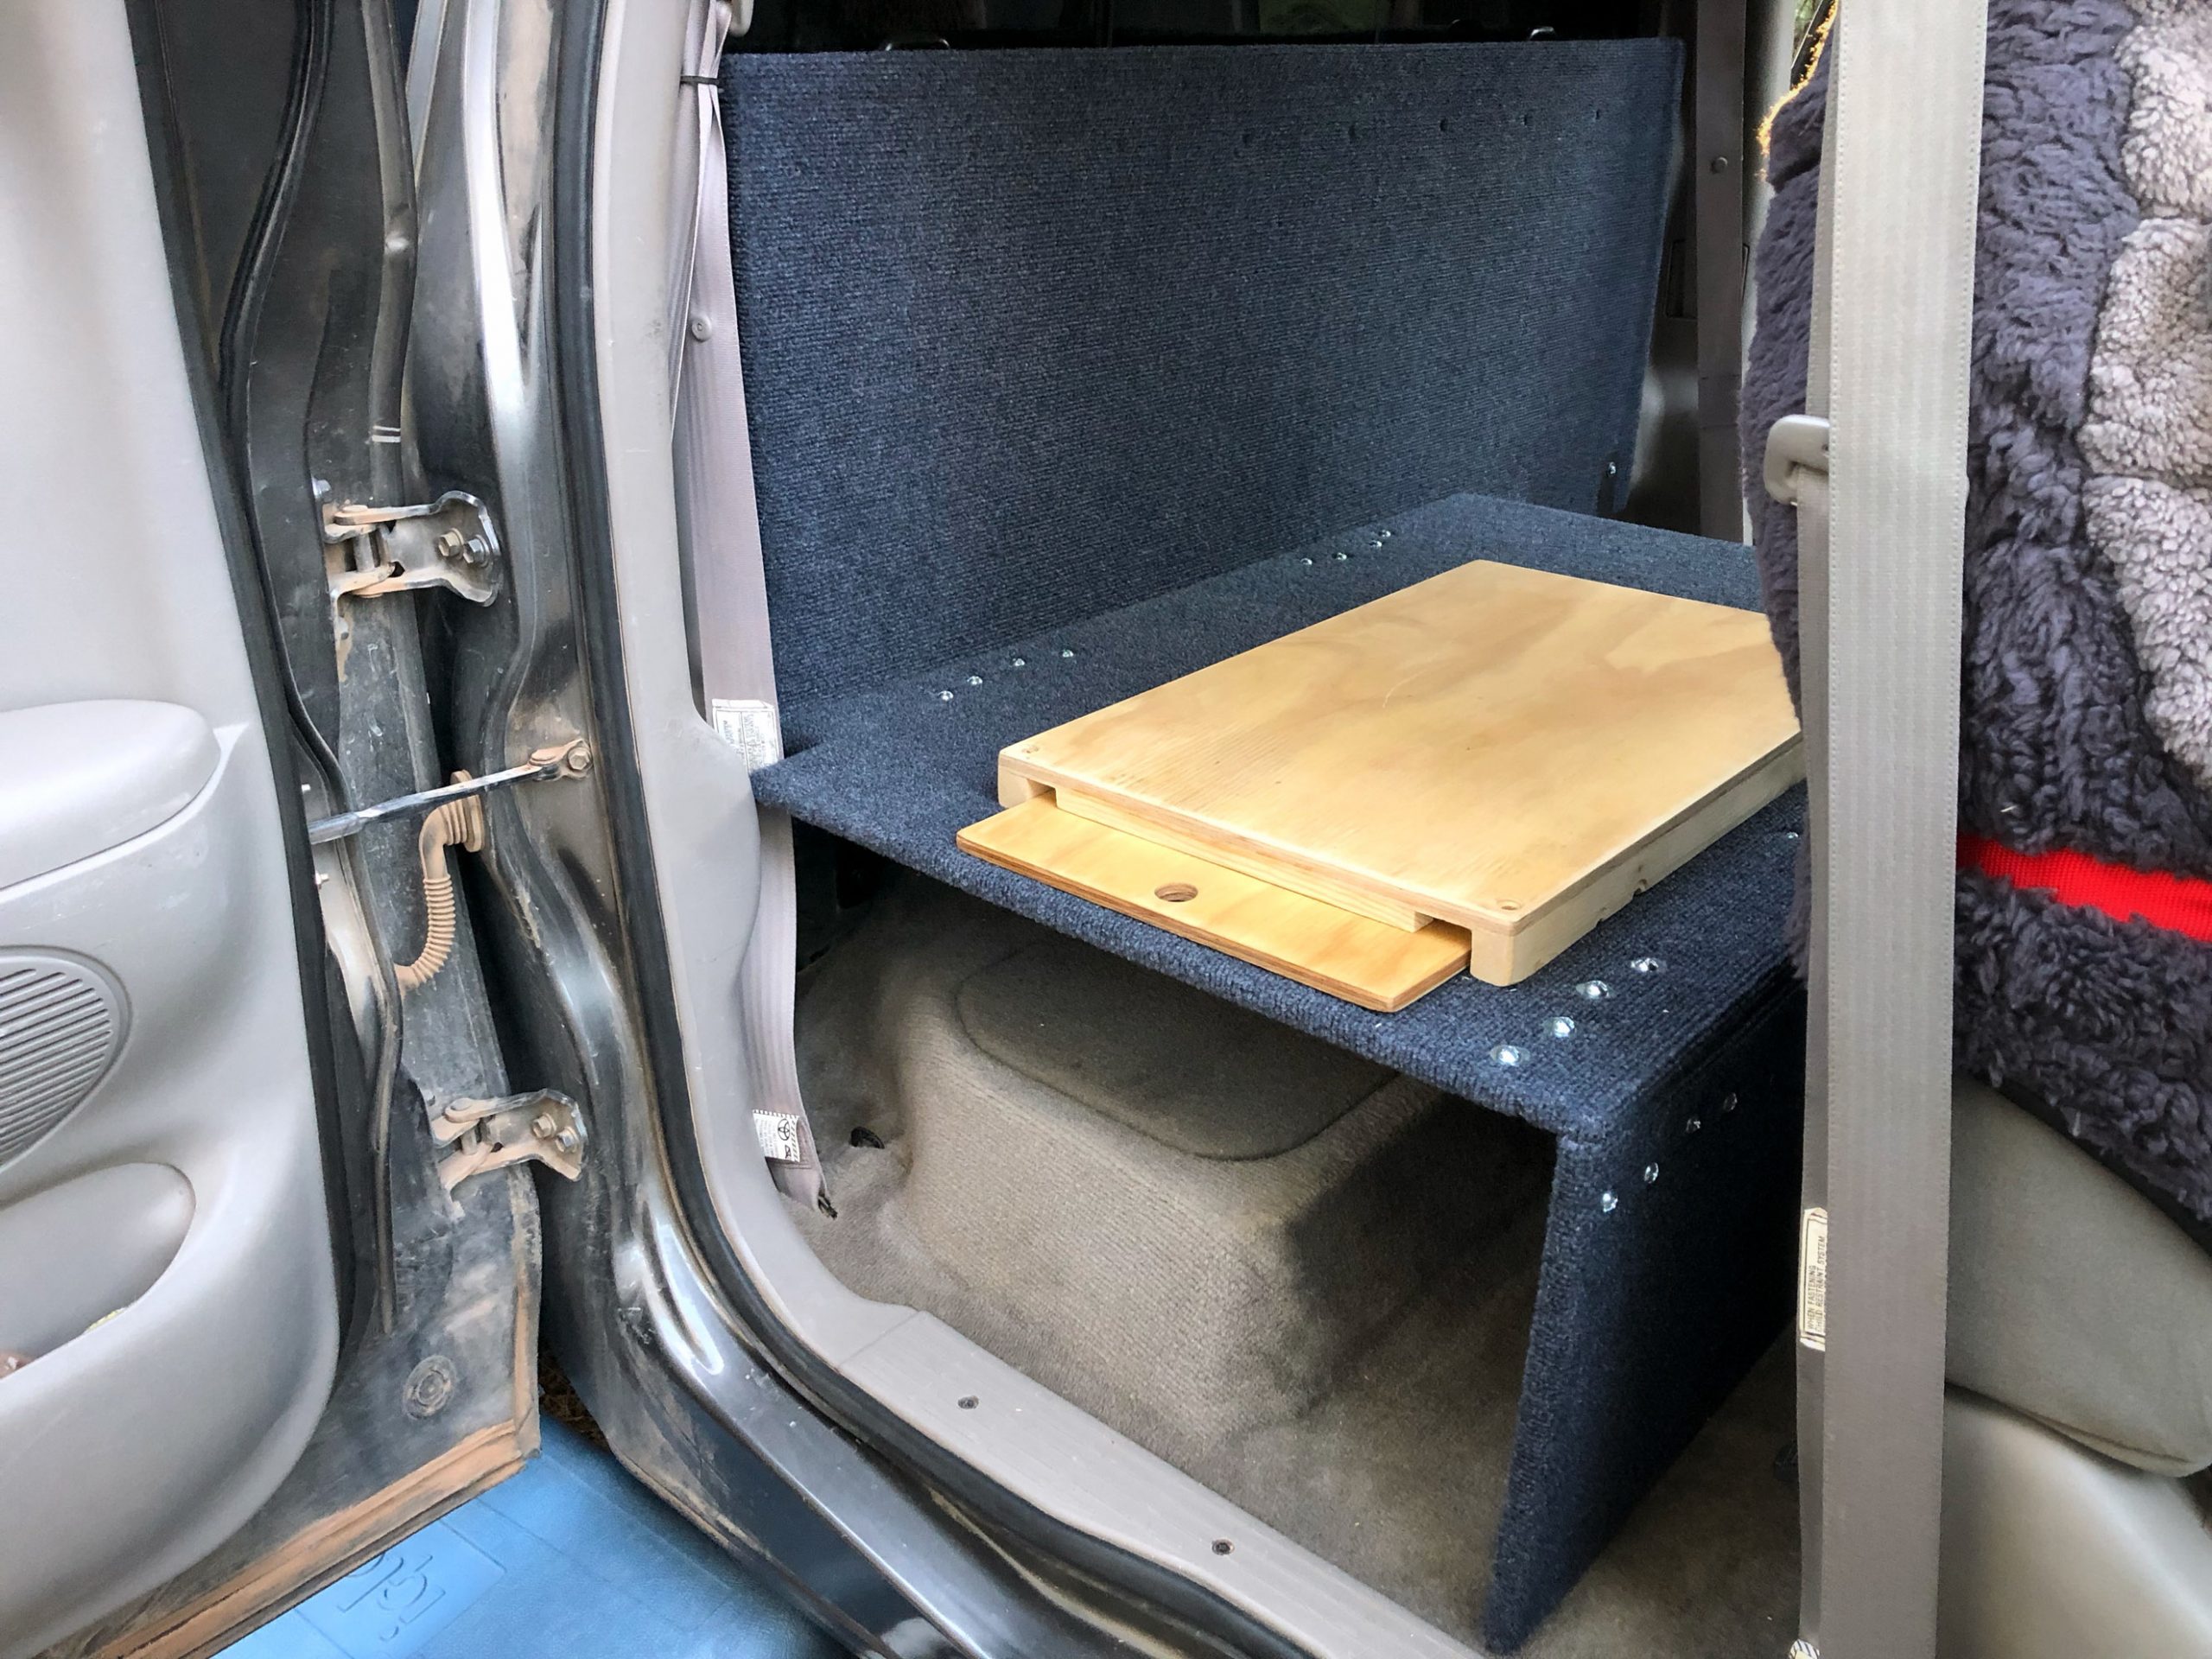
The bracket is for the horizontal shelf. The flat black metal bolts into a seat mount with a captive M8 nut. Nice. 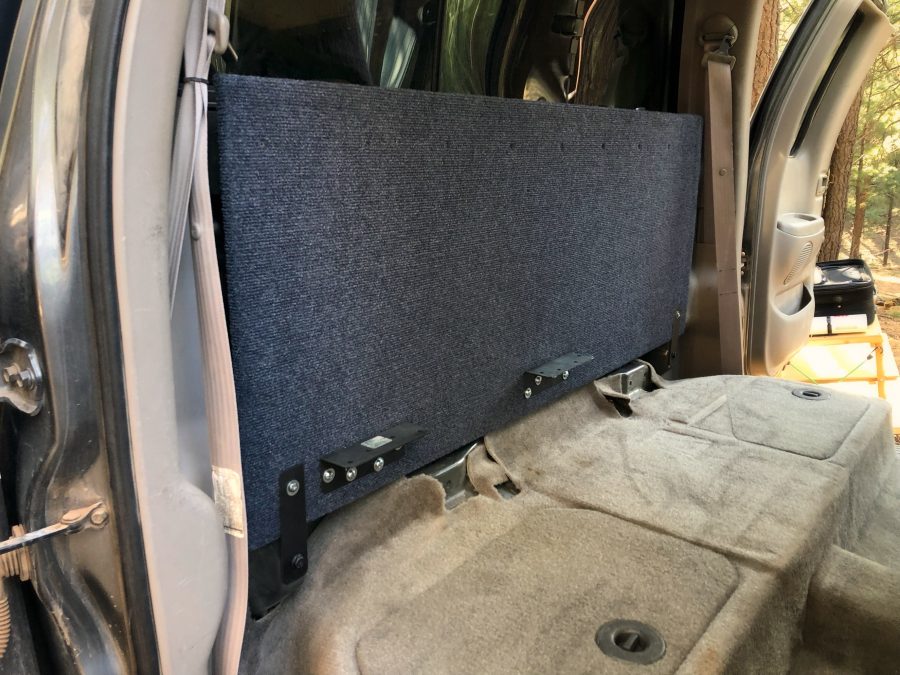
The finished rear wall!
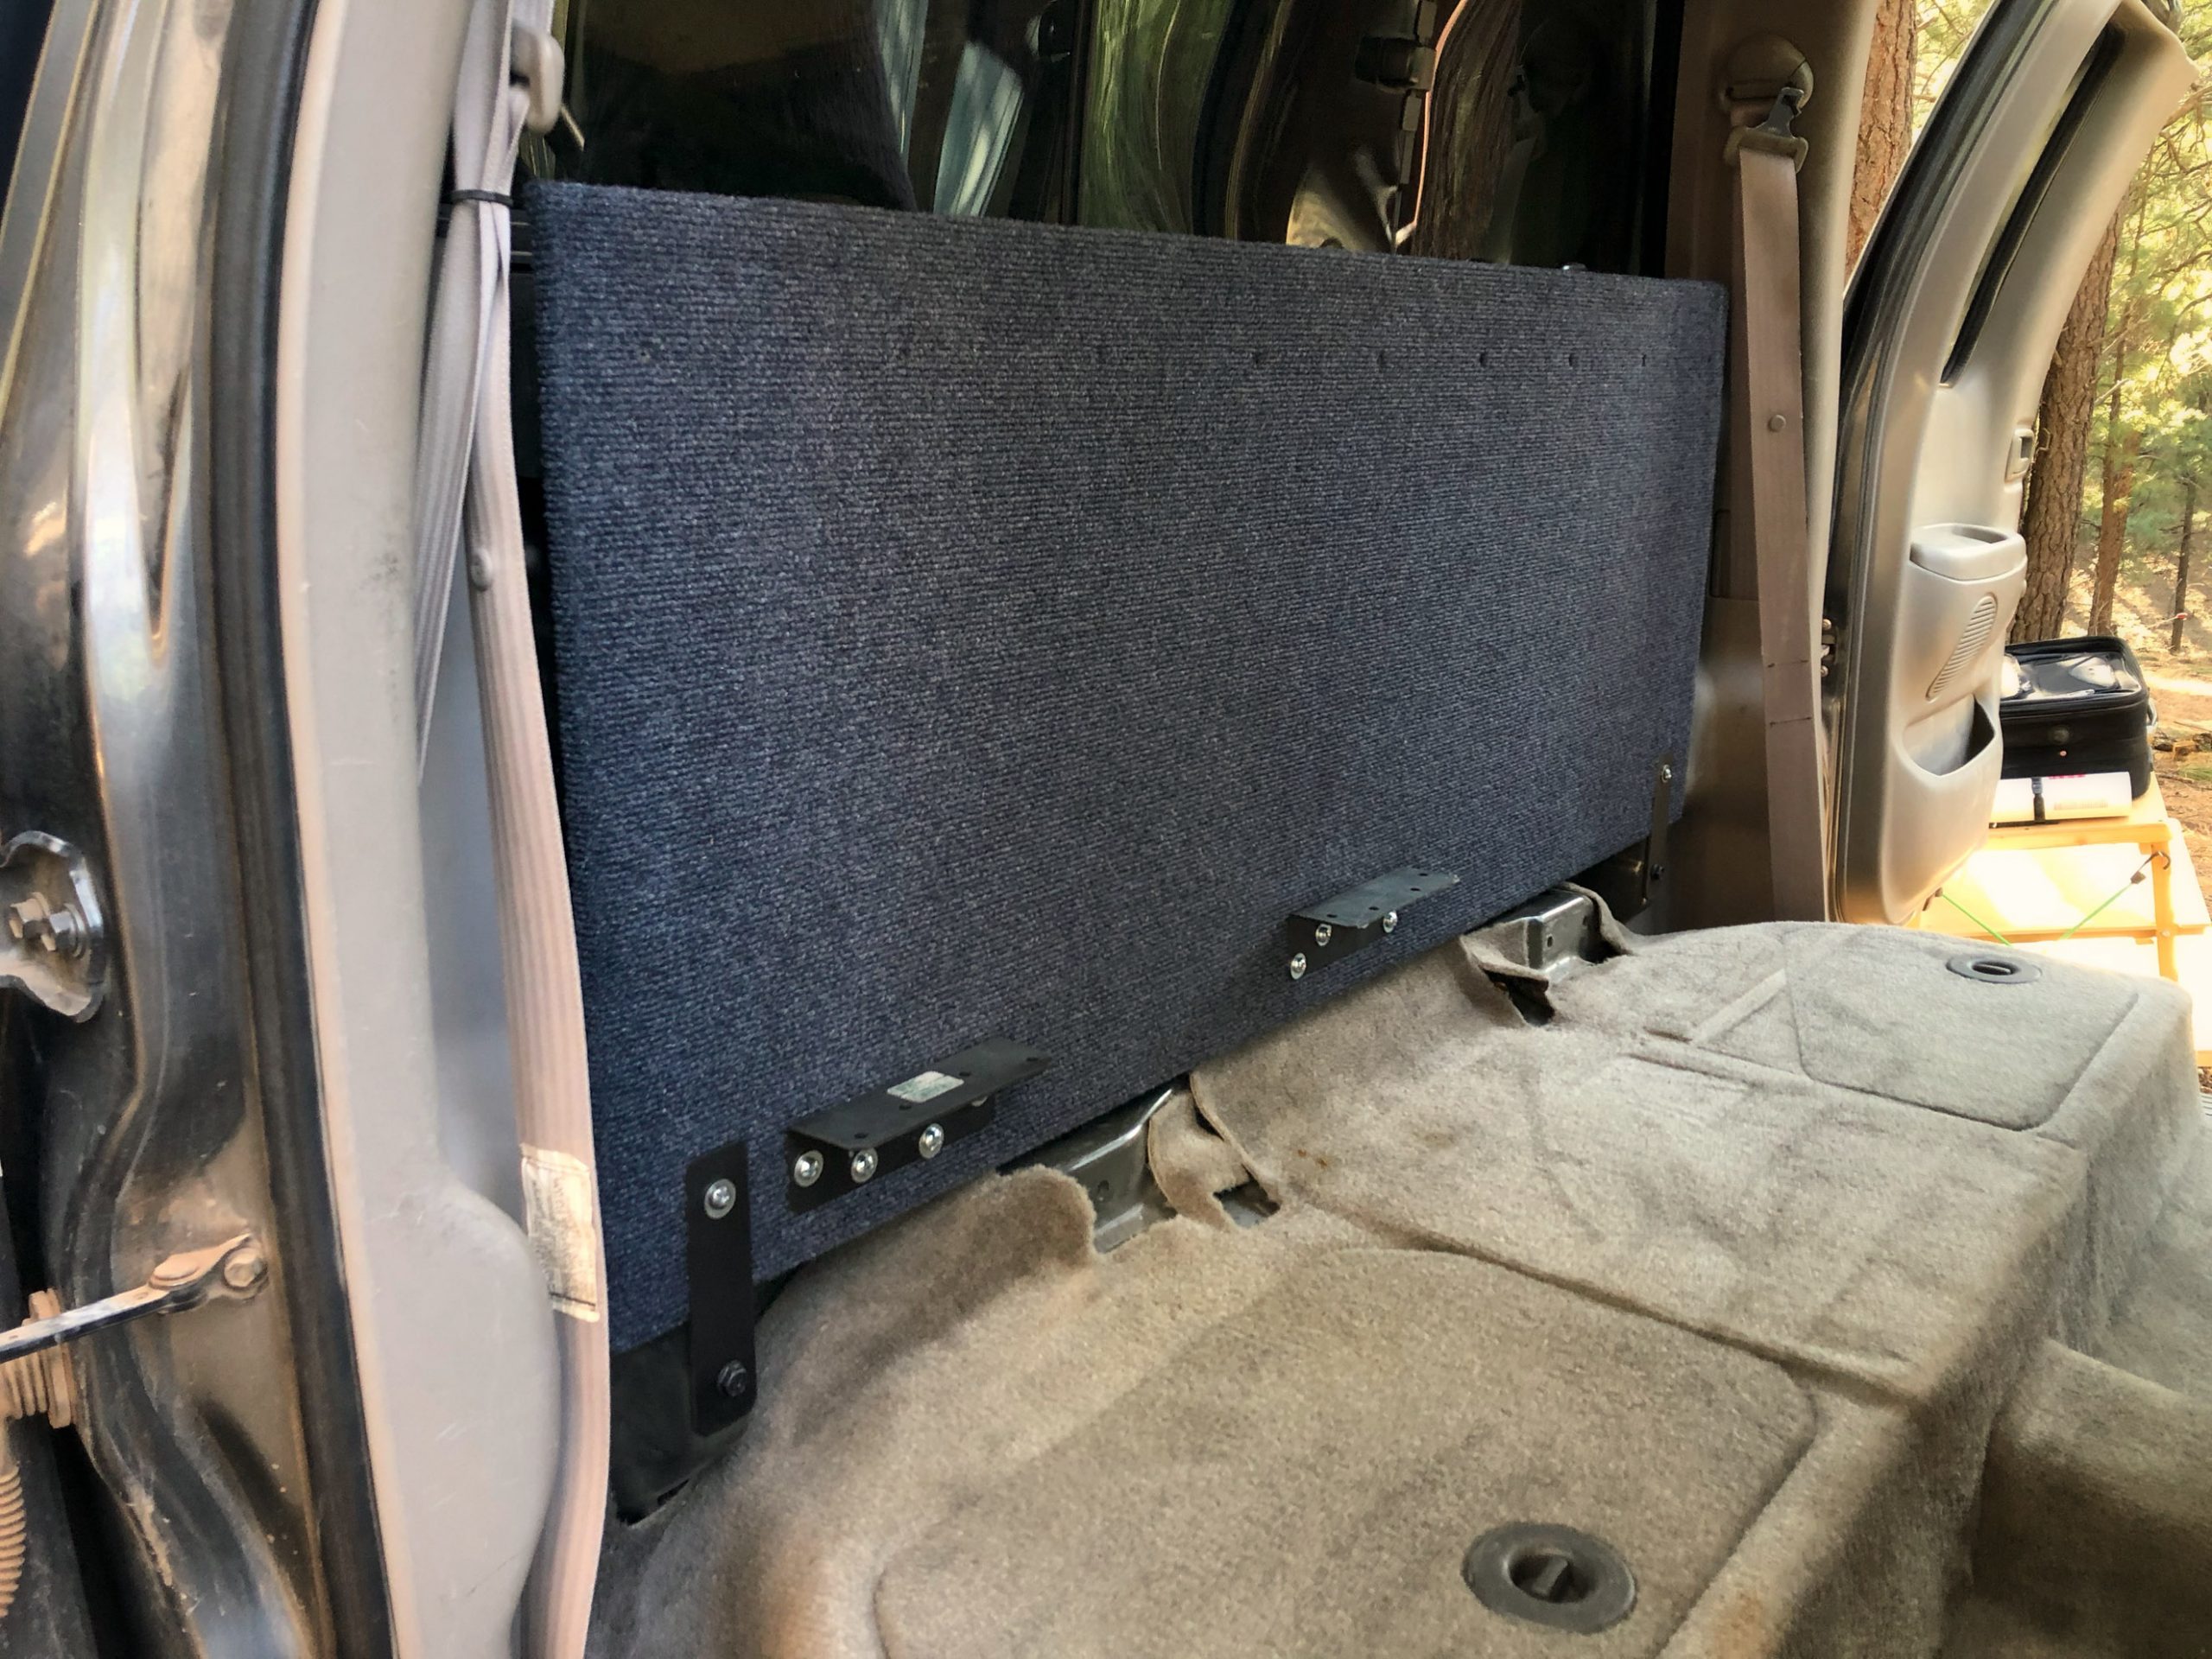
Version 2.0
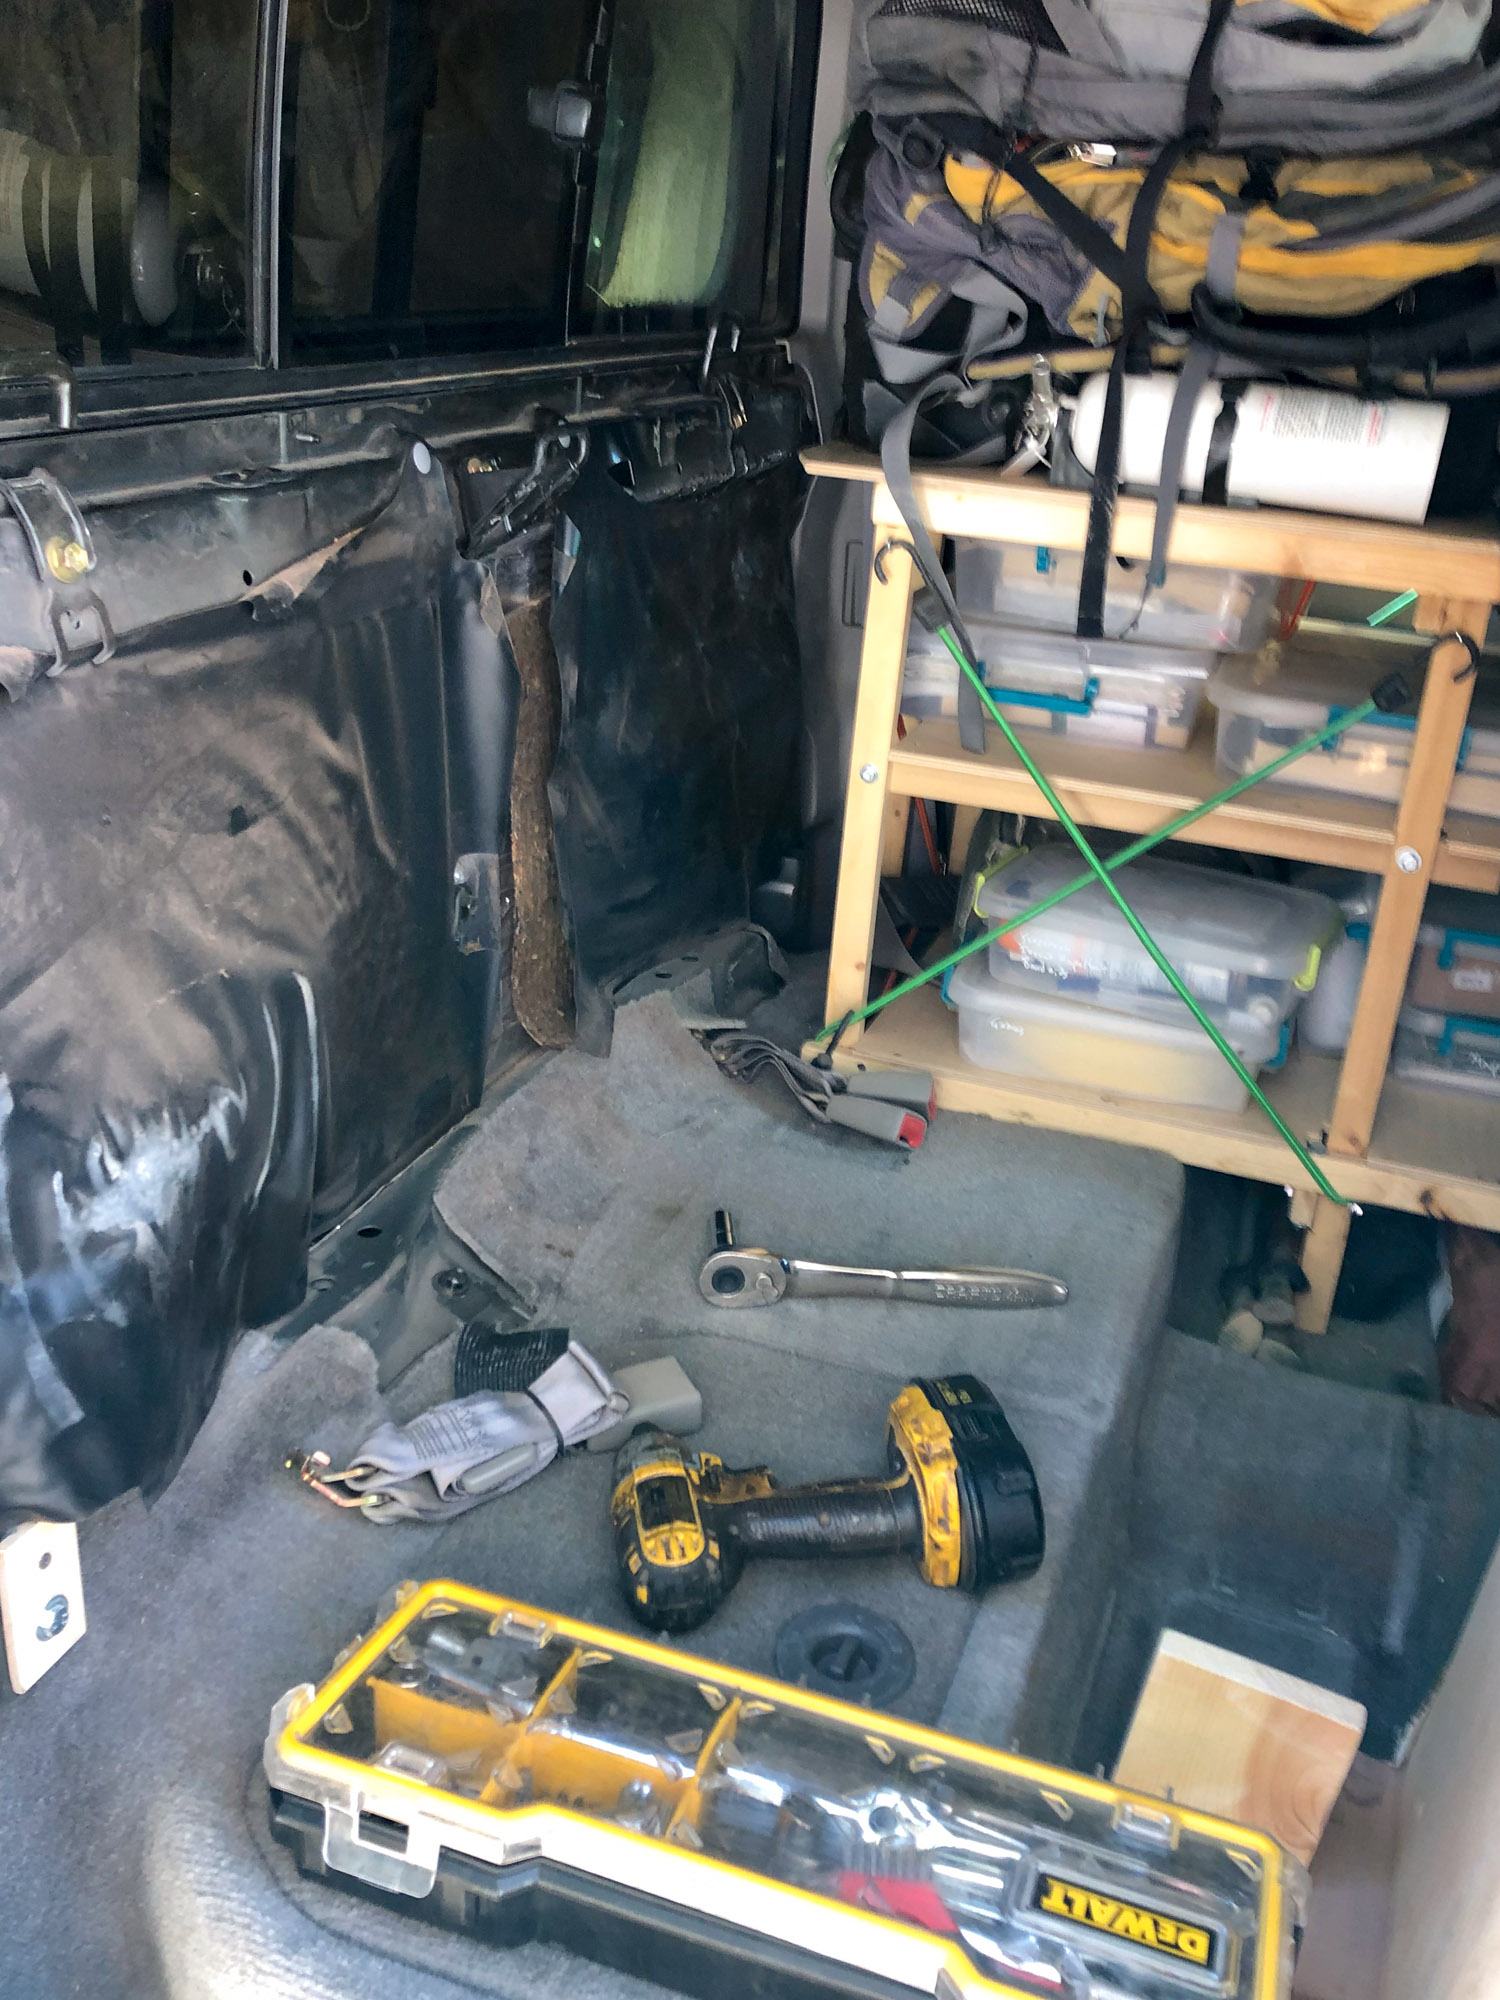
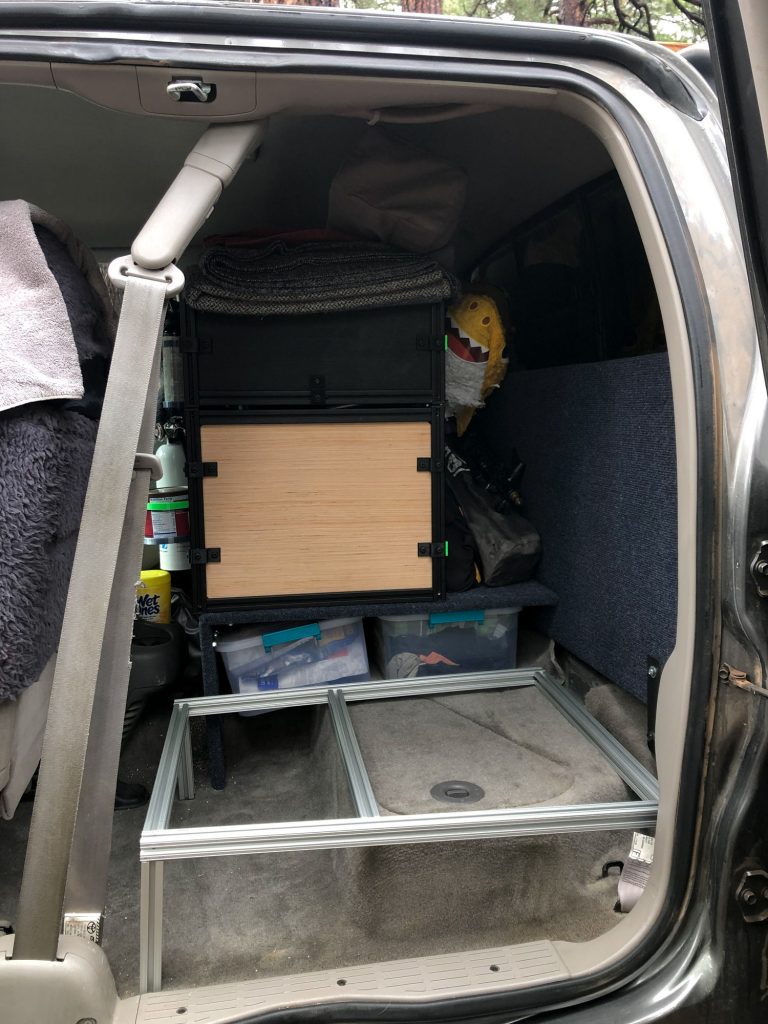
First I removed version 1.0, disassembled, and repaired some water damage from a cooler drain leak.
Then I bolted a runner across top, then screwed wall to that. Solid.
I was able to reuse the shelf portion, but this time using strong metal brackets, and I ground the bolts down as small as possible. Those two things opened up a surprising amount of previously wasted space.
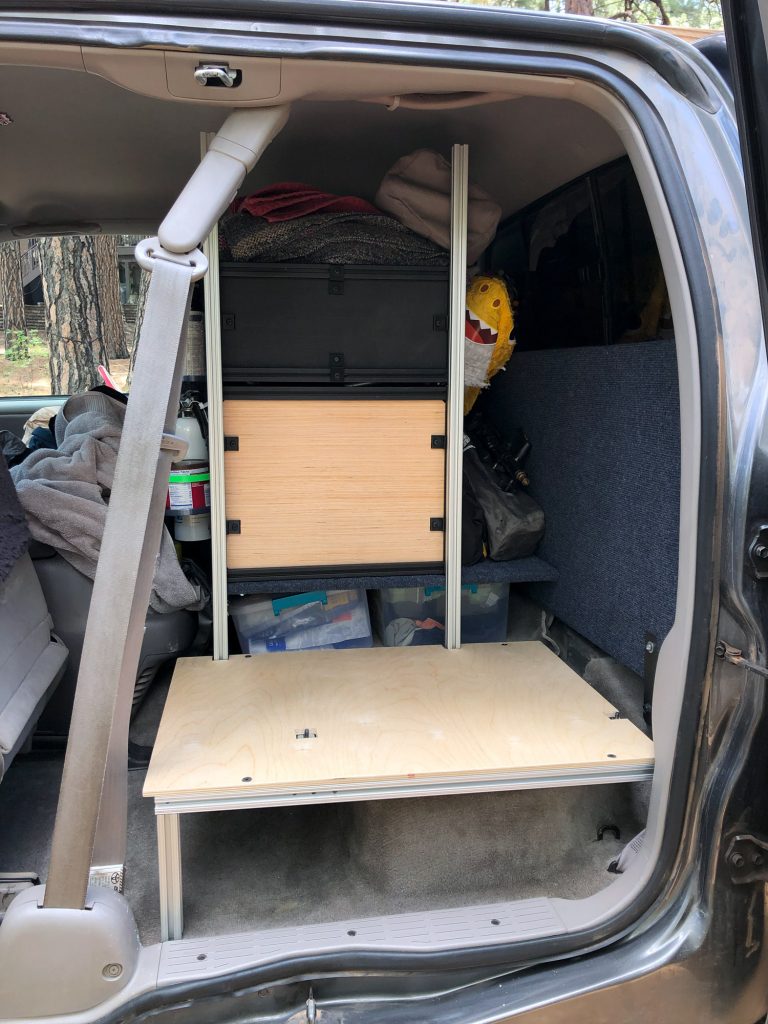
This time around “I” (in other words, mostly my friend Shane) carpeted each piece with actual carpet before assembling.
When I work at Shane’s, I work in style! 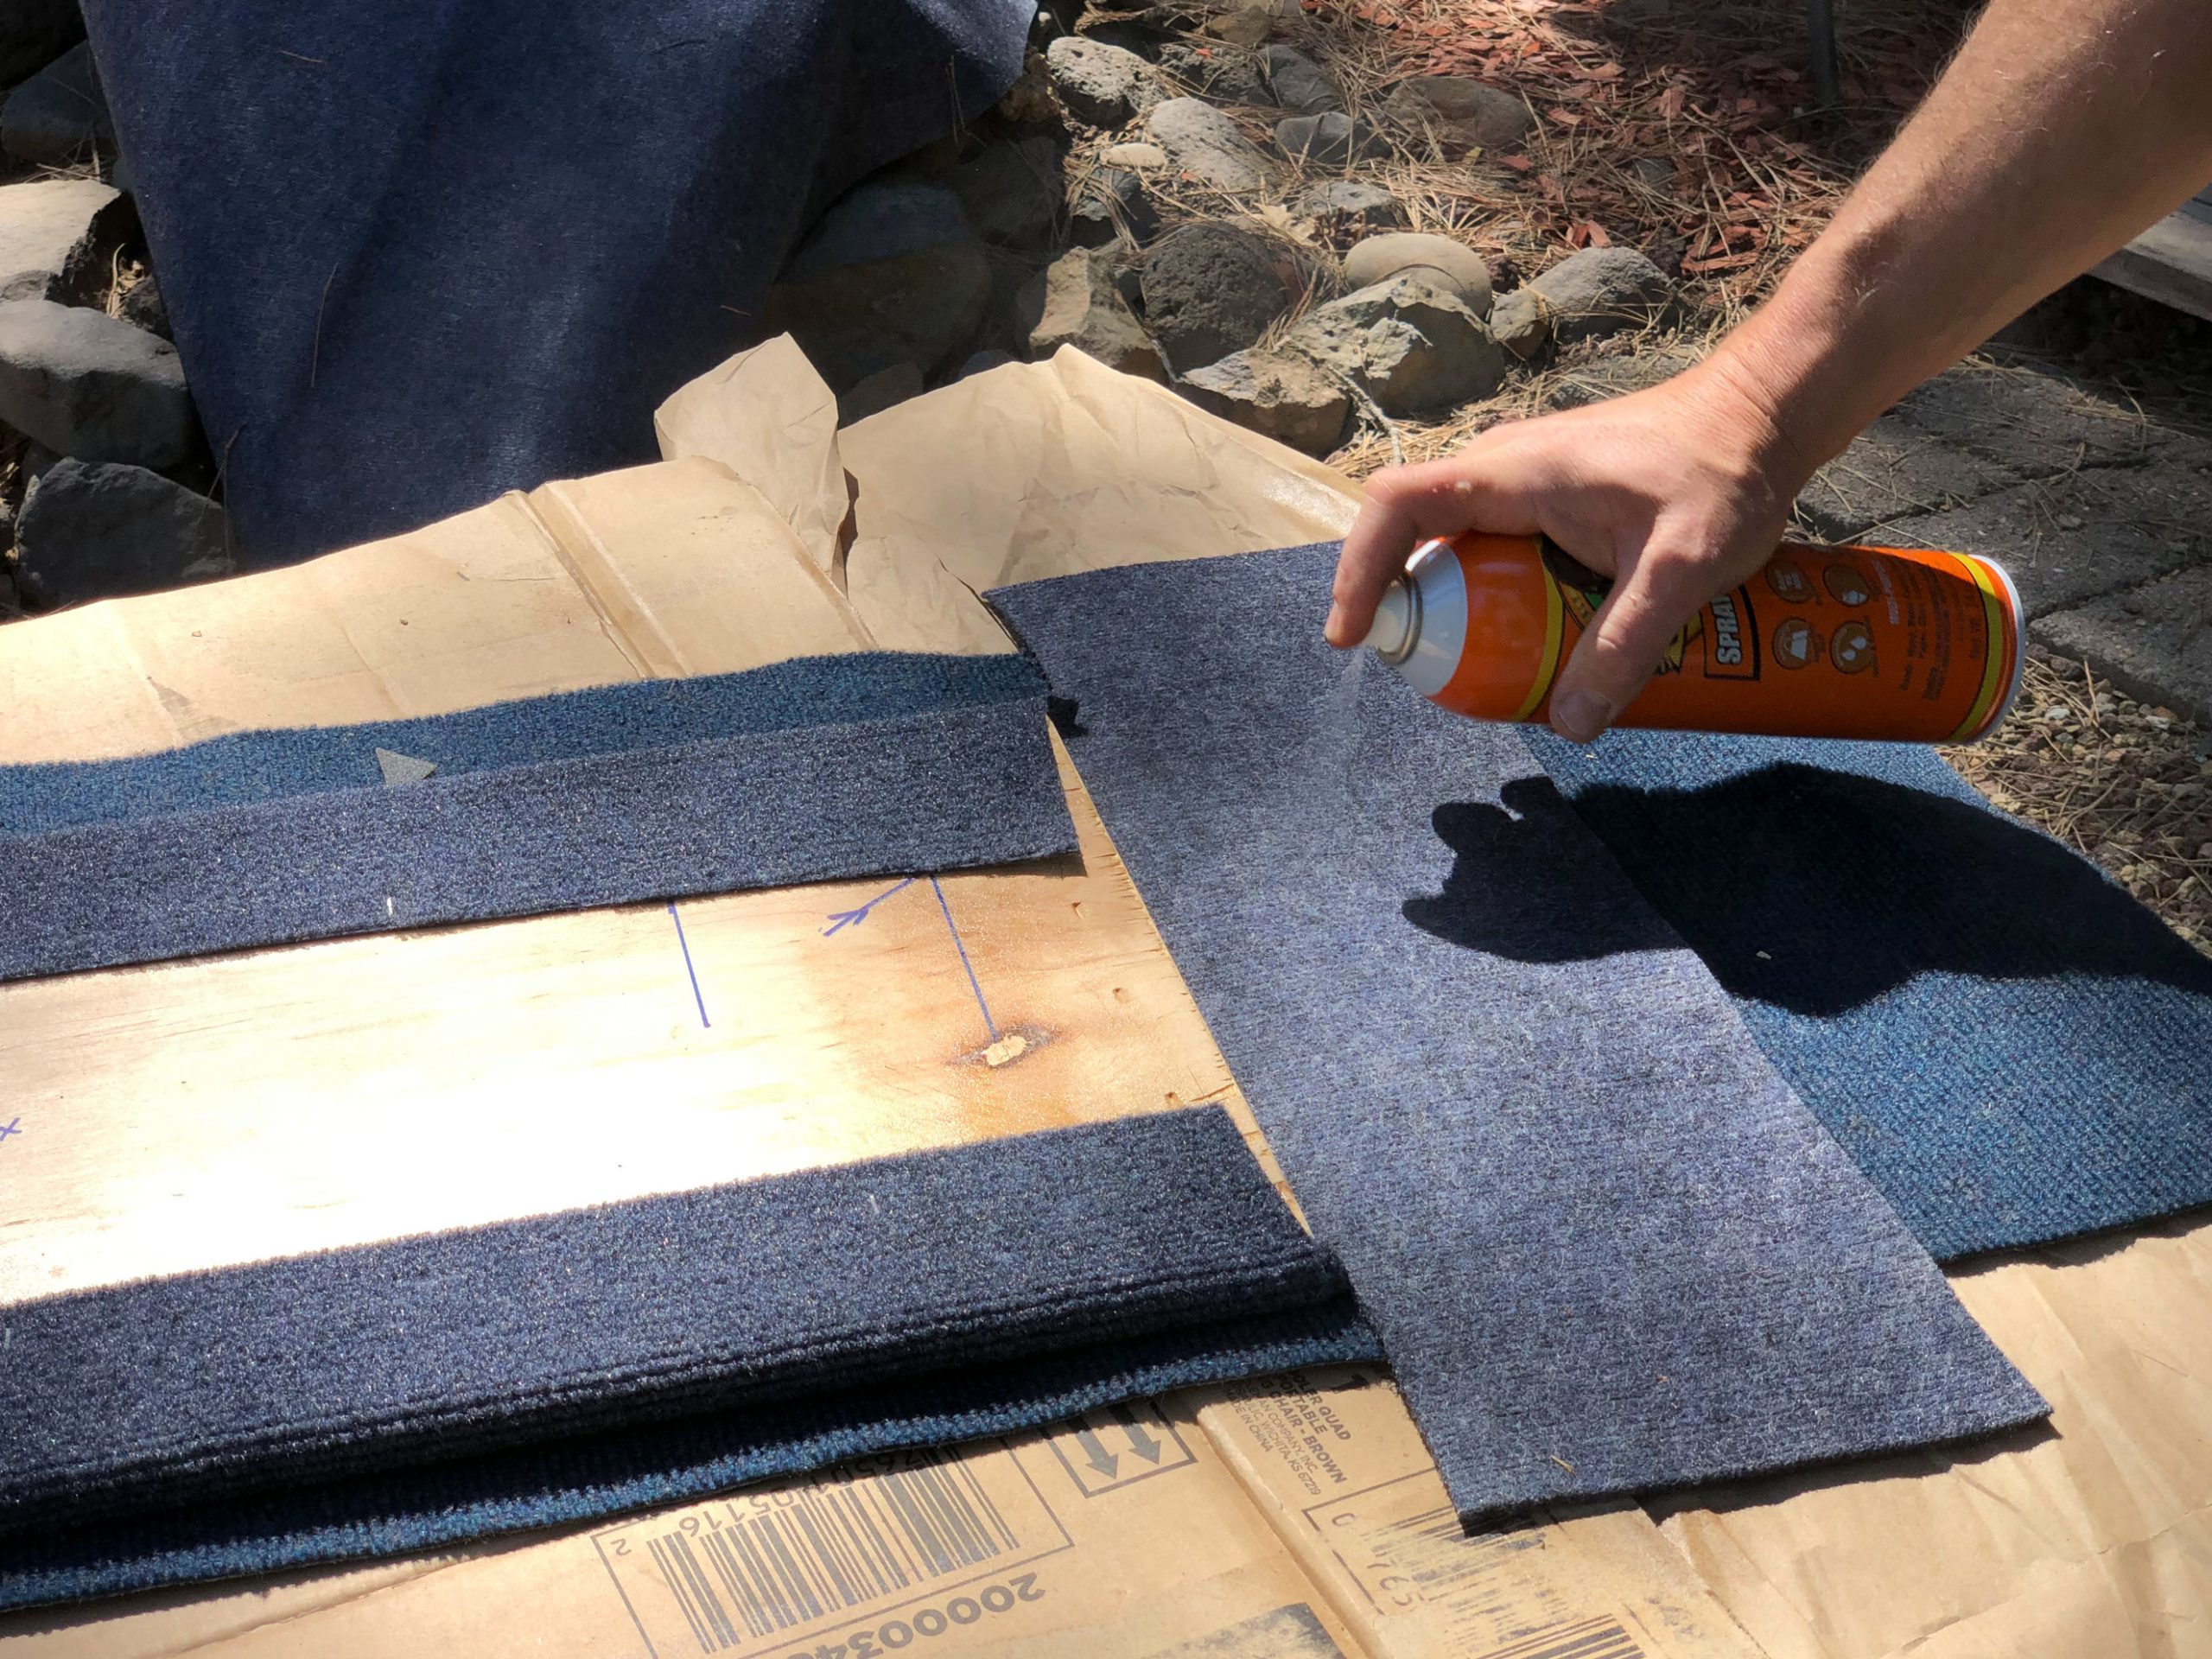
The end result is much more solid, much neater, more complete, and will be a good foundation for adding things (like lash points, mounting a fire extinguisher, etc.).
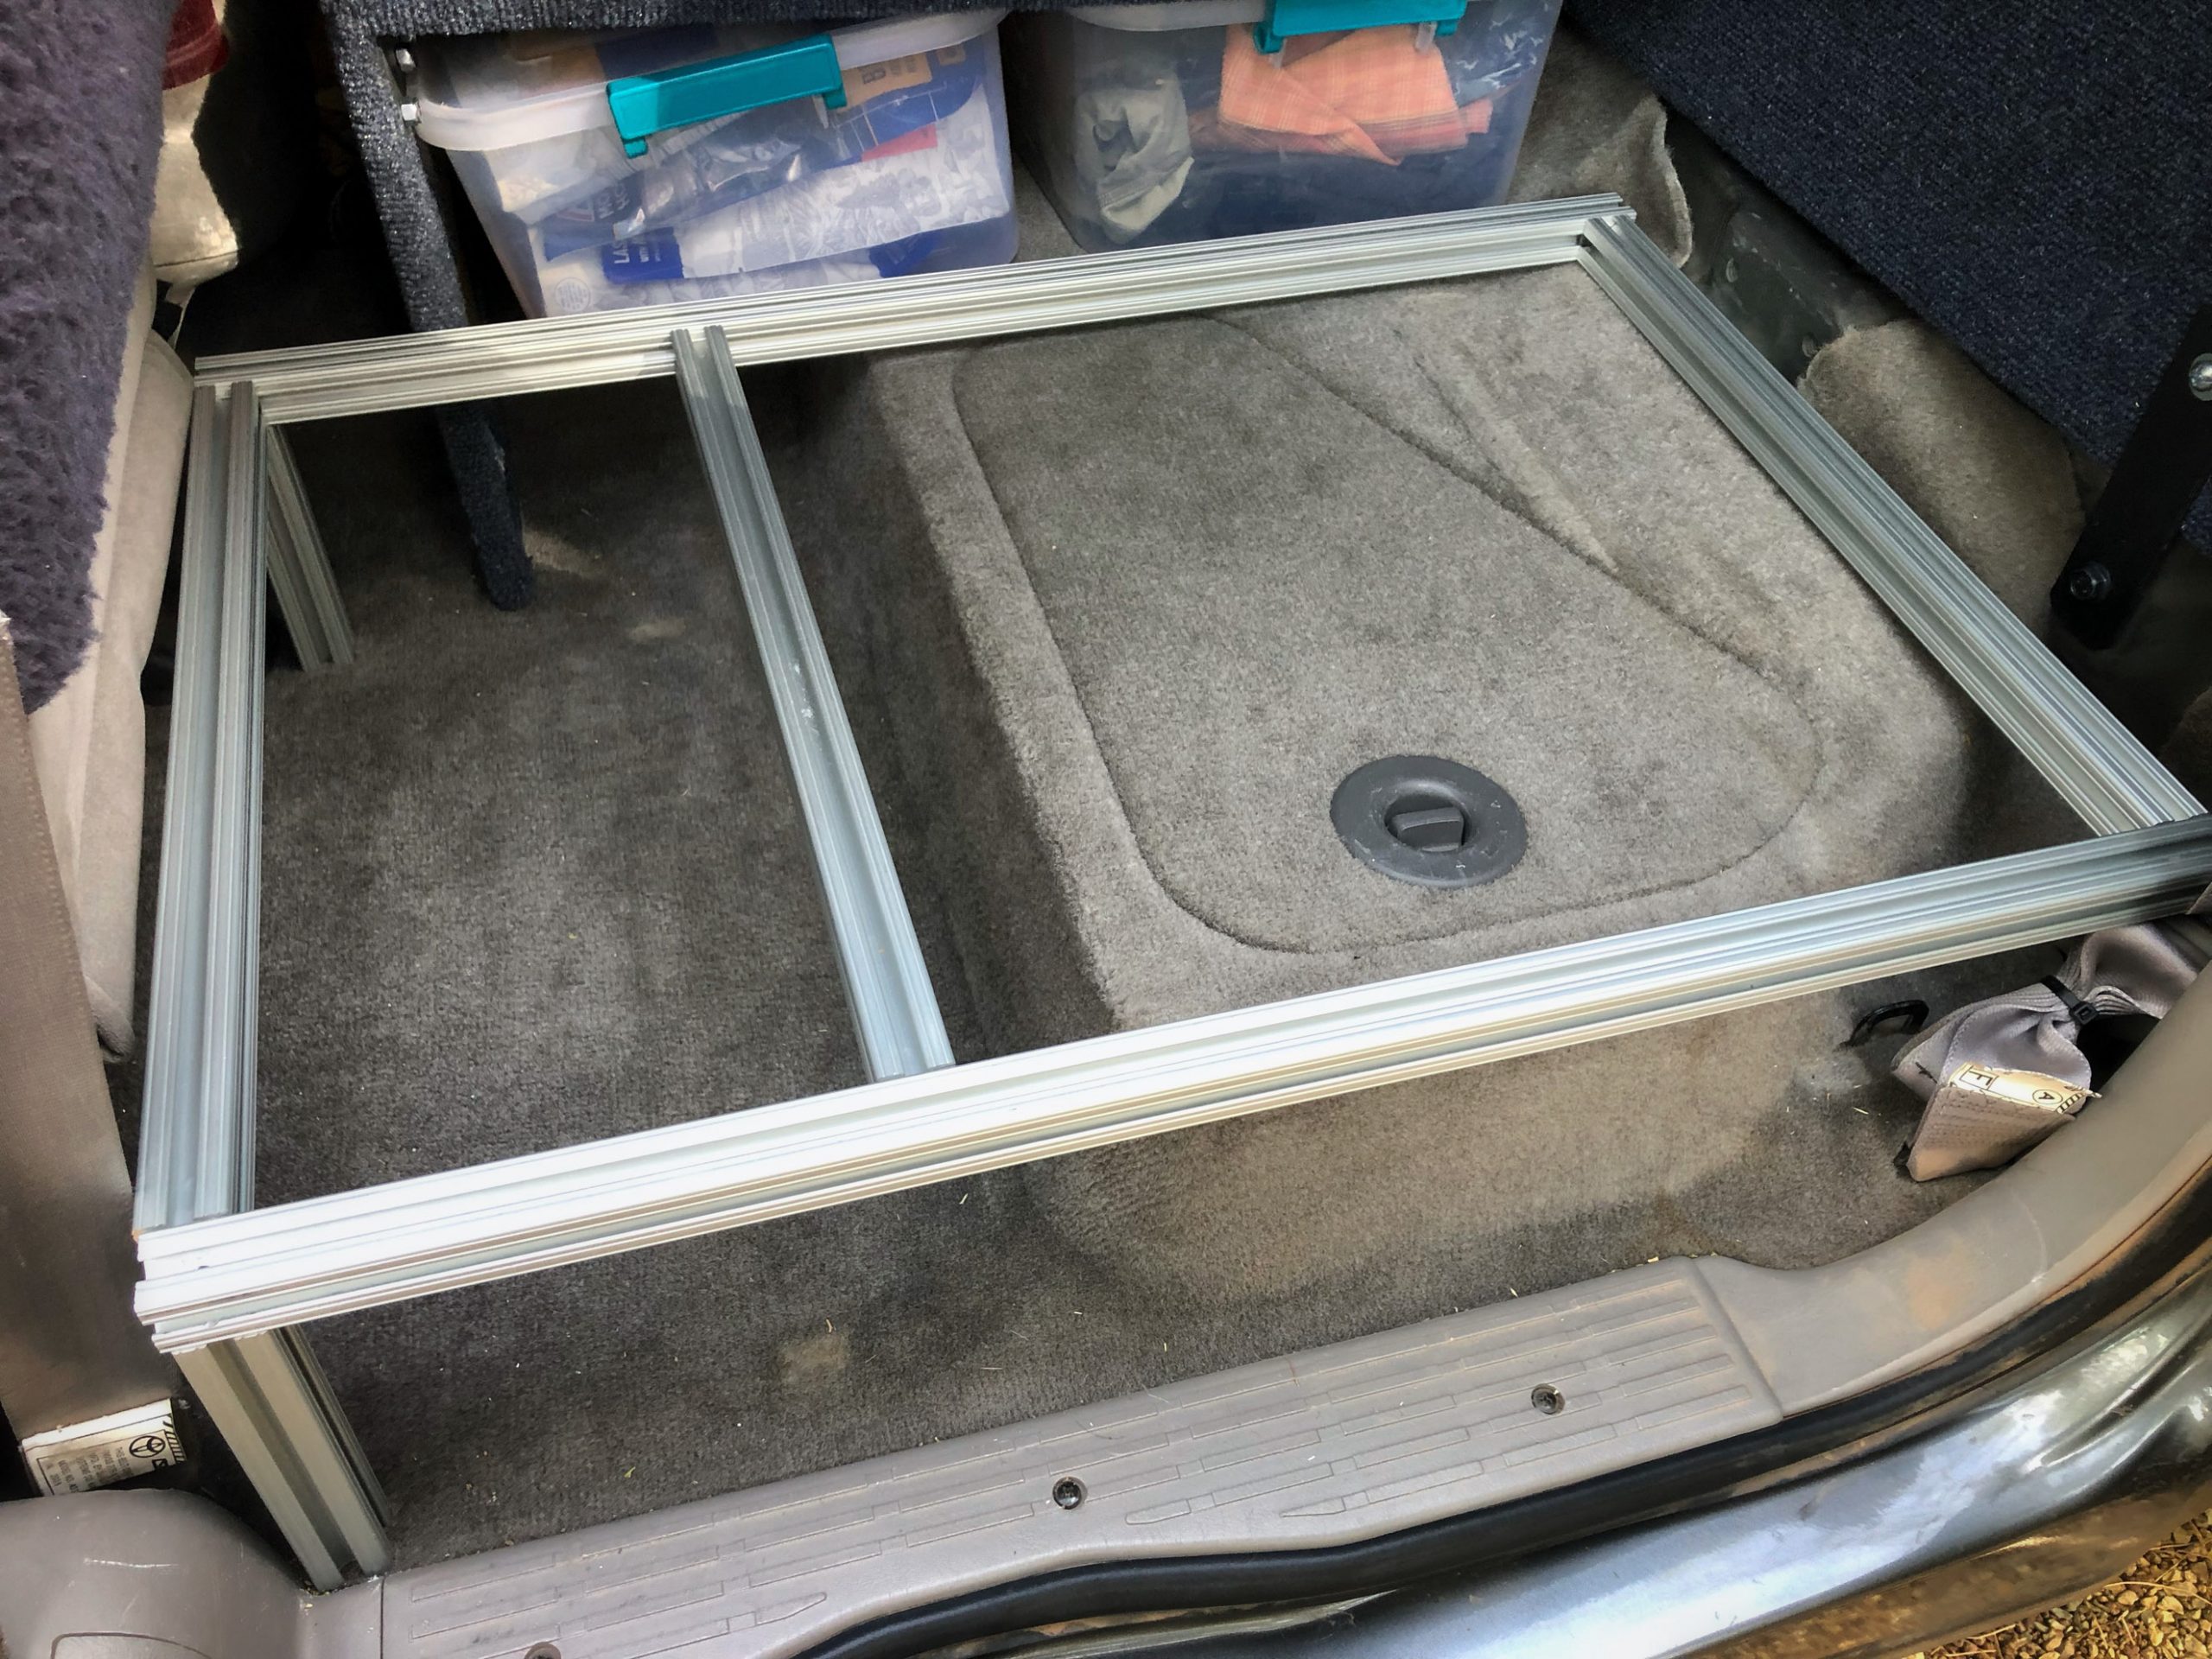
And yet, this is version 2.0 and version 3.0 is already swirling in my head: I want to remake everything using aluminum extrusion t-slots, for even more flexibility.
The Library
No, not a euphemism for “bathroom”. I just call it that because it’s where I keep my reference books, maps, manuals, etc. And cameras and clothes and other stuff, but whatever.
I’ve started on re-doing “The Library” with this aluminum extrusion, but didn’t get far. That will be a different post some day soon.

Version 1.0, bits of scrap wood cobbled together 
Version 2.0 starts to take shape!
Finally got around to “finishing” the library shelving…for now.
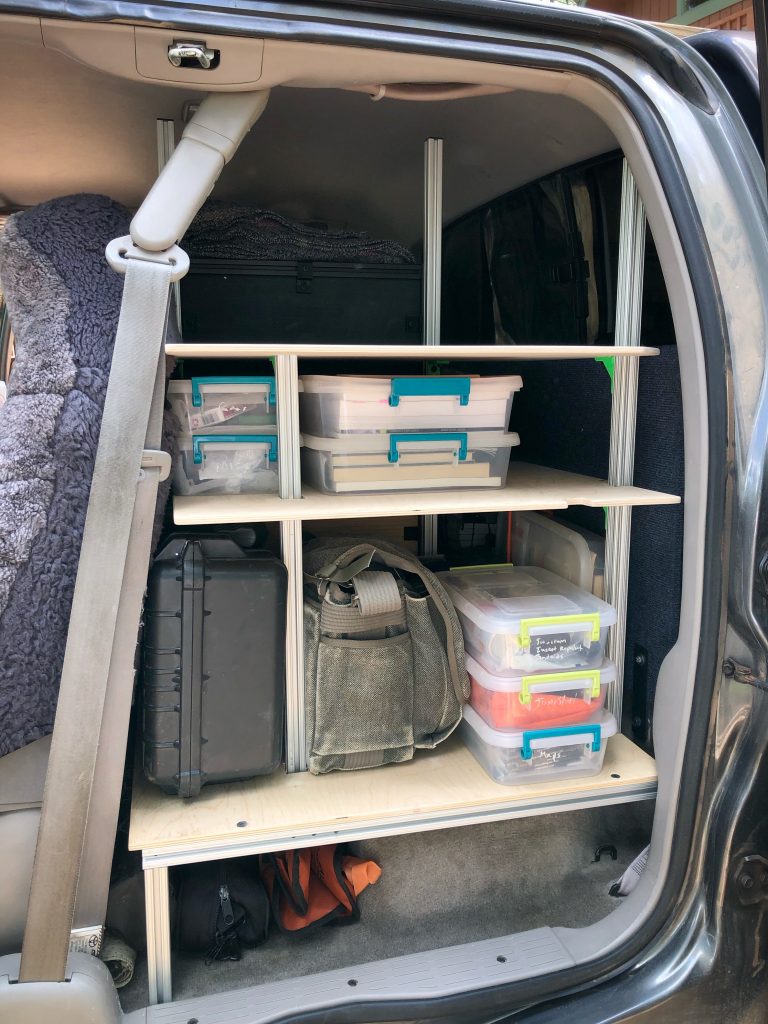
Theoretically this concept is more adjustable than before, and it is, but really only the height of the shelves, not the spacing of the uprights… need to redesign Version 3.0!
Pingback: My most expensive piece of photo gear – Mark Edward Dawson